Shopify Product Image Import: Add Multiple Images Without Manual Upload
Shopify Product Image Import: Add Multiple Images Without Manual Upload
Adding product images to a Shopify store manually has a straightforward but time-consuming rhythm: download image from supplier, find a hosting location Shopify can reach, copy the URL, paste it into the product record, repeat. For a 200-product catalogue with five images per product, that loop runs 1,000 times. Most merchants block out a full working day for it, or delay the launch while the images catch up.
Importier handles images at import time through three source methods: direct URLs from supplier CSVs, Dropbox folder links, and Google Drive folder links. Each method suits a different image situation. The right choice depends on where your images live, not which description sounds most approachable. This article covers how each method works, when to use it, and how AI alt text generation fills in the field most merchants leave blank.
The Image Backlog at Scale
Manual image upload does not scale. A catalogue of 200 products with four images each means 800 individual Shopify admin actions: open product, click add image, select file or paste URL, save. Merchants who go through this process once rarely want to repeat it. Suppliers who update their catalogue seasonally can trigger the same loop every quarter.
The problem compounds for platform migrations. A WooCommerce, Volusion, or BigCommerce export typically contains existing product images as hosted URLs. Those URLs are readable in the export file, but Shopify's native CSV importer has strict requirements for image column format and cannot reliably fetch from all external CDN links. The result is either a product catalogue with missing images in Shopify or a separate image re-hosting project before the main import can run.
Handling images at import time removes this backlog entirely. When image sources are mapped in the import wizard, Importier fetches and uploads images as part of the same batch that creates the product records. Products and their image galleries arrive in Shopify together.
Method 1: Direct URLs from the Source CSV
If your supplier CSV already includes image URL columns, direct URL mapping is the most direct approach.
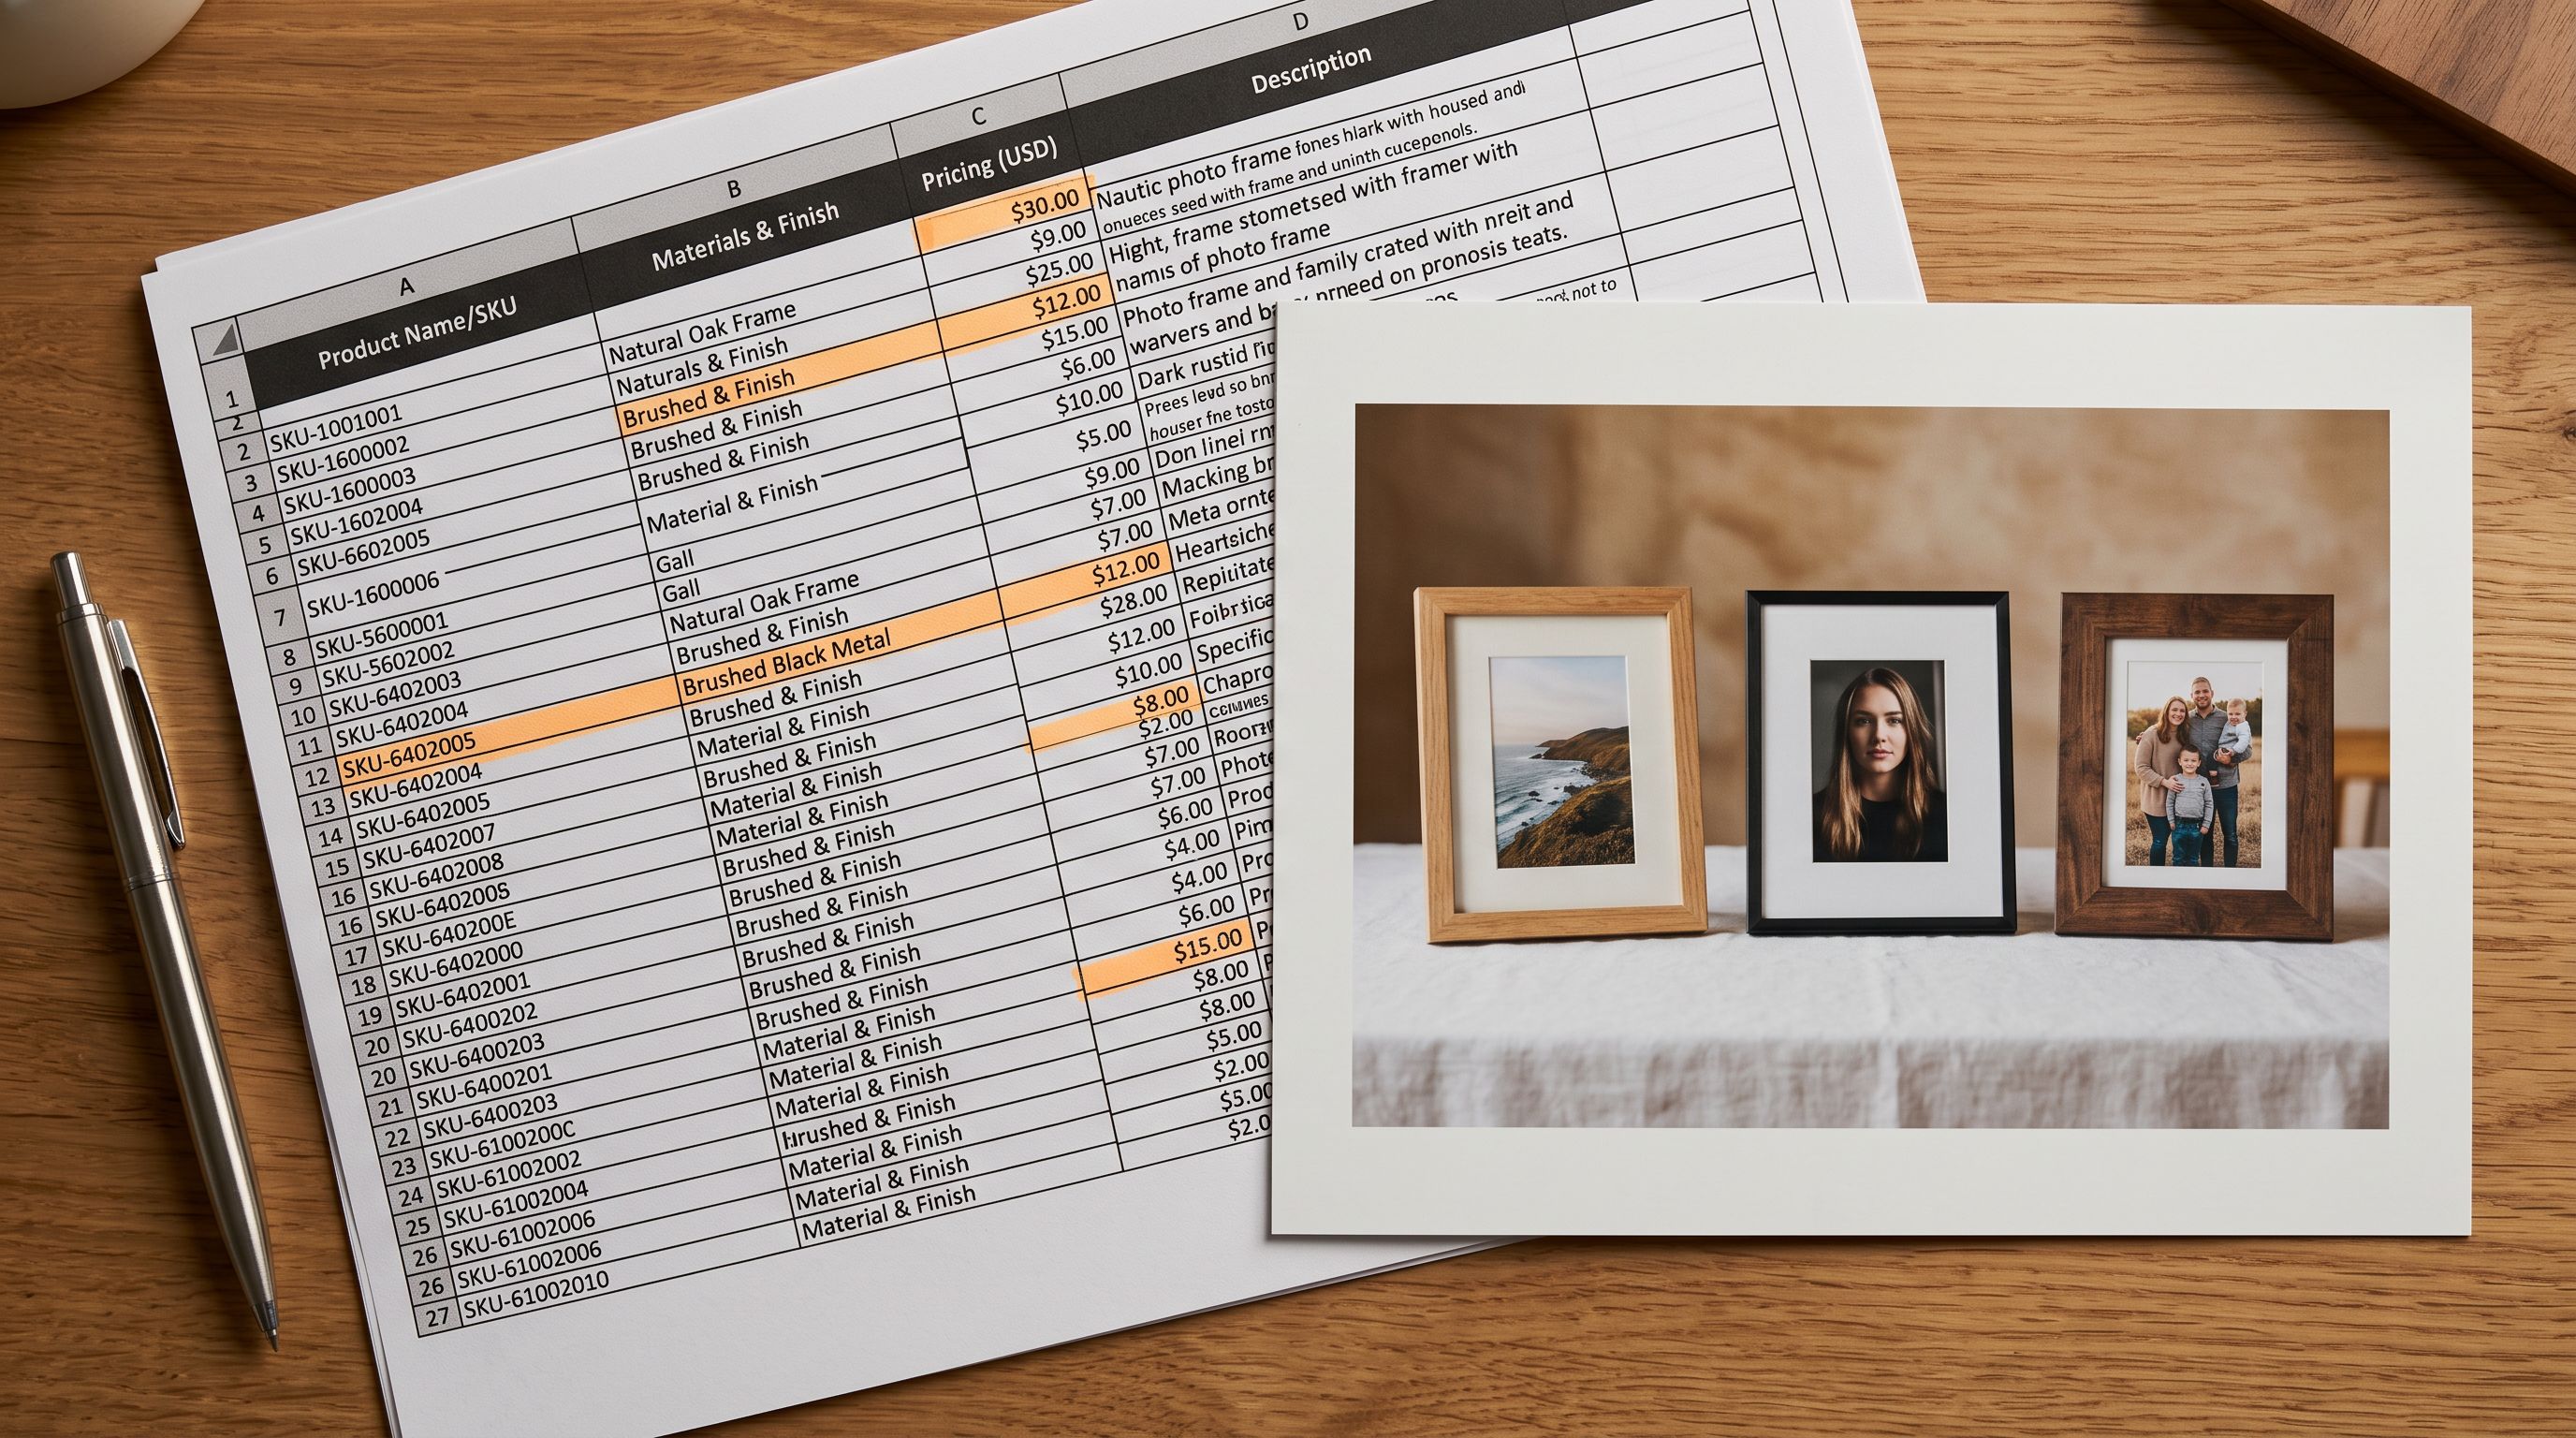
Supplier catalogues commonly export images as a main image column and optional secondary columns: "Image URL", "Image 1", "Image 2", "Image 3". Column names vary by supplier, but the pattern is consistent: one URL per image per row. In Importier's column mapping step, you match each image column to a Shopify image position. The mapping interface shows the source columns on the left and Shopify's image fields on the right.
Once mapped, Importier fetches each image from the supplier URL and uploads it to Shopify's own storage. The supplier's CDN link is used only at import time. If the supplier later removes or relocates the image, the Shopify product record is not affected, as the image has already been transferred to Shopify's storage.
The direct URL method also covers platform migrations. A Magento or WooCommerce export includes product images as hosted URLs from the previous platform. Mapping the image URL column during the Importier import pulls those images into Shopify and re-hosts them in Shopify's CDN without a separate transfer step.
For catalogues where the supplier provides only a single main image URL, the gallery in Shopify will contain one image per product. Additional images can be added in a subsequent import run with an expanded CSV that includes extra image URL columns.
Method 2: Dropbox Folder Links
The Dropbox folder method is built for merchants who manage their own product photography in cloud storage rather than relying on supplier-provided URLs.
The setup: organise product images into per-product folders in Dropbox. Name the files in natural numeric order: 01.jpg, 02.jpg, 03.jpg. Share each folder using Dropbox's share function and copy the folder-level link (not a link to an individual file). Add a Dropbox column to the import CSV with one folder link per product row.
In Importier's column mapping step, map the Dropbox column to the Image Source field. Importier reads each folder link, lists the images inside, and uploads them to Shopify in file-name order.
File naming order within the folder determines gallery sequence. Importier uses natural numeric ordering when processing folder contents. This matters for galleries with more than nine images. Standard alphabetical sorting places img10.jpg before img2.jpg because the character 1 sorts before 2 alphabetically. Natural numeric ordering reads the number as a value, placing img10 after img9. For storefronts where gallery sequence is part of the product presentation, natural ordering prevents a silent reorder as catalogues grow past nine images per product.
A detailed walkthrough of the Dropbox folder method, including shared folder link format and naming conventions, is in the Shopify Dropbox image import guide.
- 01Create one Dropbox folder per product. Add all product images to the folder, named in natural numeric order01.jpg, 02.jpg, 03.jpg.
- 02Use Dropbox's Share option to generate a shared folder link for each product folder. Copy the folder-level link, not a link to any individual image file.
- 03Add a Dropbox column to your import CSV and paste the shared folder link for each product in the corresponding row.
- 04In Importier's column mapping step, map the Dropbox column to the Image Source field.
- 05Confirm the import. Importier downloads all images from each folder and uploads them to the Shopify product gallery in natural numeric order.
Method 3: Google Drive Folder Links
The Google Drive folder method follows the same structure as Dropbox: organise images into per-product folders in Drive, share each folder, and provide the shared folder link per product row.
The main difference is in how Drive sharing links behave. Google Drive's default sharing URL is a viewer link that opens a preview page, not a direct download link. Standard HTTP clients cannot fetch files from viewer URLs. Importier handles this conversion internally, so you can provide the link directly from Drive's share dialogue without modifying the URL format.
Natural numeric ordering applies to Drive folders as it does to Dropbox folders. Files named 01.jpg, 02.jpg, 03.jpg upload to Shopify in that sequence.
For folders with large image counts per product (30 or more files), Dropbox folder links are more reliable due to Google Drive API rate limits on folder listing operations. For typical product catalogues with four to eight images per product, the two methods are equivalent in practice.
A full explanation of Drive folder sharing, including why the viewer URL format fails in standard Shopify CSV imports, is in the Google Drive image import guide.
The method to choose depends on where your images live. Supplier CSV with image columns already filled? Use direct URL mapping. Your own product photography in a cloud folder? Use folder links.

Choosing the Right Method
Matching the Method to Your Situation
The three methods are not interchangeable: each is built for a specific image source.
Supplier CSV with image URL columns: use direct URL mapping. No cloud folder setup required. Map the image columns in Importier's column mapping step and proceed. This is also the correct method for platform migrations where the export file contains existing product image URLs.
Your own product photography in Dropbox: use Dropbox folder links. The per-product folder structure gives you an organised image library that is straightforward to update and maintain between import runs.
Your own product photography in Google Drive: use Google Drive folder links. Same folder structure as Dropbox; Importier handles the Drive-specific URL format conversion internally.
Mixed sources in the same catalogue: add multiple image source columns to the CSV. Importier can process a Dropbox folder link column and a direct URL column in the same import session, applying each to the relevant product rows. A wholesale merchant who receives some products with supplier image URLs and manages other products with their own photography can run both methods in a single import without splitting the catalogue into separate files. This is not possible with Shopify's native CSV importer, which does not distinguish between image source types.
AI Alt Text: What Gets Generated and Why It Matters
Shopify's image guidelines recommend descriptive alt text for every product image for two reasons: accessibility (screen readers read alt text for visually impaired shoppers) and image search indexing (Google's image guidance for shopping content explicitly recommends descriptive alt text for product images in shopping contexts).
In practice, alt text is the field most merchants leave blank or fill with a filename. Writing a descriptive sentence for every image in a 200-product catalogue, across three to five images per product, is not a practical manual task. The result is most Shopify product images going live with no alt text, which affects both accessibility compliance and image search visibility.
Importier's AI alt text generation writes alt text at import time using the product title, product type, and specification attributes present in the import data. For a product titled "Merino Wool Crew Neck Sweater" in the Knitwear category with a colour attribute of "Slate Blue" and a material attribute of "100% Merino Wool", the generated alt text might read: "Slate blue 100% merino wool crew neck sweater, ribbed cuff detail."
The generation runs for every image in the gallery, not only the featured image. Secondary images receive alt text that references the product and notes the image context where attributes allow. A second image showing a colour variant, for instance, receives alt text that includes the alternate colour value from the variant data rather than repeating the primary product description.
For merchants who have already imported products without alt text, Importier's Store Scanner can generate alt text for existing products retroactively. The SEO Audit export preset produces a gap report identifying which products have missing alt text fields, so the retroactive fix can be targeted to the products that need it rather than run across the full catalogue.
Gallery Order and the Storefront
The first image on a Shopify product record becomes the collection page thumbnail and the image pulled into social media link previews and Google Shopping listings. If the import places a secondary detail shot at position one instead of the main product shot, the storefront thumbnail is wrong even though all the product data is correct.
Importier maps image upload order to gallery position. For direct URL imports, position follows column order in the mapping step: the first image column maps to gallery position one, the second to position two, and so on. For folder-based imports, position follows file-name order within the folder.
Reviewing the image column mapping before confirming the import is the fastest way to identify a gallery order problem before products go live. The import preview step shows the image source configuration alongside the product data, so the ordering can be verified in the same session, not discovered after the products are visible on the storefront.
A complete guide to the column mapping and preview steps is in the Shopify CSV import guide.
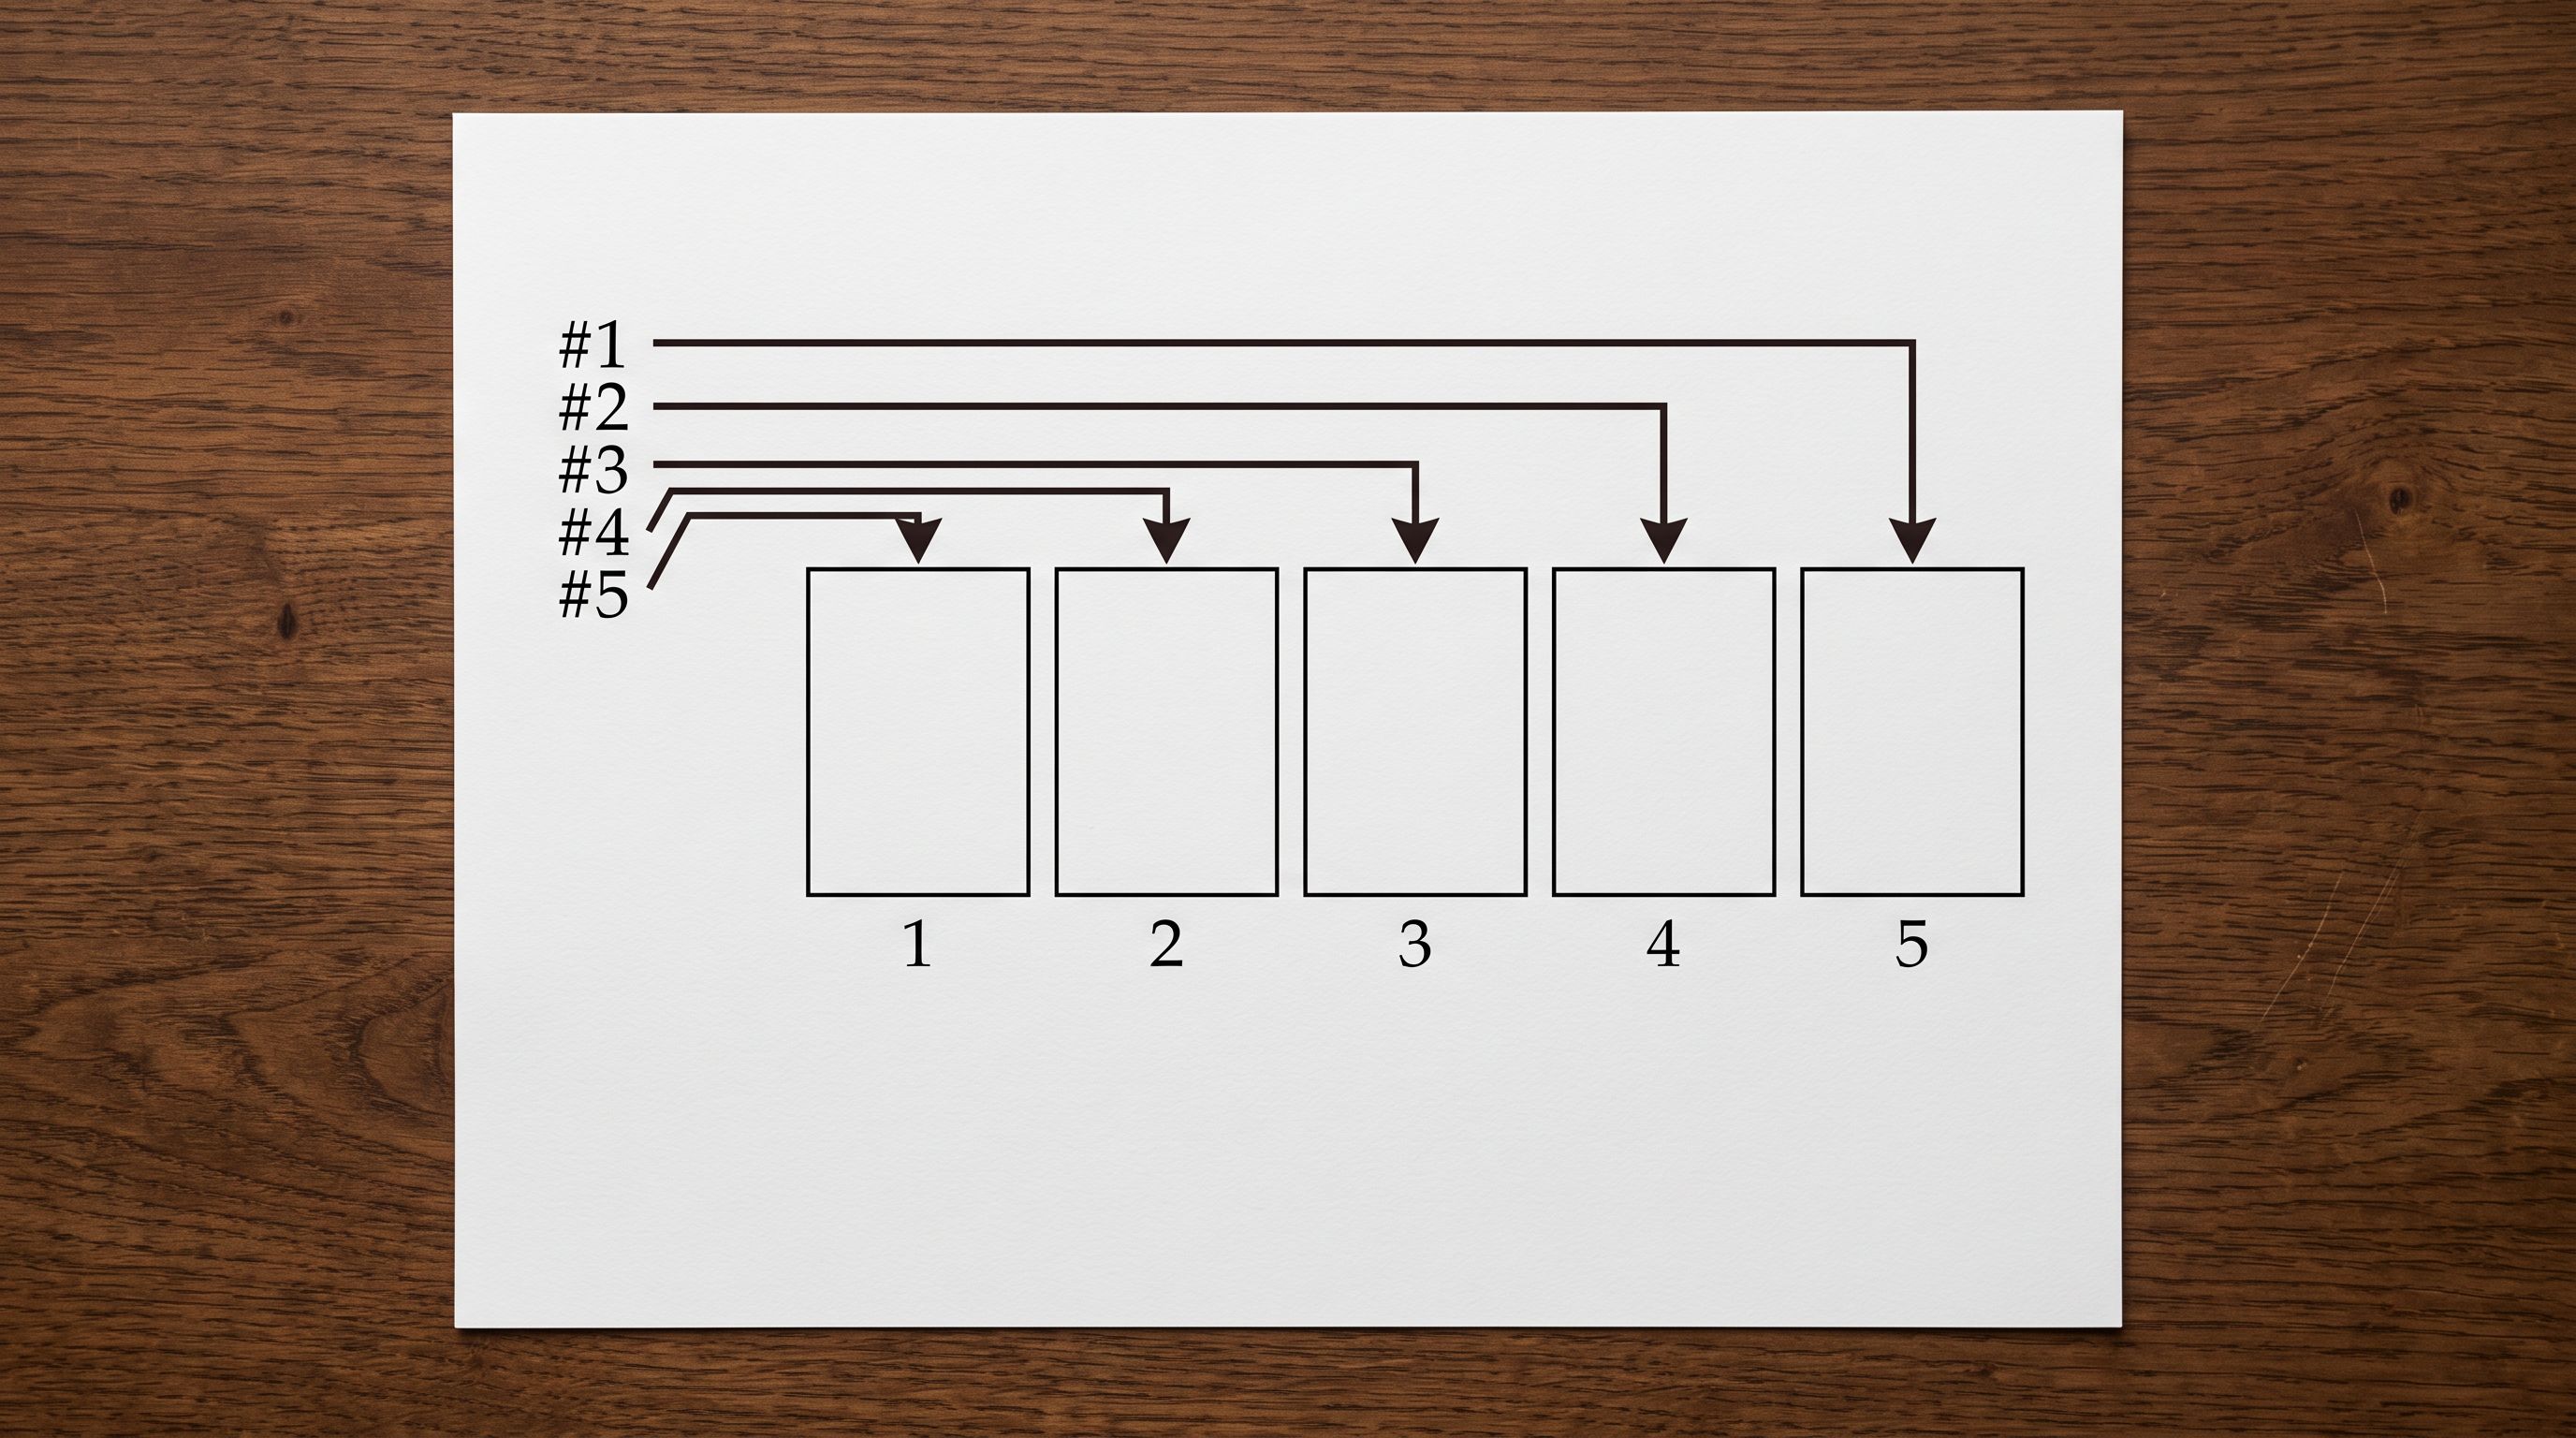
Image Imports and Plan Allowances
Importing images alongside products does not add to your plan count. The product count is taken once per product per billing month: either when a description is generated or when the product reaches Shopify, whichever happens first. Images imported in the same session are part of that product's import, not a separate billable action.
A merchant importing 200 products with five images each uses 200 product counts, not 1,200. Variant images follow the same rule: a product with three colour variants and one image per variant uses one product count, not three.
This applies across all three image source methods. Whether images arrive via direct URL, Dropbox folder link, or Google Drive folder link, the product count does not change based on image count or image source.
Try Importier free at importier.app
Set up your first import in under five minutes.
Importier brings products into Shopify with AI descriptions, category metafields, and data enrichment on every run.