Fix Shopify CSV Imports When Column Headers Are Not on Row 1
On this page
A health supplements distributor sends its retail accounts a weekly product update CSV every Monday morning. The file contains 1,247 product rows with full SKUs, descriptions, pricing, and stock levels. It also contains three rows at the top that the distributor's inventory system adds automatically: the company name on row 1, the report generation date on row 2, and the number of records included on row 3. The actual column headers (SKU, Description, Unit Price, Stock, Weight, Category) appear on row 4.
When the merchant uploads this file to Shopify's native CSV importer or most third-party import tools, the importer reads row 1 as the header row. The column mapping screen shows "Wellness Products International Ltd" as the first column name and tries to find a matching Shopify field. Every subsequent column name comes from the report metadata. The file is either rejected as unreadable or the merchant spends time manually deleting the first three rows before every import.
Why Supplier CSV Exports Include Preamble Rows
The preamble row convention exists because supplier CSV exports are often generated by systems built for internal reporting before being adapted for data exchange.
An accounting system like MYOB or Xero exports product data as a report. Every report in these systems includes a header block: company name, report title, date range, and sometimes the applied filters. The actual column definitions start below that block. When a merchant downloads the CSV, they receive the full report format, preamble included.
ERP systems behave the same way. SAP, Oracle, and many NetSuite report templates generate CSV files with metadata rows before the column headers. These systems were designed for internal consumption, where a manager reviewing printed output needs the company name and date at a glance. The data exchange use case came later and did not prompt a preamble-free export format in most implementations.
Warehouse management systems add similar rows. A supplier stock update from a WMS may include the warehouse identifier, the count of product lines, and the last reconciliation date in the first few rows. This context is useful for a receiving department and irrelevant (or actively disruptive) to an import tool expecting column headers on row 1.

The merchant cannot usually change how the supplier's system exports the file. The supplier's IT department controls the export template and has no incentive to modify it for one customer's import preference. The practical solution is for the import tool to accept the file as-is.
What Happens When an Importer Reads the Wrong Row as Headers
When an importer reads row 1 as the header row on a file where the headers are actually on row 4, two failure modes follow:
Failure mode 1: the column mapping screen shows meaningless names. The import wizard presents the merchant with columns named "Wellness Products International Ltd", "2026-08-26", and "1247 records". None of these match any Shopify field. The merchant sees no recognisable column names, cannot complete the mapping, and the import fails before any product data is processed.
Failure mode 2: the importer guesses and produces corrupted data. Some tools attempt auto-mapping based on partial string matches. None of the metadata row values match useful Shopify fields, so the tool skips them. By the time the importer reaches row 4 (the actual headers), it has already mapped rows 1-3 to nothing and interprets the header row itself as a product data row. One product is created in Shopify with "SKU" as its title and "Description" as its price field value.
As RFC 4180, the authoritative CSV specification from the Internet Engineering Task Force, clarifies: whether a header line is present is optional and not always signalled by any field in the file itself. Import tools that assume row 1 is always the header row are applying a convention, not a standard. Files where the first record is a header are common but not universal, and legitimate supplier files frequently diverge from that convention.
Using header row selection in Importier
How Importier's Header Row Selector Works
Importier's CSV import wizard includes a header row selector at the file preview step. After the merchant uploads the CSV, the wizard displays the raw file contents and asks which row contains the column headers.
The merchant identifies the correct row (row 4 in the supplements distributor example) and the wizard re-parses the file from that row downward. The column mapping screen then shows the supplier's actual column names: SKU, Description, Unit Price, Stock, Weight, Category. These are the names the merchant recognises from the supplier's documentation.
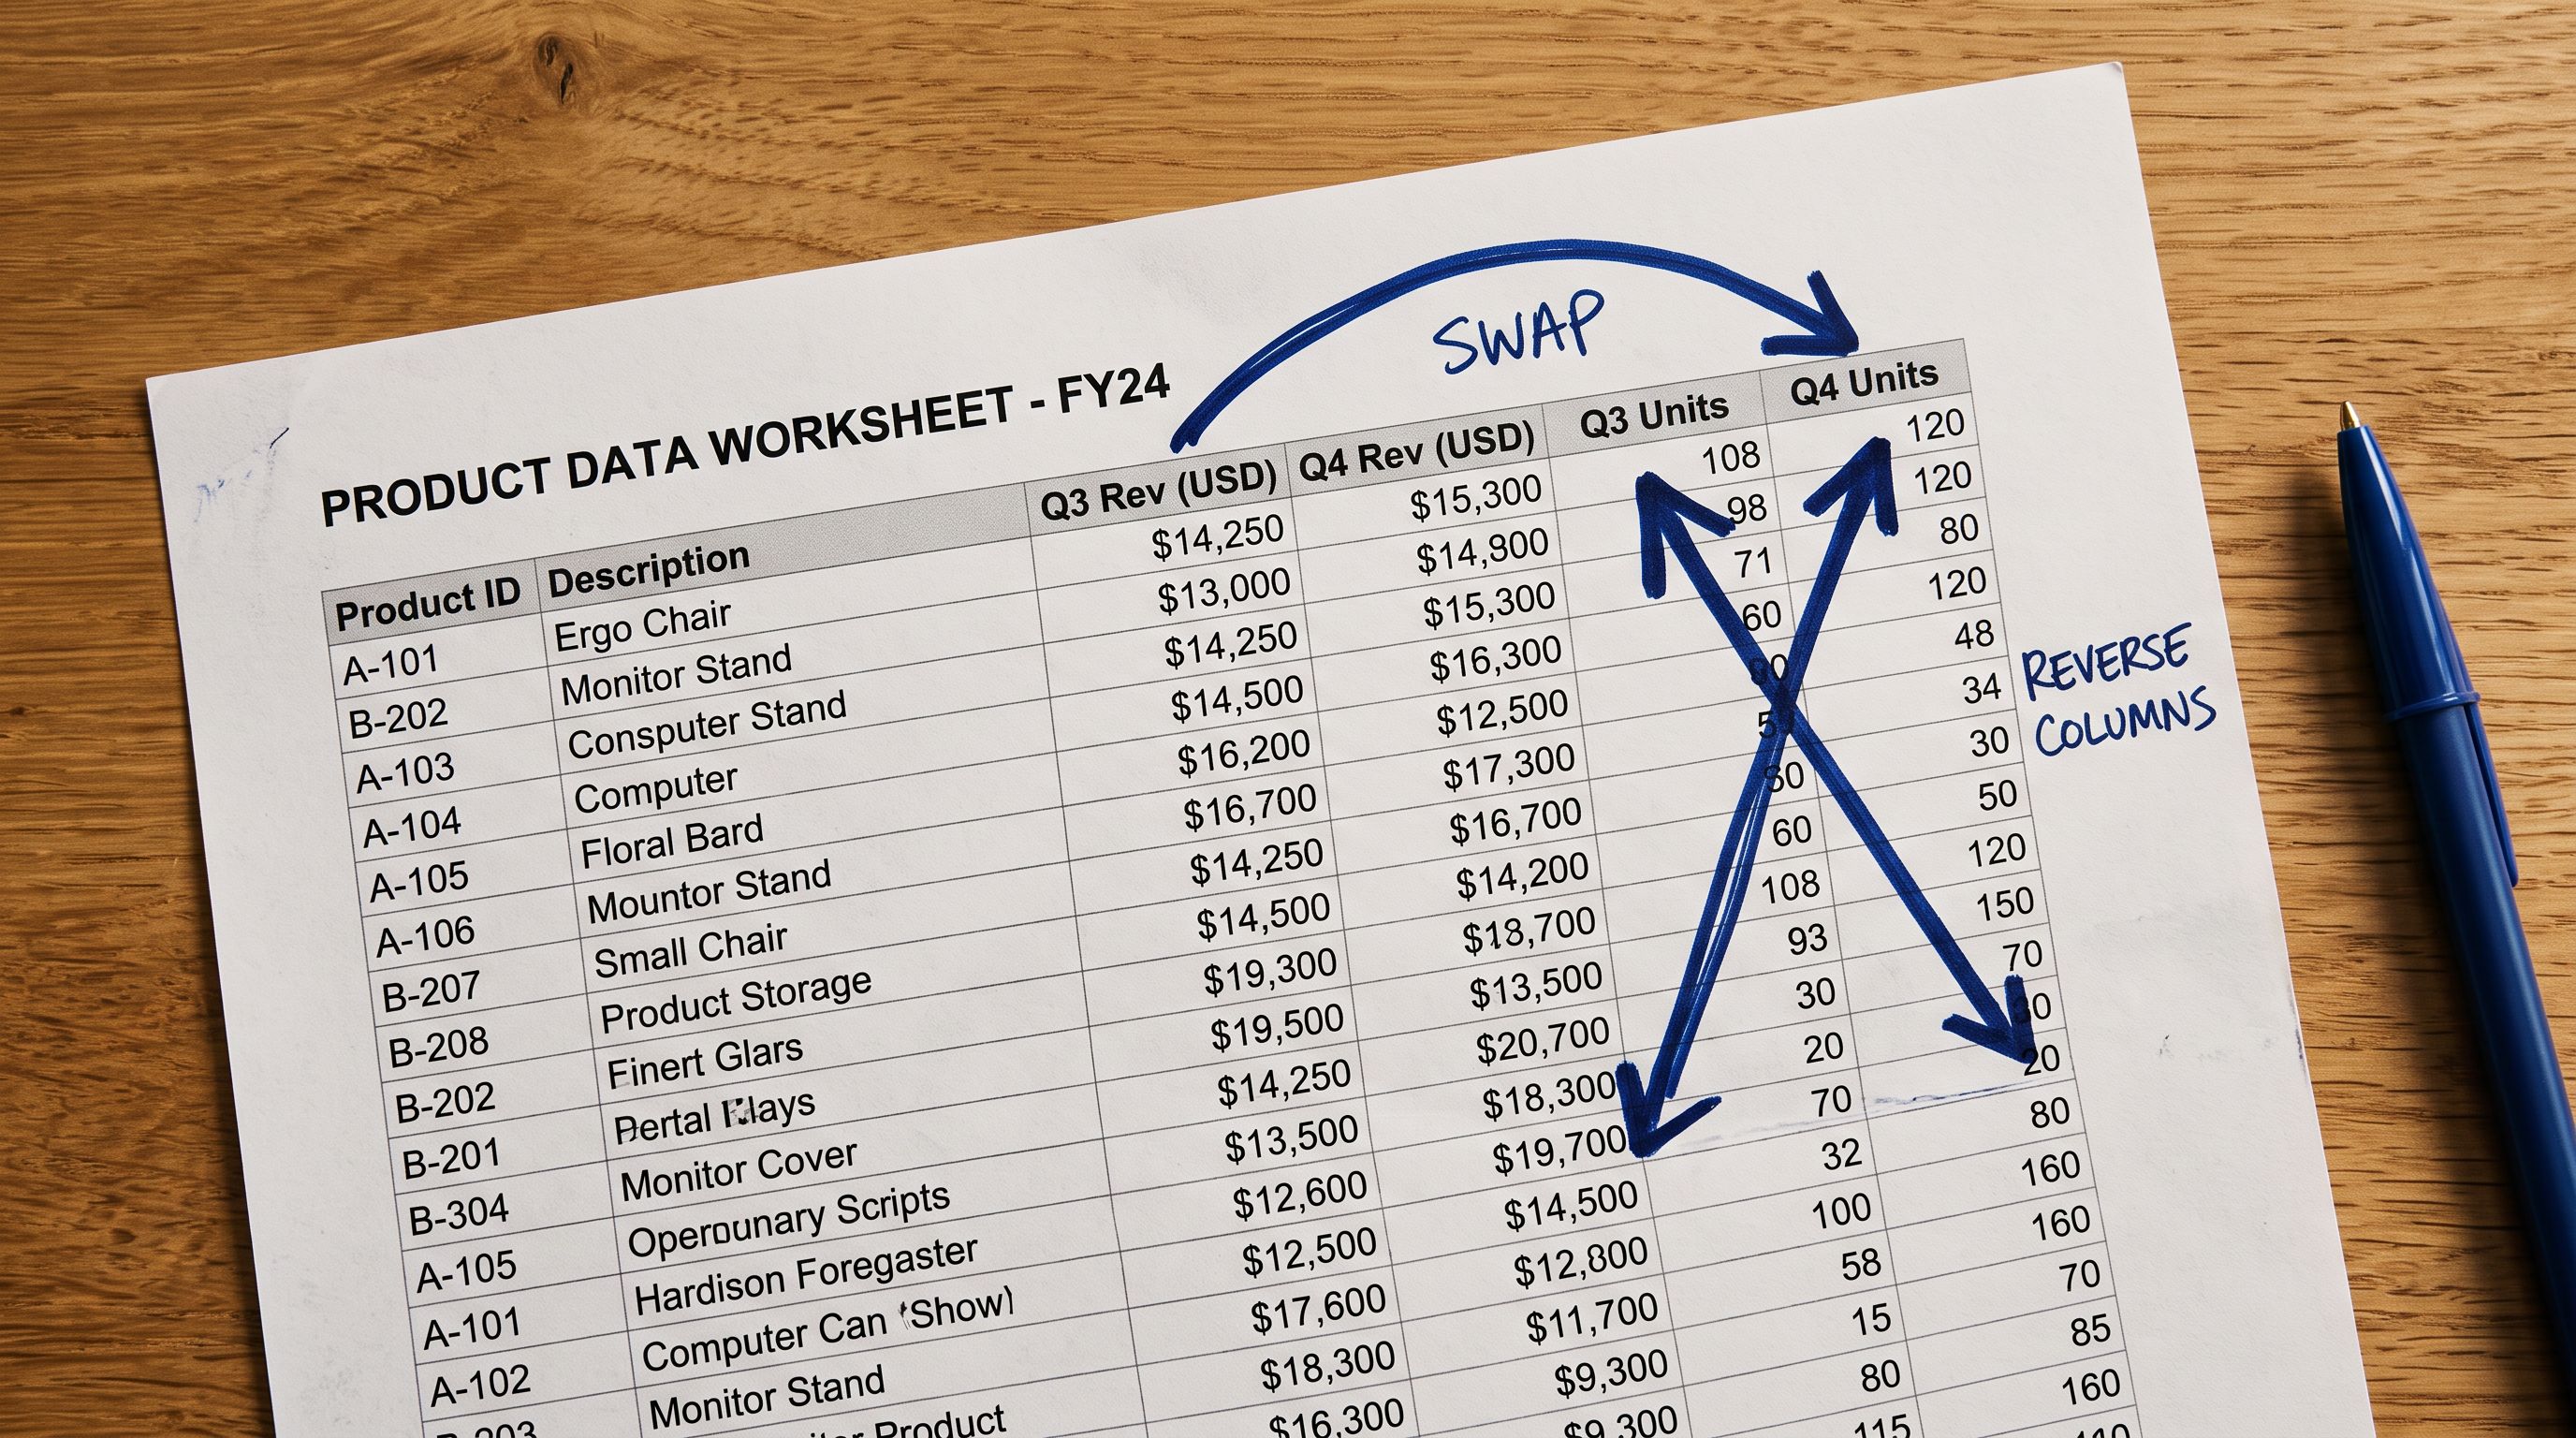
The rows above row 4 (the company name, date, and record count) are discarded. They never reach the column mapping step or the product data processing step.
- 01Upload the CSV file to Importier's import wizard. The wizard displays the raw file contents in a preview table showing all rows, including preamble rows.
- 02Identify which row contains the column headers. Look for the row where recognisable field names appear. In the supplements file, this is row 4SKU, Description, Unit Price, Stock, Weight, Category.
- 03Set the header row number using the header row selector. The wizard re-parses the file from the selected row. Preamble rows above are discarded.
- 04Complete column mapping with the supplier's actual column names now displayed. Map SKU to Variant SKU, Description to Body HTML, Unit Price to Variant Price, Stock to Variant Inventory Quantity, and so on.
- 05Review parsed product data in the Import Review step. Verify the first row of product data shows a real product, not a metadata row.
- 06Push approved products to Shopify.
Saving the Header Row Setting for Recurring Imports
A supplier who sends weekly updates from the same system always produces the same preamble structure. The header row will always be on row 4, or row 3, or wherever the supplier's system places it. Manually resetting this every week creates unnecessary friction and a source of error.
Importier saves the column mapping configuration per import source, including the header row setting. When the merchant uploads the following week's update from the same supplier, the saved configuration applies the correct header row automatically. The column mapping screen appears already populated with the settings from the previous import. The merchant confirms and proceeds.
Over a year of weekly imports, this saves 52 file-editing operations. For merchants who import from multiple suppliers, each with their own preamble structure, the saving compounds. Each source has its own saved configuration with its own header row setting.
- Delete preamble rows from every supplier file before upload
- Risk of accidentally removing data rows when editing
- Must re-edit each new file from recurring supplier deliveries
- No record of how many rows were removed or which were data
- Upload the file exactly as received from the supplier
- Header row setting saved per import source for future runs
- Import Review shows parsed data before anything reaches Shopify
- Supplier preamble rows discarded automatically at the correct row

ERP and Accounting Software CSV Exports With Preamble Rows
Different supplier systems produce different preamble structures. Knowing what to expect from common systems helps merchants identify the correct header row immediately:
MYOB AccountRight product exports typically include two preamble rows: the company name on row 1 and the report date on row 2. Column headers appear on row 3.
Xero inventory exports vary by report type. The standard inventory summary export includes a report title on row 1 and a blank row 2 before column headers on row 3. Some custom Xero exports add a date range row between the title and headers, pushing column headers to row 4.
SAP standard product list reports include the report title, the organisational unit, and the selection criteria (often three to five preamble rows) before the column headers. The exact row number for headers depends on how many selection parameters the report was run with.
NetSuite saved searches exported as CSV include the saved search name on row 1, the export date on row 2, and a footer summary row after the last data row. The footer row can affect import tools that read to the end of the file, which is why the Import Review step is essential for verifying that the last parsed row is product data, not a totals summary.
Google Sheets with a title row: merchants who maintain product lists in Google Sheets often add a title row at the top: "Product Catalogue Q3 2026" merged across columns. When exported as CSV, the merged title appears as a value in column A with empty cells for columns B onward. Column headers appear on row 2. Setting the header row to 2 resolves this without any editing of the exported file.
According to Shopify's product import documentation, the Shopify CSV format expects column headers on row 1 with no preamble. Supplier CSV files frequently do not follow this convention, which is why header row selection exists in third-party import tools rather than in Shopify's native importer.
Deleting preamble rows before every import is a manual step that breaks reproducibility for recurring supplier uploads. Saving the header row setting means subsequent files from the same supplier require no pre-processing at all.
When to Pre-Process Instead of Using the Header Row Selector
Header row selection handles preamble rows correctly for most supplier files, but some structures require a different approach:
Two-level headers: some ERP exports use a two-row header structure where the first row contains category labels (Product Info, Pricing, Inventory) and the second row contains field names (SKU, Name, Cost, Sell, QTY, Reorder). Setting the header row to row 2 resolves the import, but the merchant must verify in the Import Review step that the category labels on row 1 are not being treated as product data.
Embedded metadata in data cells: some systems encode metadata inside the data cells rather than in separate rows. A SKU that actually contains the company name and export date ("WPI-2026-08-26-00001") requires column mapping logic, not header row adjustment.
Files with footer summary rows: NetSuite and some WMS exports append a totals row at the end. This does not affect the header row setting but may create an extra entry at the end of the import, one with "Total products" in its title column. The Import Review step catches this before anything reaches Shopify. Excluding the footer row requires either removing it from the file or checking the parsed row count against the expected product count in the preview.
For files where pre-processing is genuinely faster (a file with one title row that takes five seconds to delete), pre-processing is a reasonable choice. For recurring imports from the same source, saving the header row setting in Importier is more reliable over time than re-processing each new file delivery.
Key Takeaways for Shopify CSV Header Row Selection
Supplier ERP, accounting, and warehouse management systems produce CSV files that do not always follow Shopify's row-1-is-headers convention. Importier's header row selector handles this without requiring the merchant to modify any file before upload.
- Identify the header row in the preview table: the import wizard displays the raw file contents including preamble rows. Find the row where recognisable column names appear and set that as the header row using the selector.
- Preamble rows are discarded automatically: company name, report date, record count, and other metadata rows above the header row are excluded from the import. They do not create products or generate mapping errors.
- Save the setting for recurring imports: suppliers who send weekly or monthly updates from the same system always produce the same header row position. Saving the configuration means subsequent uploads apply the correct header row with no manual adjustment.
- Check for footer rows at Import Review: some ERP exports append summary rows after the last product row. The Import Review step shows the full parsed data before anything reaches Shopify, making footer rows visible before they become phantom products.
- Use column mapping after setting the header row: once the header row is correct, the column names displayed in the mapping screen match the supplier's actual field names. For guidance on mapping ERP column names to Shopify fields, the column mapping guide covers the most common translation patterns.

Import supplier CSV files with headers on any row at importier.app.
Set up your first import in under five minutes.
Importier brings products into Shopify with AI descriptions, category metafields, and data enrichment on every run.