Shopify Batch Import Workflow: Spreadsheet to Storefront
On this page
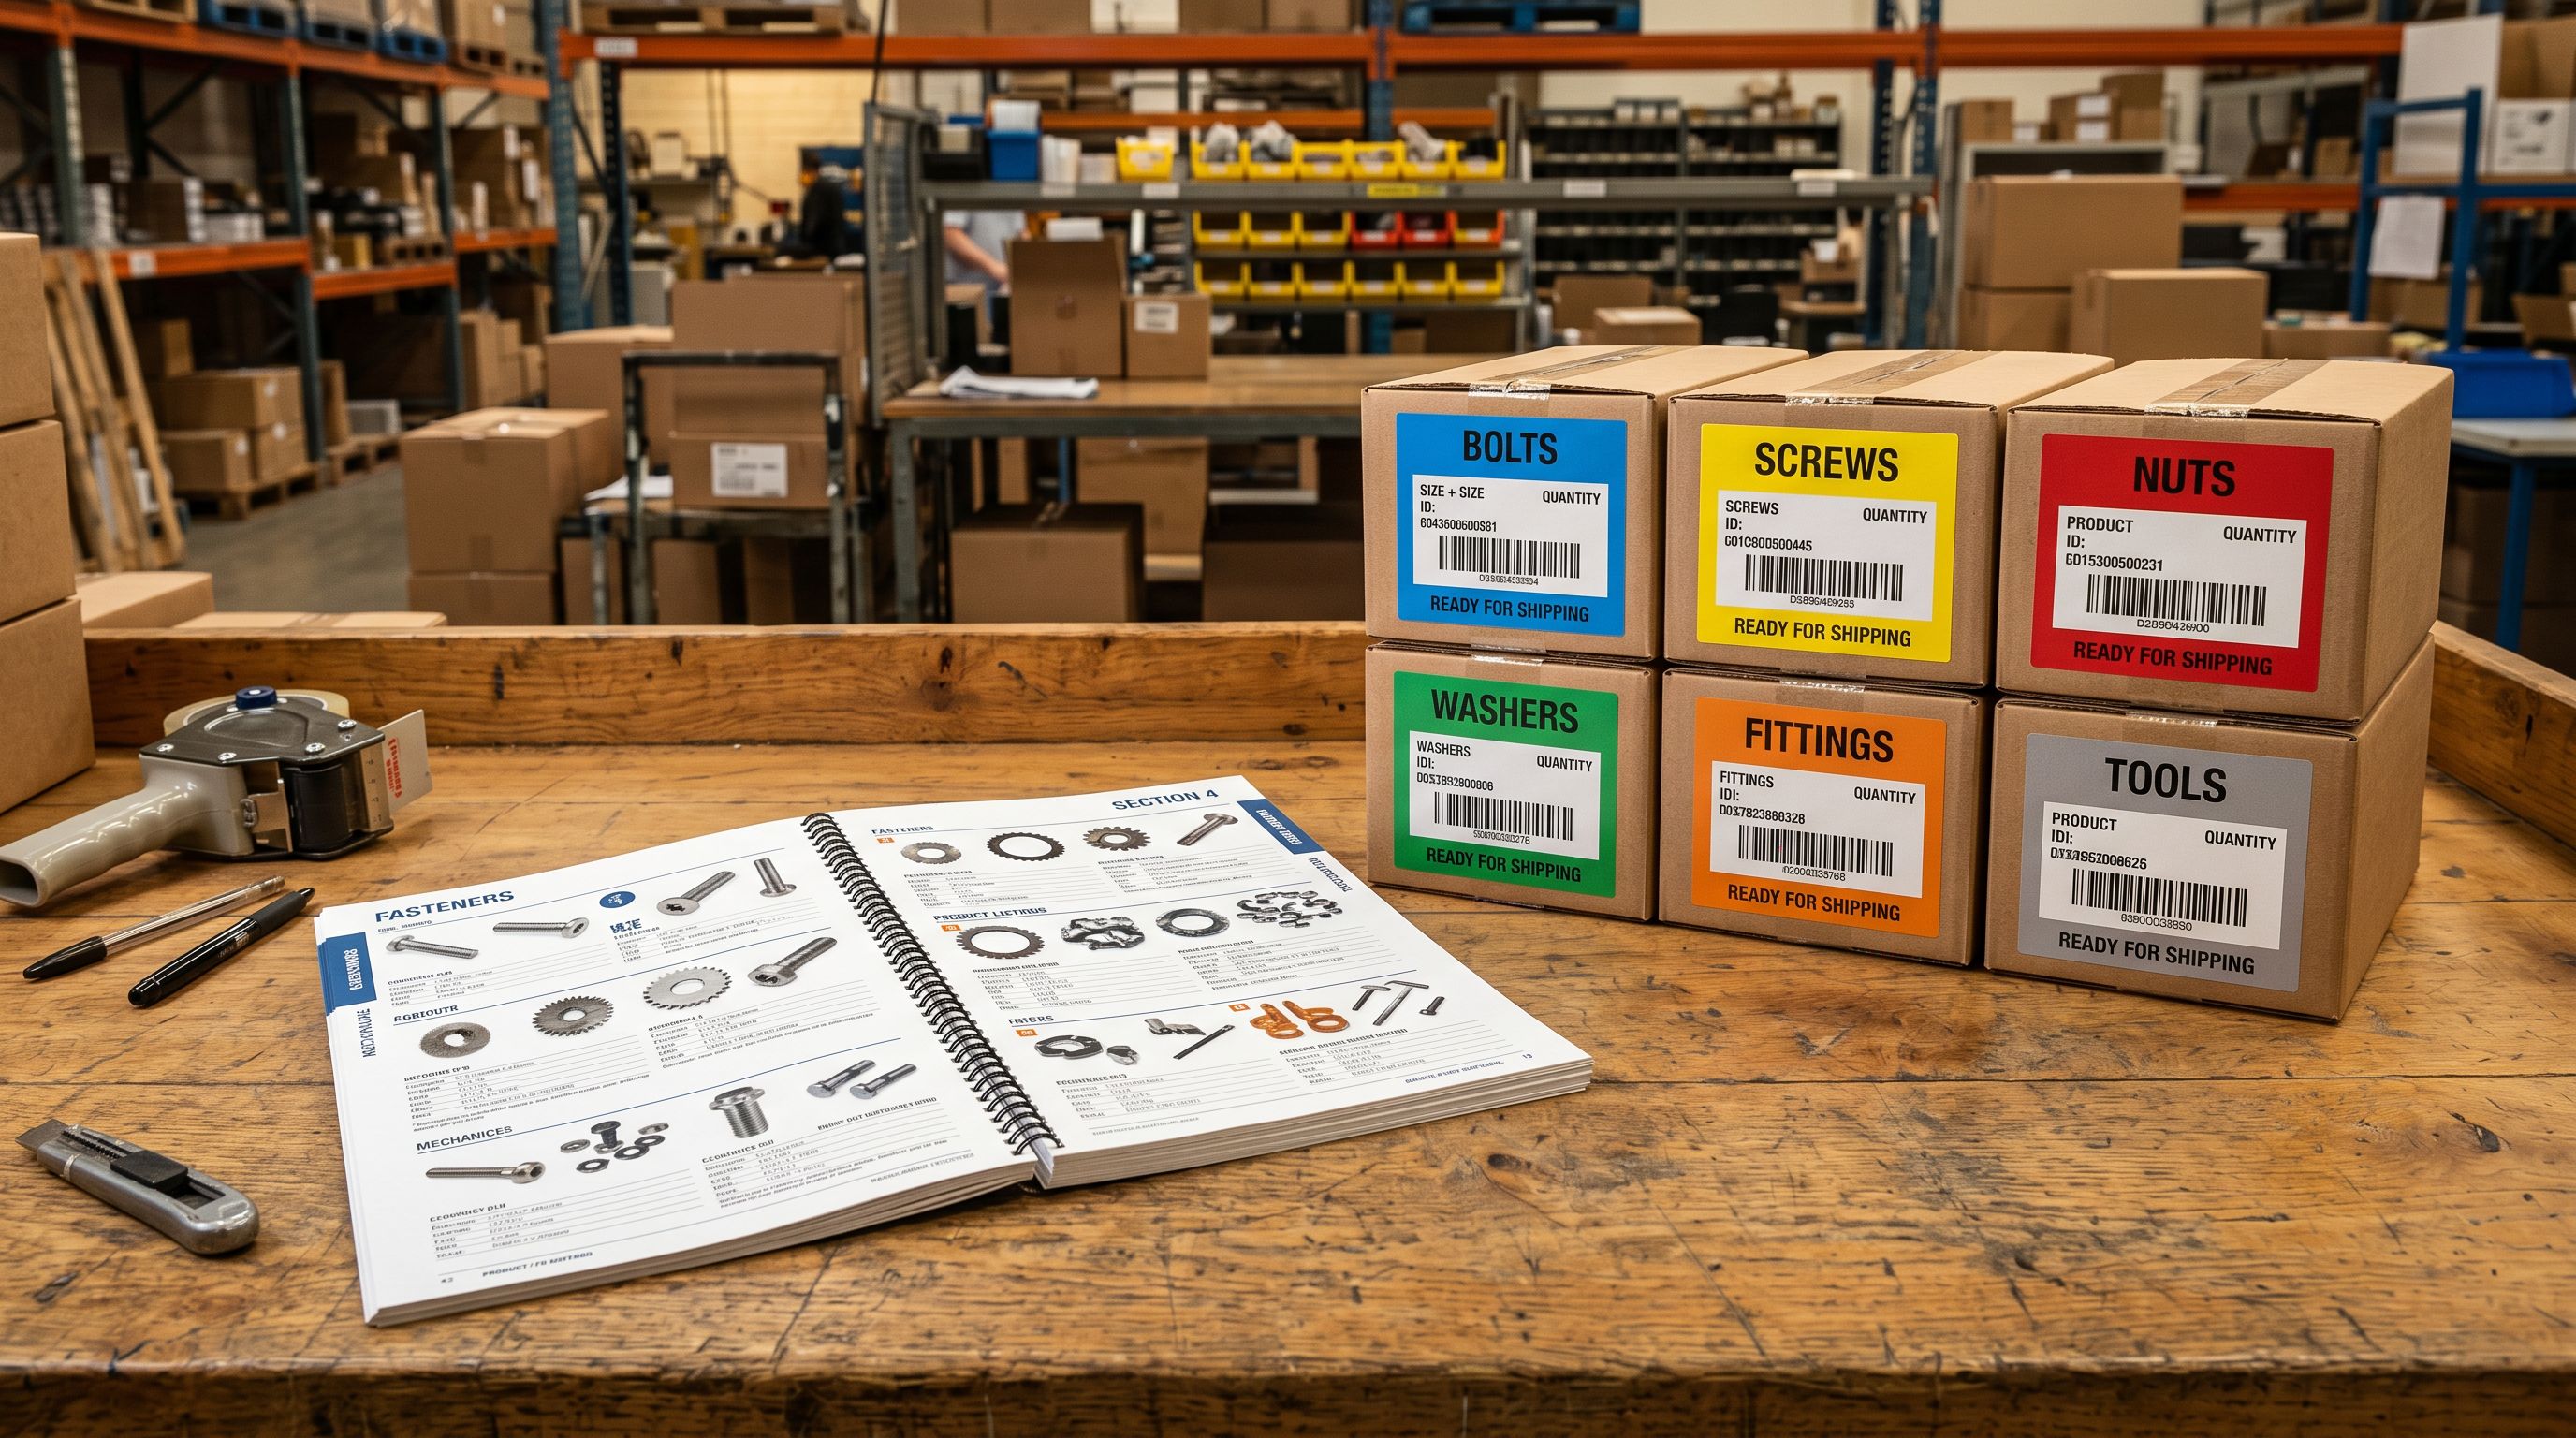
A wholesale stationery merchant receives a supplier price list on Monday morning: 300 products in an Excel file, 1,500 product photos split across Dropbox folders, a USD invoice to convert to AUD, and a set of custom specification fields the theme uses for filtering. The goal is a finished Shopify catalogue, with descriptions, correct currency, and populated spec fields, ready for customers by end of day.
Without a structured shopify batch import workflow, that goal is several days of work, not one. Images alone take a full morning: download each folder, move the files, host them, paste URLs into a spreadsheet row by row. Title cleanup is another hour. Currency conversion is a column of manual calculations. Specification entry is afternoon-long copy-and-paste from supplier notes into individual Shopify product fields.
The batch approach does not change the steps. It changes the scale at which each step runs. Instead of doing each task per product, you do it once across the batch, then review the result before anything reaches Shopify.
Why Product Imports Take Longer Than They Should
The mismatch is between how suppliers send data and how Shopify expects it.
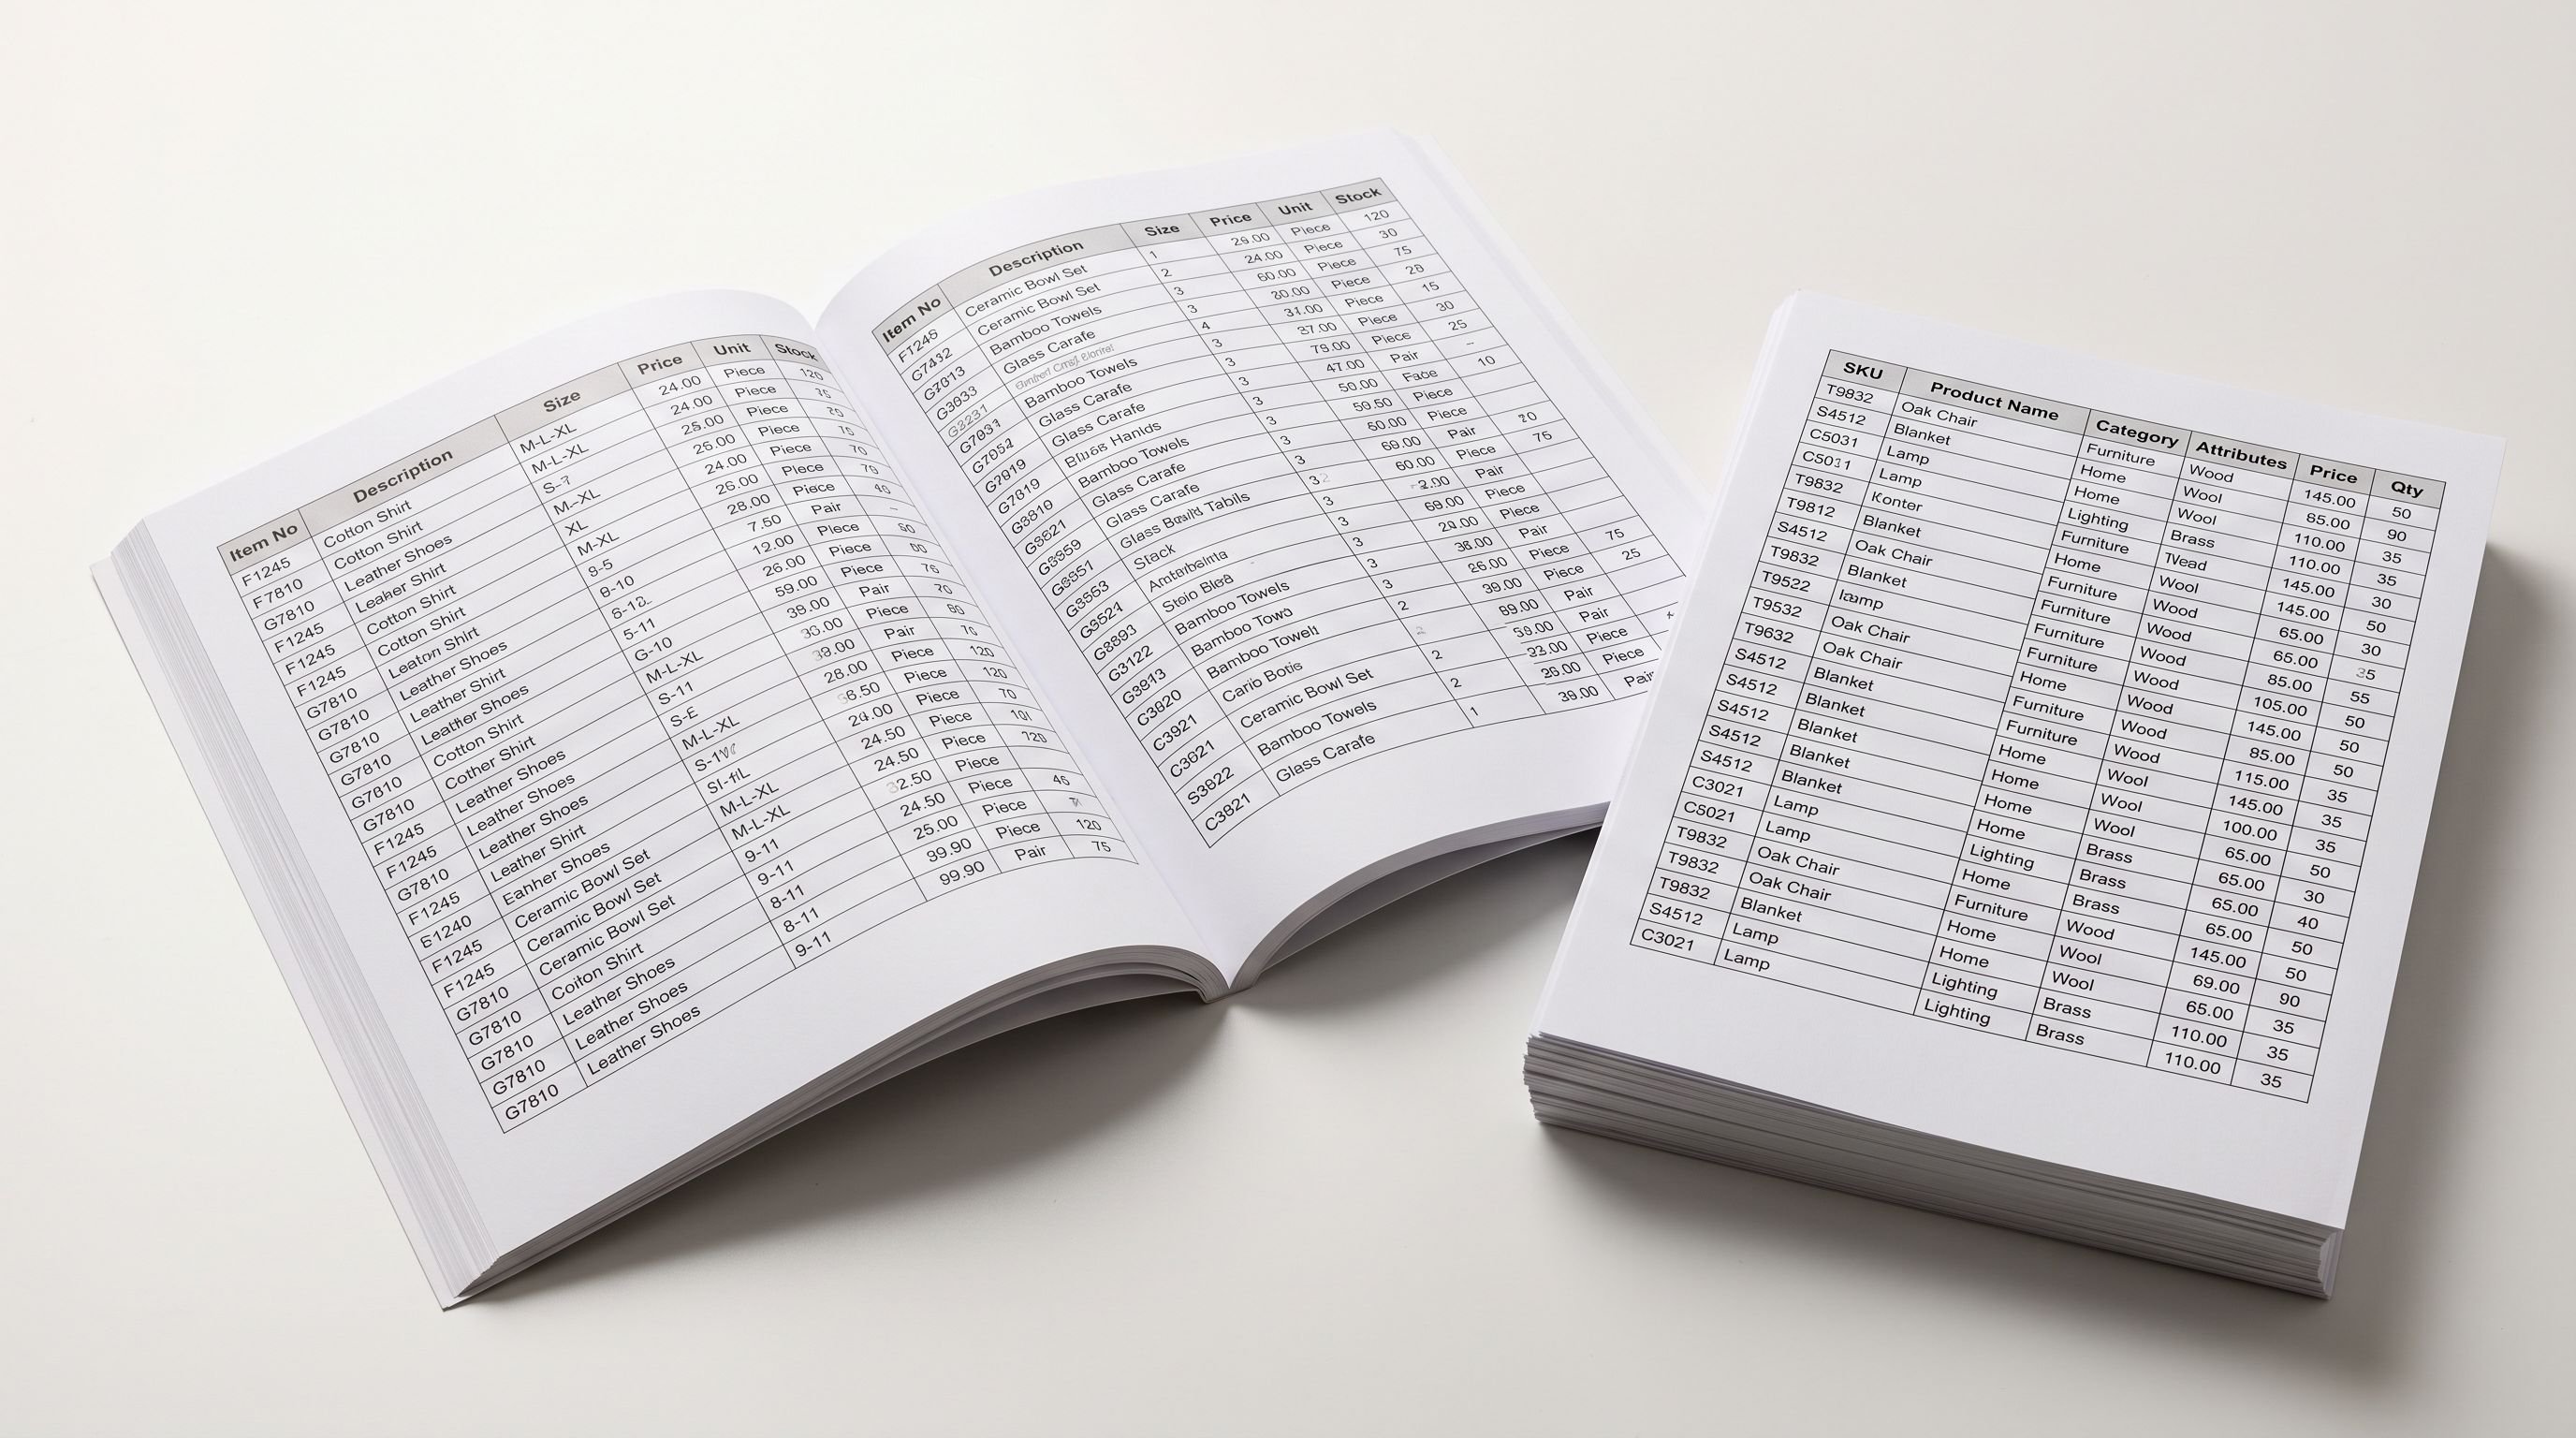
Supplier files are optimised for the supplier's own system: one row per SKU, folder-per-product for images, prices in the supplier's local currency, and specification data scattered across product titles and notes. Shopify's CSV import format expects the Shopify column structure, prices in store currency, images as direct URLs, and variant data already grouped.
The gap between those two formats is where the manual work lives. Most merchants close the gap per product, one product at a time. The faster path is to close each gap across the entire batch in one pass, then confirm once in the Import Review before pushing.
There are four gaps that account for most of the time in a typical import: images, titles, currency, and specifications. Each has a batch solution. Together, they turn a multi-day job into an afternoon.
Step 1: Images from a Cloud Folder, Not Row by Row
For most product imports, image handling is the longest manual step. The supplier sends a Dropbox or Google Drive folder for each product, the merchant opens each folder, downloads the images, re-hosts them somewhere public, copies the URLs, and pastes them into the spreadsheet one image at a time.
For 300 products at five images each, that is 1,500 operations by hand.
The batch fix is a single folder link per product in the spreadsheet's image column. In the import wizard, Importier reads each folder link, opens the folder, gathers every image inside it, and attaches all of them to the product in natural numeric order: img1 before img2 before img10, not img1 before img10 before img2 the way alphabetical sorting would arrange them.
Natural ordering is worth understanding. Alphabetical sorting treats 10 as coming before 2 because "1" sorts before "2". Once file names go past single digits, alphabetical file handling silently reorders the gallery. The first image becomes the main product image, so a reordered gallery means the wrong photo leads the product page. Natural sort eliminates that silently by reading the numeric value, not the string.
Read more about how Importier's Dropbox image import handles folder links and natural numeric ordering for the full setup, including how to share a Dropbox folder so Importier can read it.
Step 2: Title Cleanup Before AI Generation
Supplier titles arrive in whatever format the supplier's system produces: ALL CAPS, trailing SKU codes, double spaces, stray HTML markup, and casing conventions that differ between suppliers and sometimes between products from the same supplier.
Left uncleaned, those titles carry into the AI-generated descriptions. The AI produces copy from the title, so a title like "ACME WIDGET PRO - SKU12345 " generates a description that leads with a supplier code rather than a product benefit. Garbage in, garbage out applies directly.
In the Generate Descriptions step, Importier's Bulk Title Editing Tools panel lets you select a group of products and apply a transformation to all of them at once. There are four groups:
- Change case: Sentence case, Capitalise Each Word, lower case, UPPER CASE
- Add text by position: at the beginning, end, after a character position, or relative to a text anchor
- Remove characters by position: first N characters, last N, a from/to range, or everything before or after a text anchor
- Clean up: trim ends, collapse repeated spaces, strip line breaks, decode HTML entities, remove HTML tags, strip invisible non-printing characters
The last category is the one most merchants skip. Invisible characters and stray HTML pasted from supplier systems break search and look fine on screen until a customer searches for a product that should appear and does not. Stripping non-printing characters before the AI runs produces consistently clean titles across the batch.
Read the full guide to bulk editing product titles before Shopify import for a detailed walkthrough of each tool group with before-and-after examples.
Currency and specifications
Step 3: Convert the Supplier Invoice Currency Before Tax
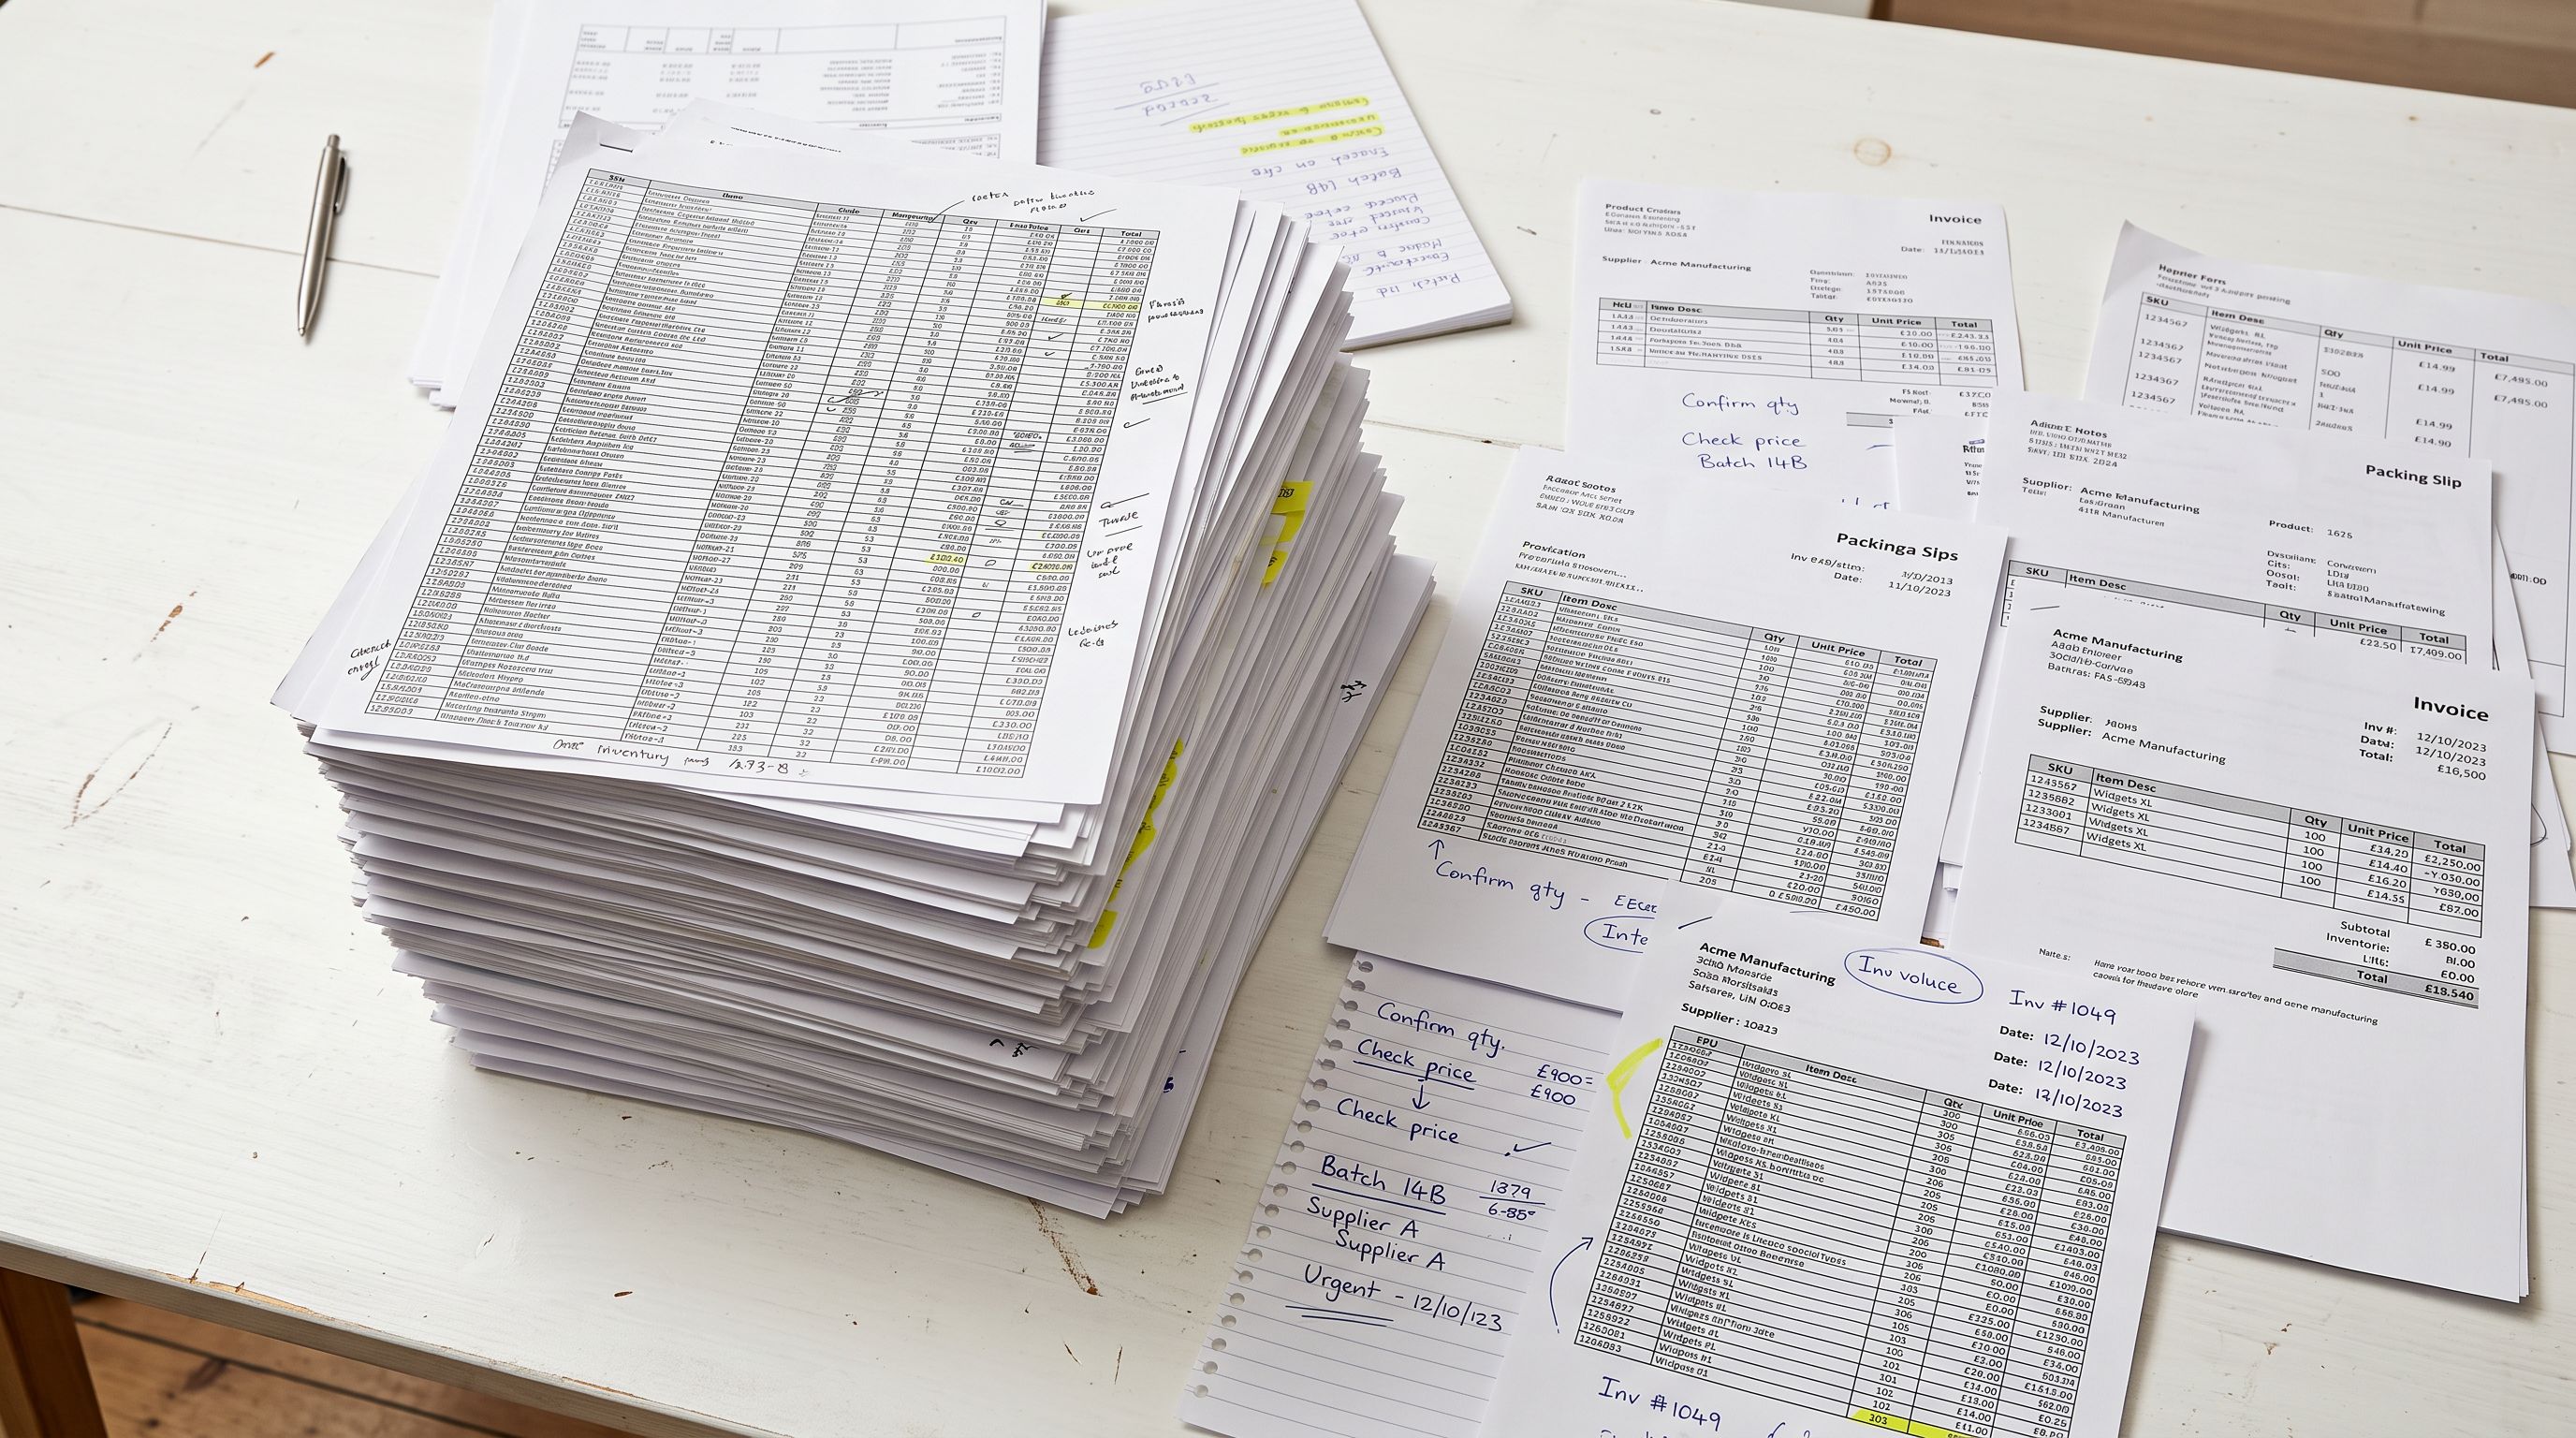
Overseas suppliers invoice in their local currency. A USD invoice imported at face value produces prices in USD in an AUD store, which breaks every price display and every checkout calculation.
The manual path is a column of spreadsheet formulas, one rate per product, then a separate tax calculation on the converted figures. Two sources of error: inconsistent rates if the formulas drift, and tax applied to the wrong base if the conversion runs after the tax step rather than before it.
In the import wizard's Tax step, Importier's Currency Conversion section lets you choose the source currency and either fetch the current rate or enter your own. One rate applies across every product in the batch. Importier converts the cost price, sale price, and compare-at price for every product using that rate.
The important detail is sequencing. Conversion happens before the tax step, so the tax is calculated on the converted prices. Converting after tax would calculate tax on the foreign amounts, which produces wrong totals on every product. The tax step comes after currency conversion by design, which is the right order and the one most import tools do not enforce.
For merchants with a fixed supplier rate, entering the rate manually keeps the import consistent with the agreed landed cost rather than floating with the market rate.
Read the full breakdown of how currency conversion works in Shopify product imports for the complete flow including the tax sequencing detail and how the fixed-rate override works.

Step 4: Fill Specifications in the Import Review Step
Custom metafields are the fields a Shopify theme uses for specification tables and attribute-based filtering. Shopify's custom data documentation explains how themes read from metafields to display structured product data. For merchants who have configured specification metafields on their product templates, getting those fields populated at import time saves individual editing after the fact.

In the Import Review step, the merchant activates manual specification assignment, which adds Specification columns to the review table. Each column header maps to one of the store's existing custom metafields: Magnification, Material, Weight Capacity, or whatever the theme uses. The merchant can type values directly, or use the Auto-fill with AI option.
When Auto-fill runs, Importier reads each product's title and available product data and proposes a value for each assigned field. The AI fills only what it is confident about and leaves cells blank when it cannot determine the value from the available information. It never overwrites a value the merchant has already typed. Everything it proposes stays editable in Review before being pushed.
The confidence gate is the key behaviour. A tool that fills every field produces silent errors that are harder to find than obvious blanks. A field left blank because the AI was not confident is a prompt for the merchant to fill it correctly. A field filled with a confident wrong value looks fine until a customer notices the wrong specification.
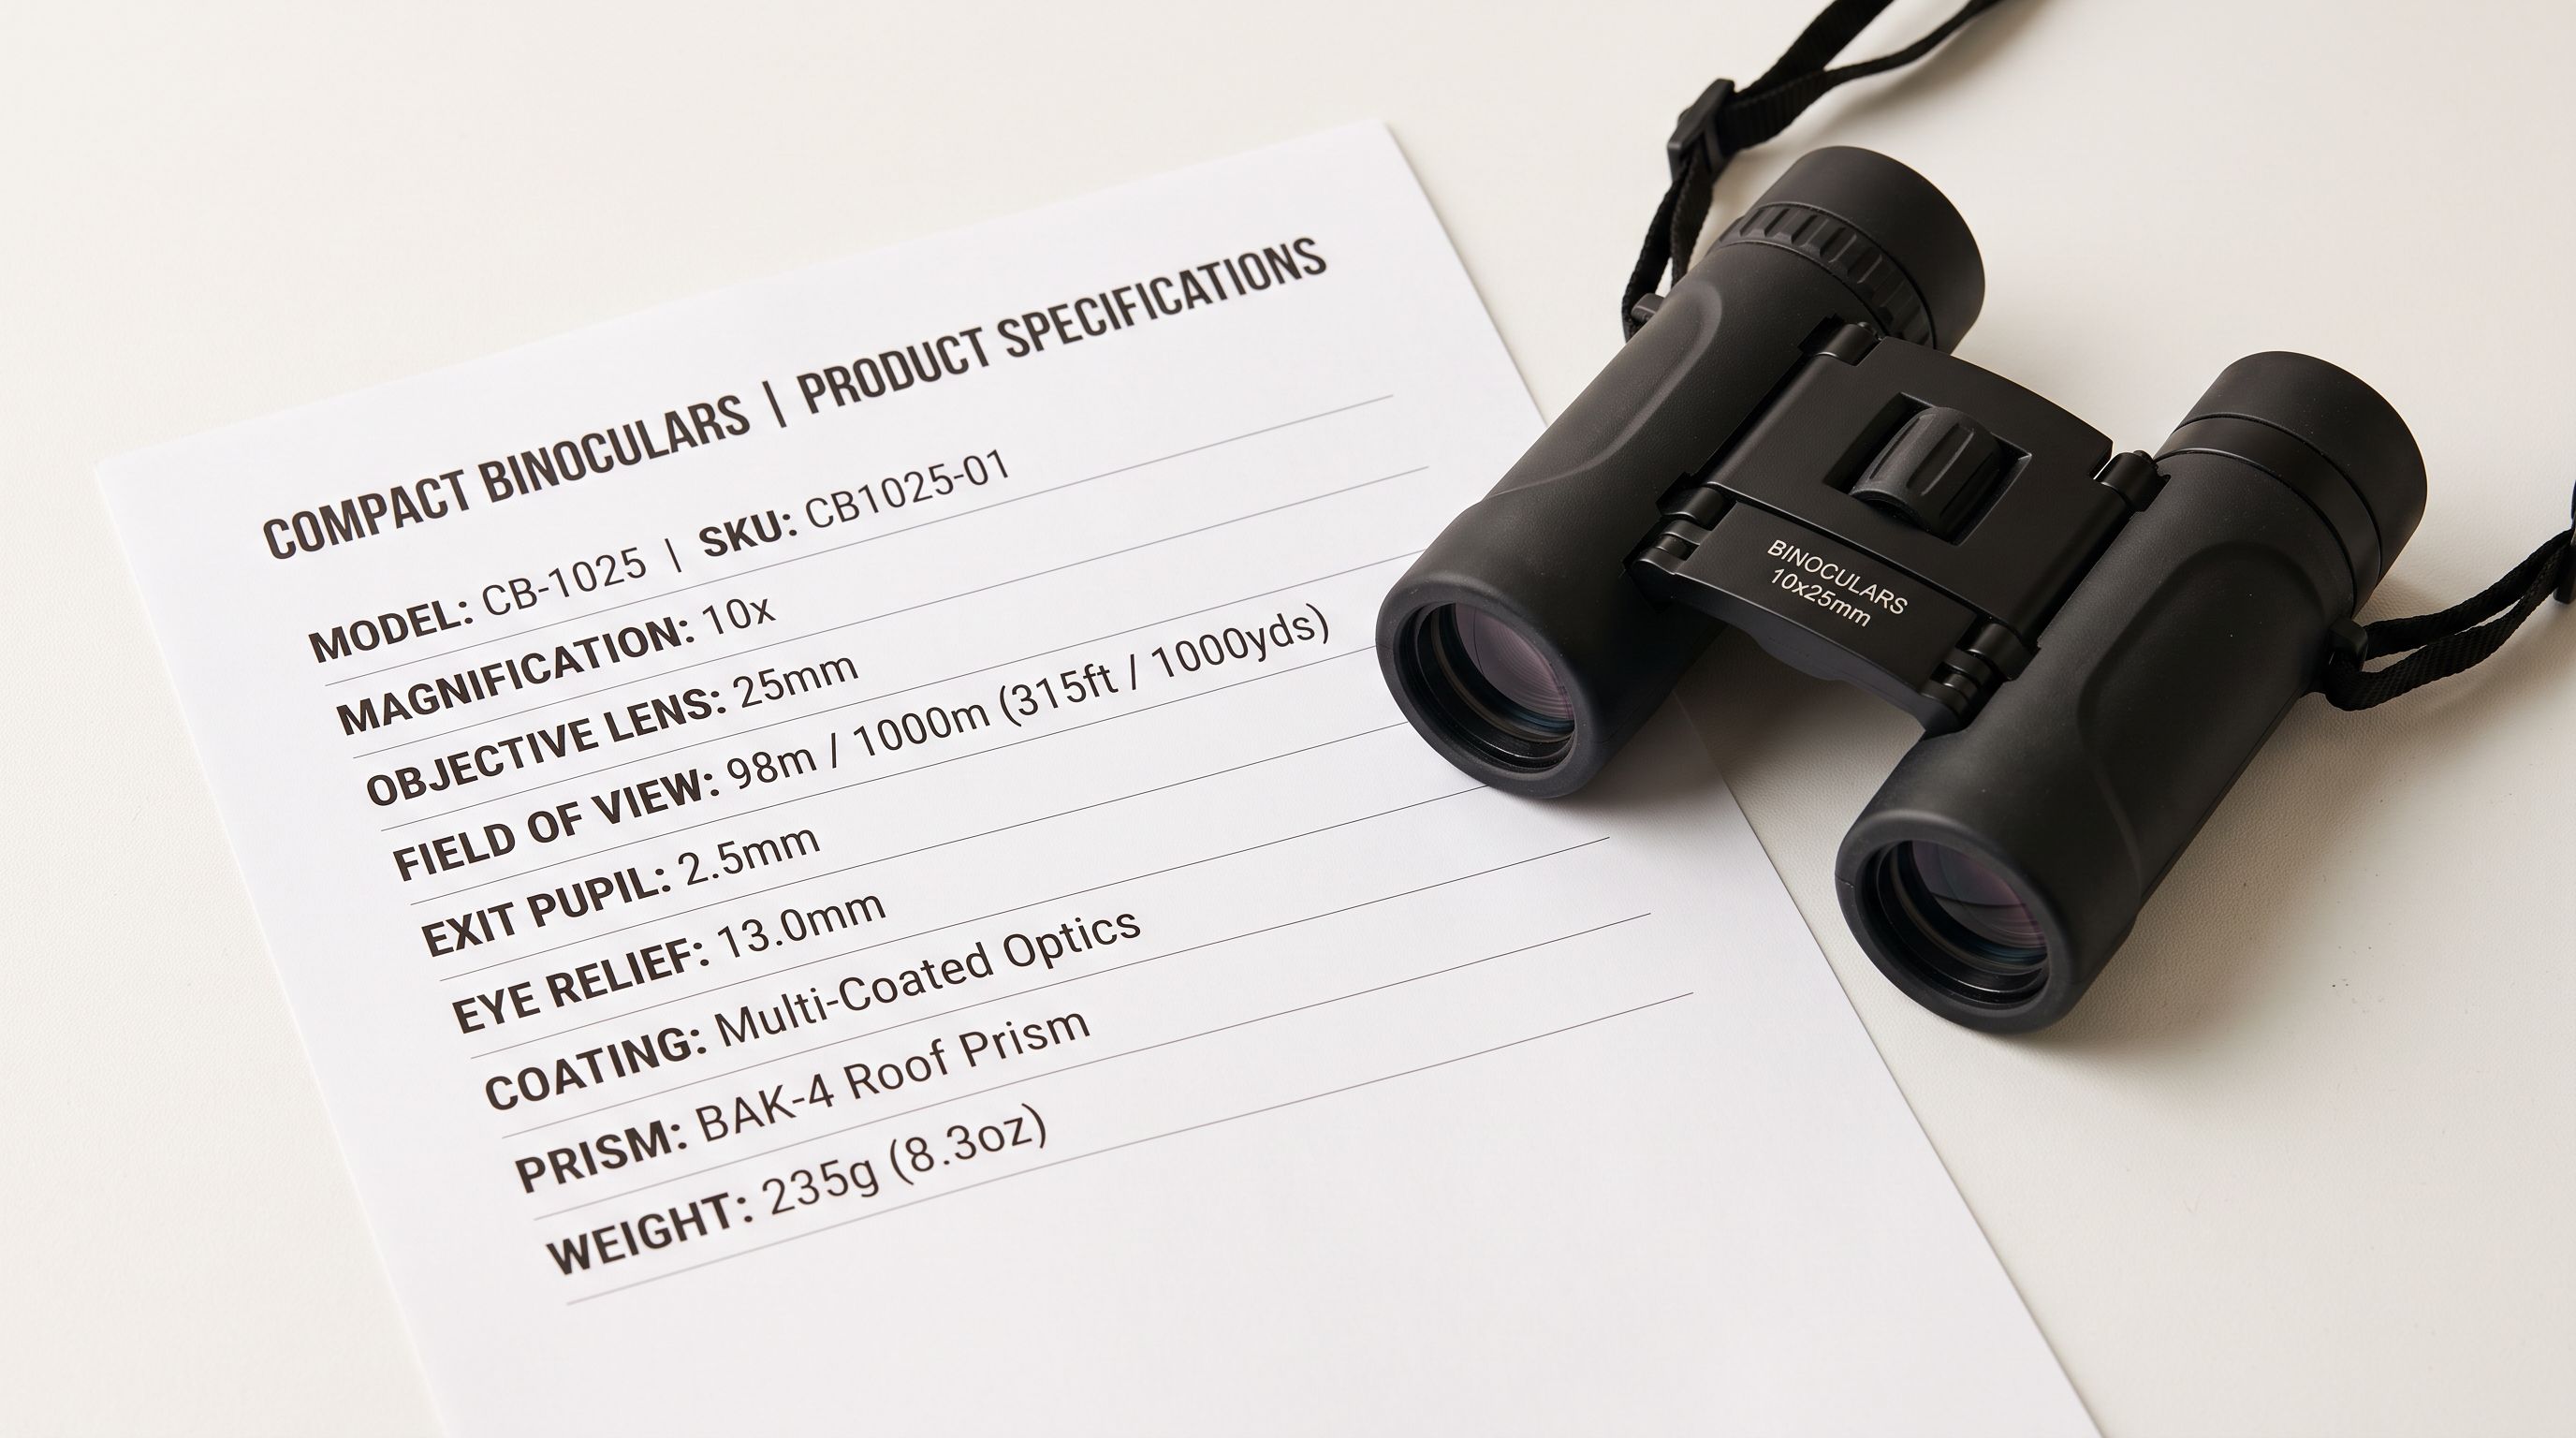
A title like "8X42 ED Binocular" yields magnification 8x and objective lens 42mm without ambiguity. A field that cannot be inferred from the available data is left blank. For 300 products, most specification fields will be filled correctly from the title alone, leaving a manageable set of blanks to complete by hand.
Read the full guide to auto-filling product specifications at import time for the step-by-step setup, including how to map columns to your store's metafields.
- 01Load the supplier file into Importier's import wizard. In the Images column, use Dropbox or Google Drive folder links (one link per product, not one link per photo). Importier opens each folder and imports every image in natural numeric order during the upload analysis step.
- 02In the Generate Descriptions step, use Bulk Title Editing Tools to clean supplier titles across the selected products. Apply case transformations first, then use the clean-up group to strip invisible characters, HTML entities, and stray markup. Titles should be clean before the AI generates descriptions.
- 03At the Tax step, open Currency Conversion and choose the source currency. Fetch the current rate or enter a supplier-agreed rate. One rate applies across the whole batch. Importier converts cost, price, and compare-at before calculating tax, so the tax runs on the correct converted figures.
- 04In the Import Review step, activate specification assignment and map each Specification column to one of your store's custom metafields. Run Auto-fill with AI to propose values from each product title. Review the proposed values, correct any blanks or mismatches, and set the product page template for the batch or per product.
- 05Confirm the full Import Review table (images, titles, prices, specifications, variant groupings), then push. Importier creates all products in a single operation. After the push, filter the new products in Shopify admin and spot-check a sample for correct images, prices, and specification fields.
The Import Review as a Safety Net
Every step in this workflow ends with the result visible and editable in the Import Review before anything reaches Shopify.
Images are shown per product with the folder link resolved to actual image count and preview. Titles appear in the transformed state the AI will use for descriptions. Prices show in the store currency after conversion. Specification columns show proposed values alongside blanks. Variant groupings show the products grouped from flat rows.
The Review table can also be exported to a Shopify-format CSV if the merchant wants a record or needs to share the final state for approval before pushing. Columns sort in the table, so finding products with missing specifications or blank vendor fields is a sort operation, not a manual scan.
The Review step is where the batch approach pays off. You check the state of 300 products in one view rather than opening 300 individual Shopify product edit pages after the import.
The fastest shopify batch import workflow is not the one that asks the fewest questions. It is the one where every step does the heavy lifting and then hands a complete, editable result back before anything commits.
- 1,500 images downloaded, re-hosted, and pasted as individual URLs across 300 products
- Supplier titles cleaned one by one in the spreadsheet, inconsistencies missed
- Currency conversion done with spreadsheet formulas per row, tax calculated before conversion
- Specification fields entered manually in Shopify admin after import, one product at a time
- Errors discovered after products are live in the store
- 1,500 images imported via 300 folder links, in natural numeric order, no downloading
- Titles cleaned across the full selection in seconds with Bulk Title Editing Tools
- One rate converts every price in the batch, currency conversion runs before the tax step
- Specification values proposed from product titles in Review, blanks filled by exception
- Complete state reviewed and confirmed in Import Review before a single product is pushed
Key Takeaways
A structured shopify batch import workflow closes the gap between supplier data and Shopify product pages by handling each transformation once across the batch rather than per product.
- Images: one cloud folder link per product replaces 1,500 individual image operations for a 300-product import; natural numeric ordering keeps the gallery in the intended sequence.
- Titles: bulk title editing tools run across selected products in seconds; cleaning invisible characters and HTML markup before AI description generation produces better output across the batch.
- Currency: one conversion rate applies to every product before the tax step, not after; tax calculated on converted prices is correct where tax calculated on foreign prices is not.
- Specifications: AI proposes values from product titles in the Import Review step; the confidence gate leaves blanks rather than guessing, which is the behaviour that makes proposed values trustworthy.
- Review before push: every transformation is visible in one table before anything reaches the live store; the Import Review is the point where the merchant confirms or corrects, not the store page where customers find the errors.
The combined time saving across a 300-product import with images, mixed currency, and specification requirements is the difference between a multi-day manual process and a structured afternoon.
Import your next supplier catalogue at importier.app.
Set up your first import in under five minutes.
Importier brings products into Shopify with AI descriptions, category metafields, and data enrichment on every run.