Shopify Product Import Workflow: Spreadsheet to Storefront
On this page
Shopify Product Import Workflow: From Spreadsheet to Storefront
A supplier sends you a spreadsheet of 300 products, a Dropbox folder of photos, and an invoice in euros. The Shopify product import workflow most merchants follow from there involves downloading images per product, reformatting titles by hand, converting currency in a separate spreadsheet, and typing spec values into metafields one by one. That process consumes the better part of a working week. There is a faster path that handles every one of those steps as a batch operation, with a single review before anything goes live.
This article covers the complete end-to-end workflow using Importier's 14-step import wizard. The four techniques described below each have their own dedicated guide. This pillar article shows how they connect in a single import session.
The Shopify Product Import Workflow in Five Batch Steps
Before stepping through each technique, here is the full sequence at a glance.
- 01Prepare your supplier files and open ImportierGather your spreadsheet (CSV or Excel), the shared folder link for your product images, and your supplier invoice. Open Importier from your Shopify admin and start a new import.
- 02Upload your file and map columnsDrag your file into the wizard. Importier detects the header row and auto-maps your supplier's column names: Product Name to Title, RRP to Price, and so on. Review the mapping and adjust any columns that did not resolve automatically.
- 03Clean titles and attach images in Generate DescriptionsApply bulk title transforms to the full batch, then enter the cloud folder link in the Image column for each product.
- 04Configure currency, tax, and template in the Tax stepIf your invoice is in a foreign currency, convert the batch here before tax is calculated. Choose the product page template for imported products.
- 05Review, fill specifications, and confirmInspect every field in the sortable Review table. Map Specification columns to your custom metafields, auto-fill values from product titles, and hand-edit anything that needs correcting. Export to CSV if you want a record, then confirm.
Each step feeds into the next. The AI description generation that runs after title clean-up is only as good as the titles it receives. The tax figures in the Tax step are only accurate if currency conversion happens first. The specification auto-fill in Review is only trustworthy if the AI is given a clean, correctly formatted title to read from. The order is not arbitrary.

Step 1: Cloud folder images, one link per product
Image handling is the slowest part of most product imports. For 200 products with five photos each, that is 1,000 images. The manual path is a working day: download each image, re-host it somewhere publicly accessible, copy the URL, and paste it into the spreadsheet, per image, per product.
The faster approach: put one shared folder link in the Image column for each product row. Importier opens that folder during the import, gathers every image inside it, and attaches them all to the product in order. You manage one link per product, not one URL per image.
Two details matter in practice. First, the folder must be shared with "anyone with the link." A private folder is not accessible during the import.
Second, Importier sorts images in natural numeric order, not alphabetical order. That difference becomes visible once file numbers reach double digits. Alphabetical order puts img10 before img2, which silently reverses your gallery. Natural sort keeps img1, img2, img10 in the intended sequence, the difference between a tidy storefront and a jumbled one.
Dropbox and Google Drive both work. Use whichever your supplier or photographer already lives in. If a single import draws from both (some products in a Dropbox folder, others in a Drive folder), that is supported in the same import. The full walkthrough is in the guide to importing products from a Dropbox folder to Shopify.
Step 2: Bulk title edits before descriptions are generated
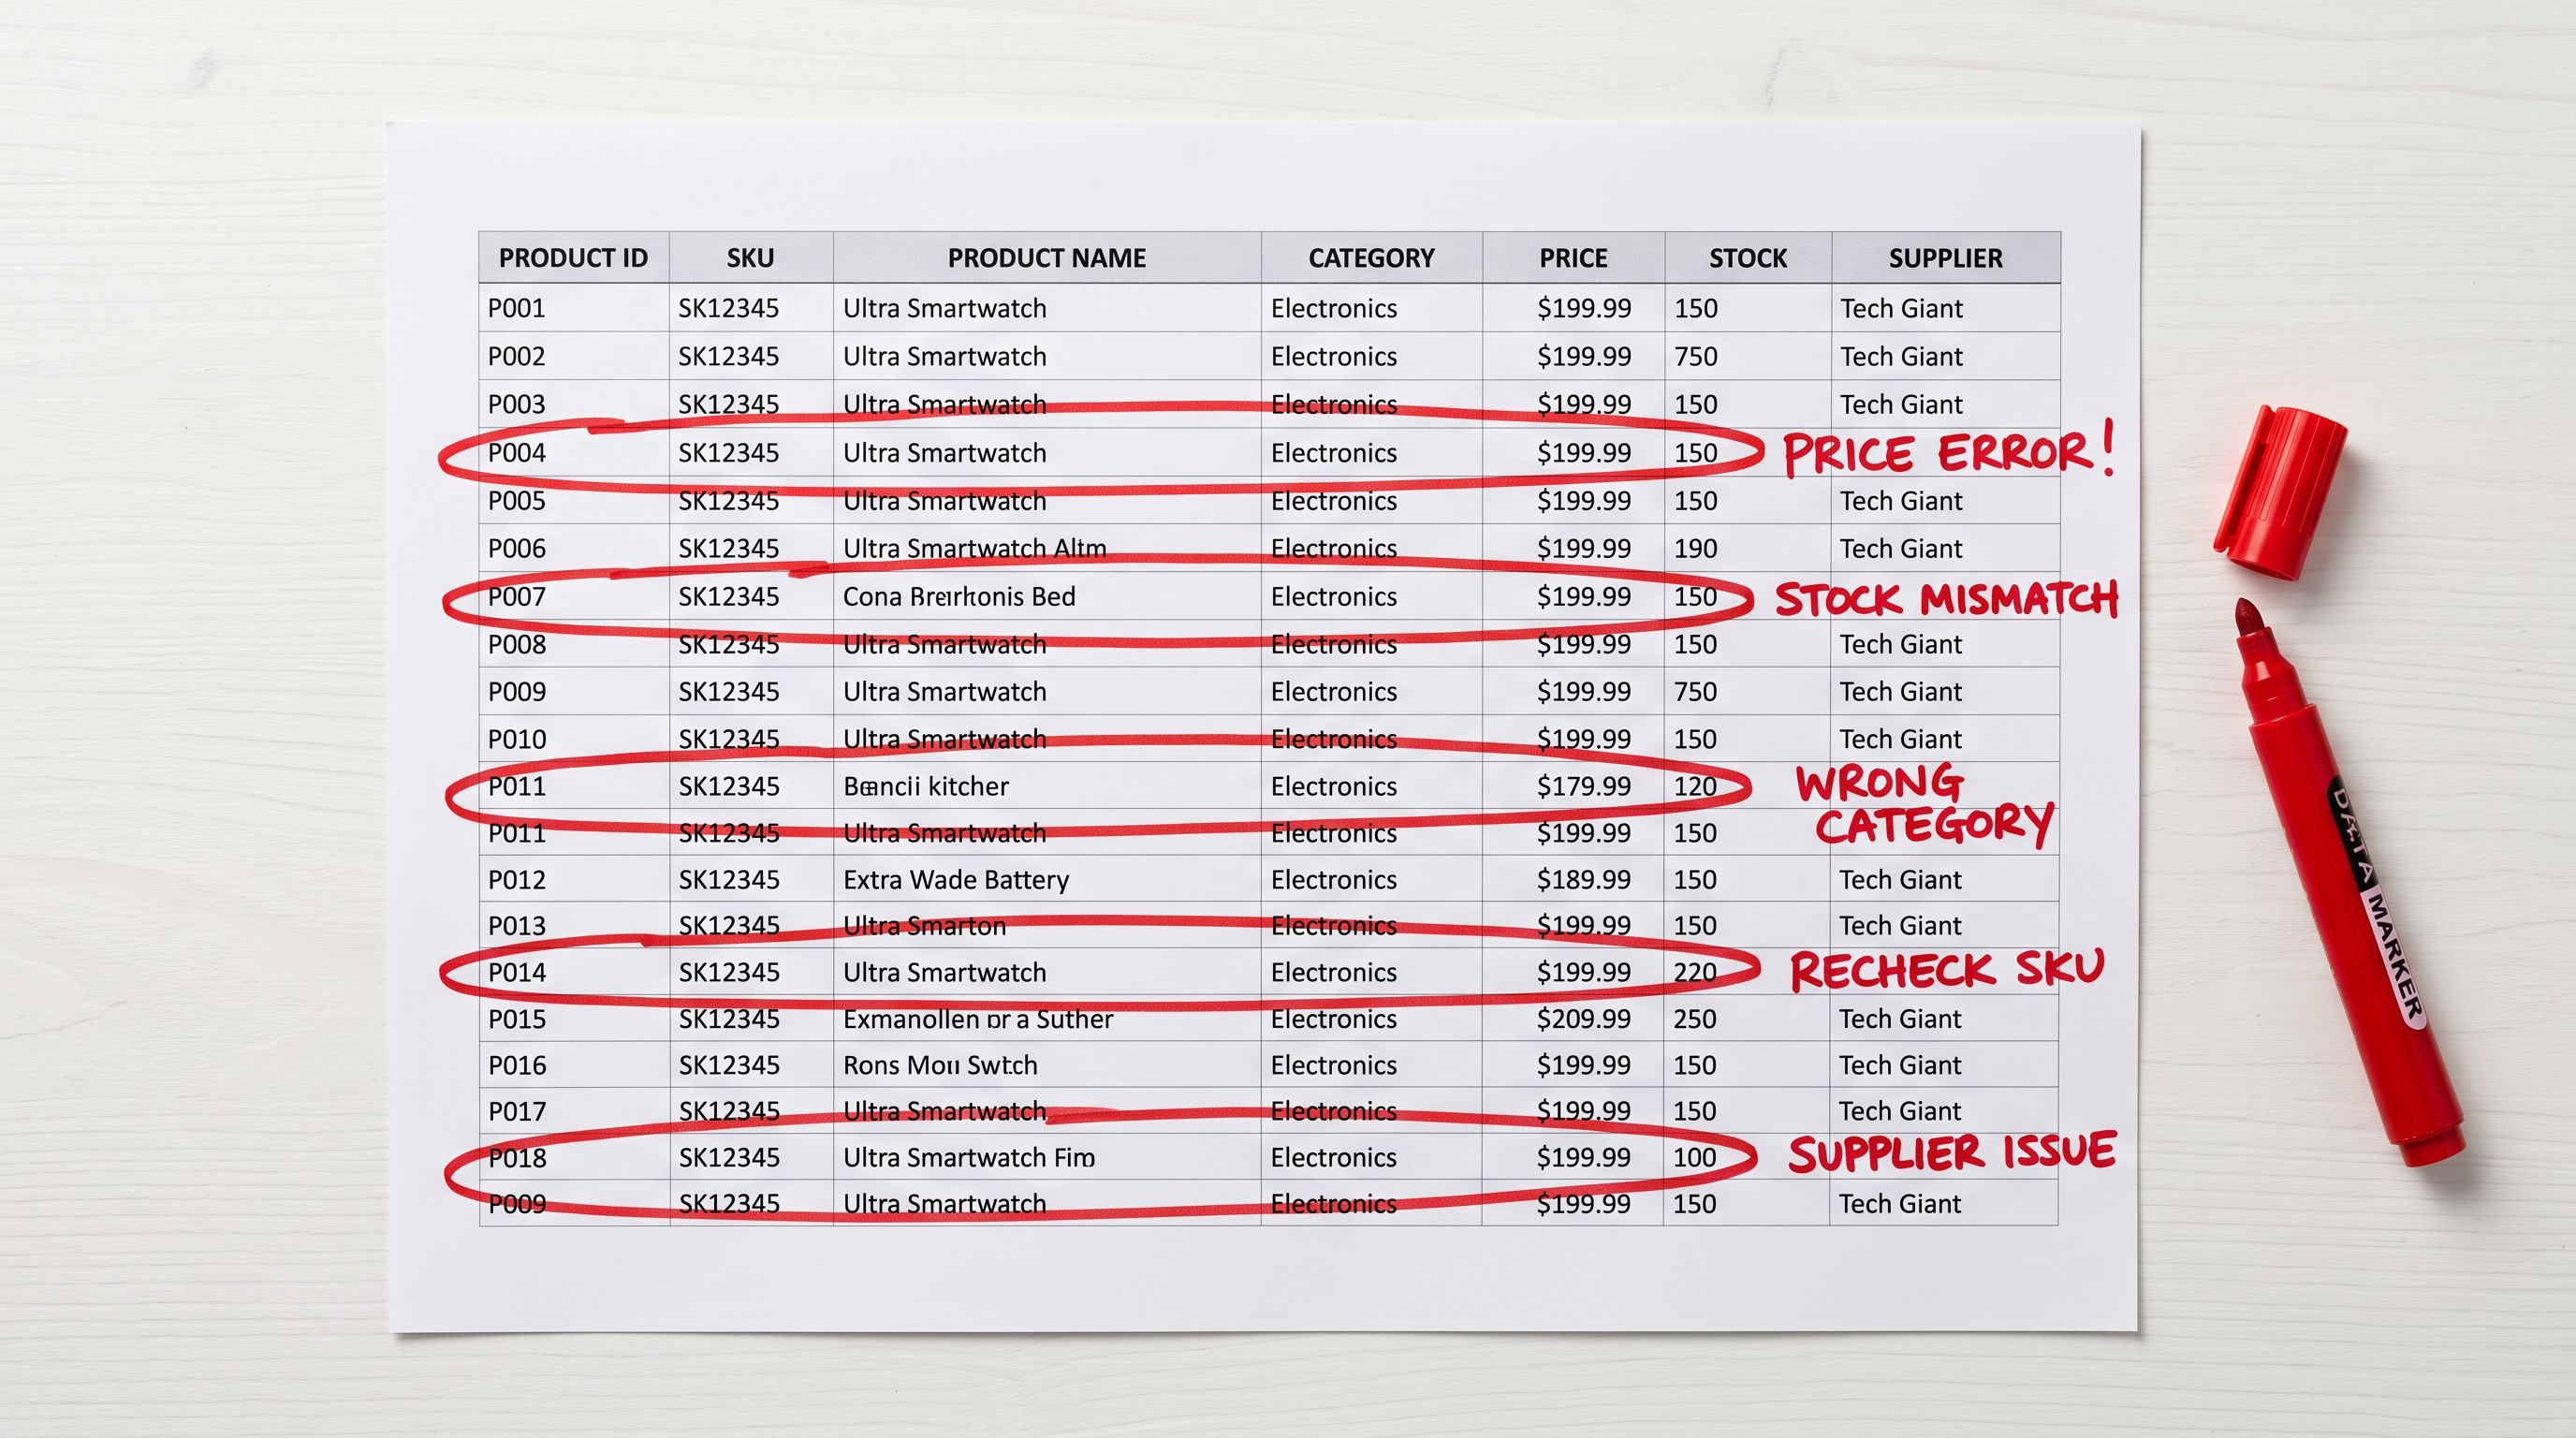
Supplier spreadsheets arrive with titles that are not ready for a storefront. ALL CAPS WIDGET PRO - SKU12345 is a familiar example: uppercase, a trailing SKU code, double spaces, and sometimes an invisible non-printing character pasted from the supplier's export system. Fixing 300 rows like this by hand is hours of inconsistent work.
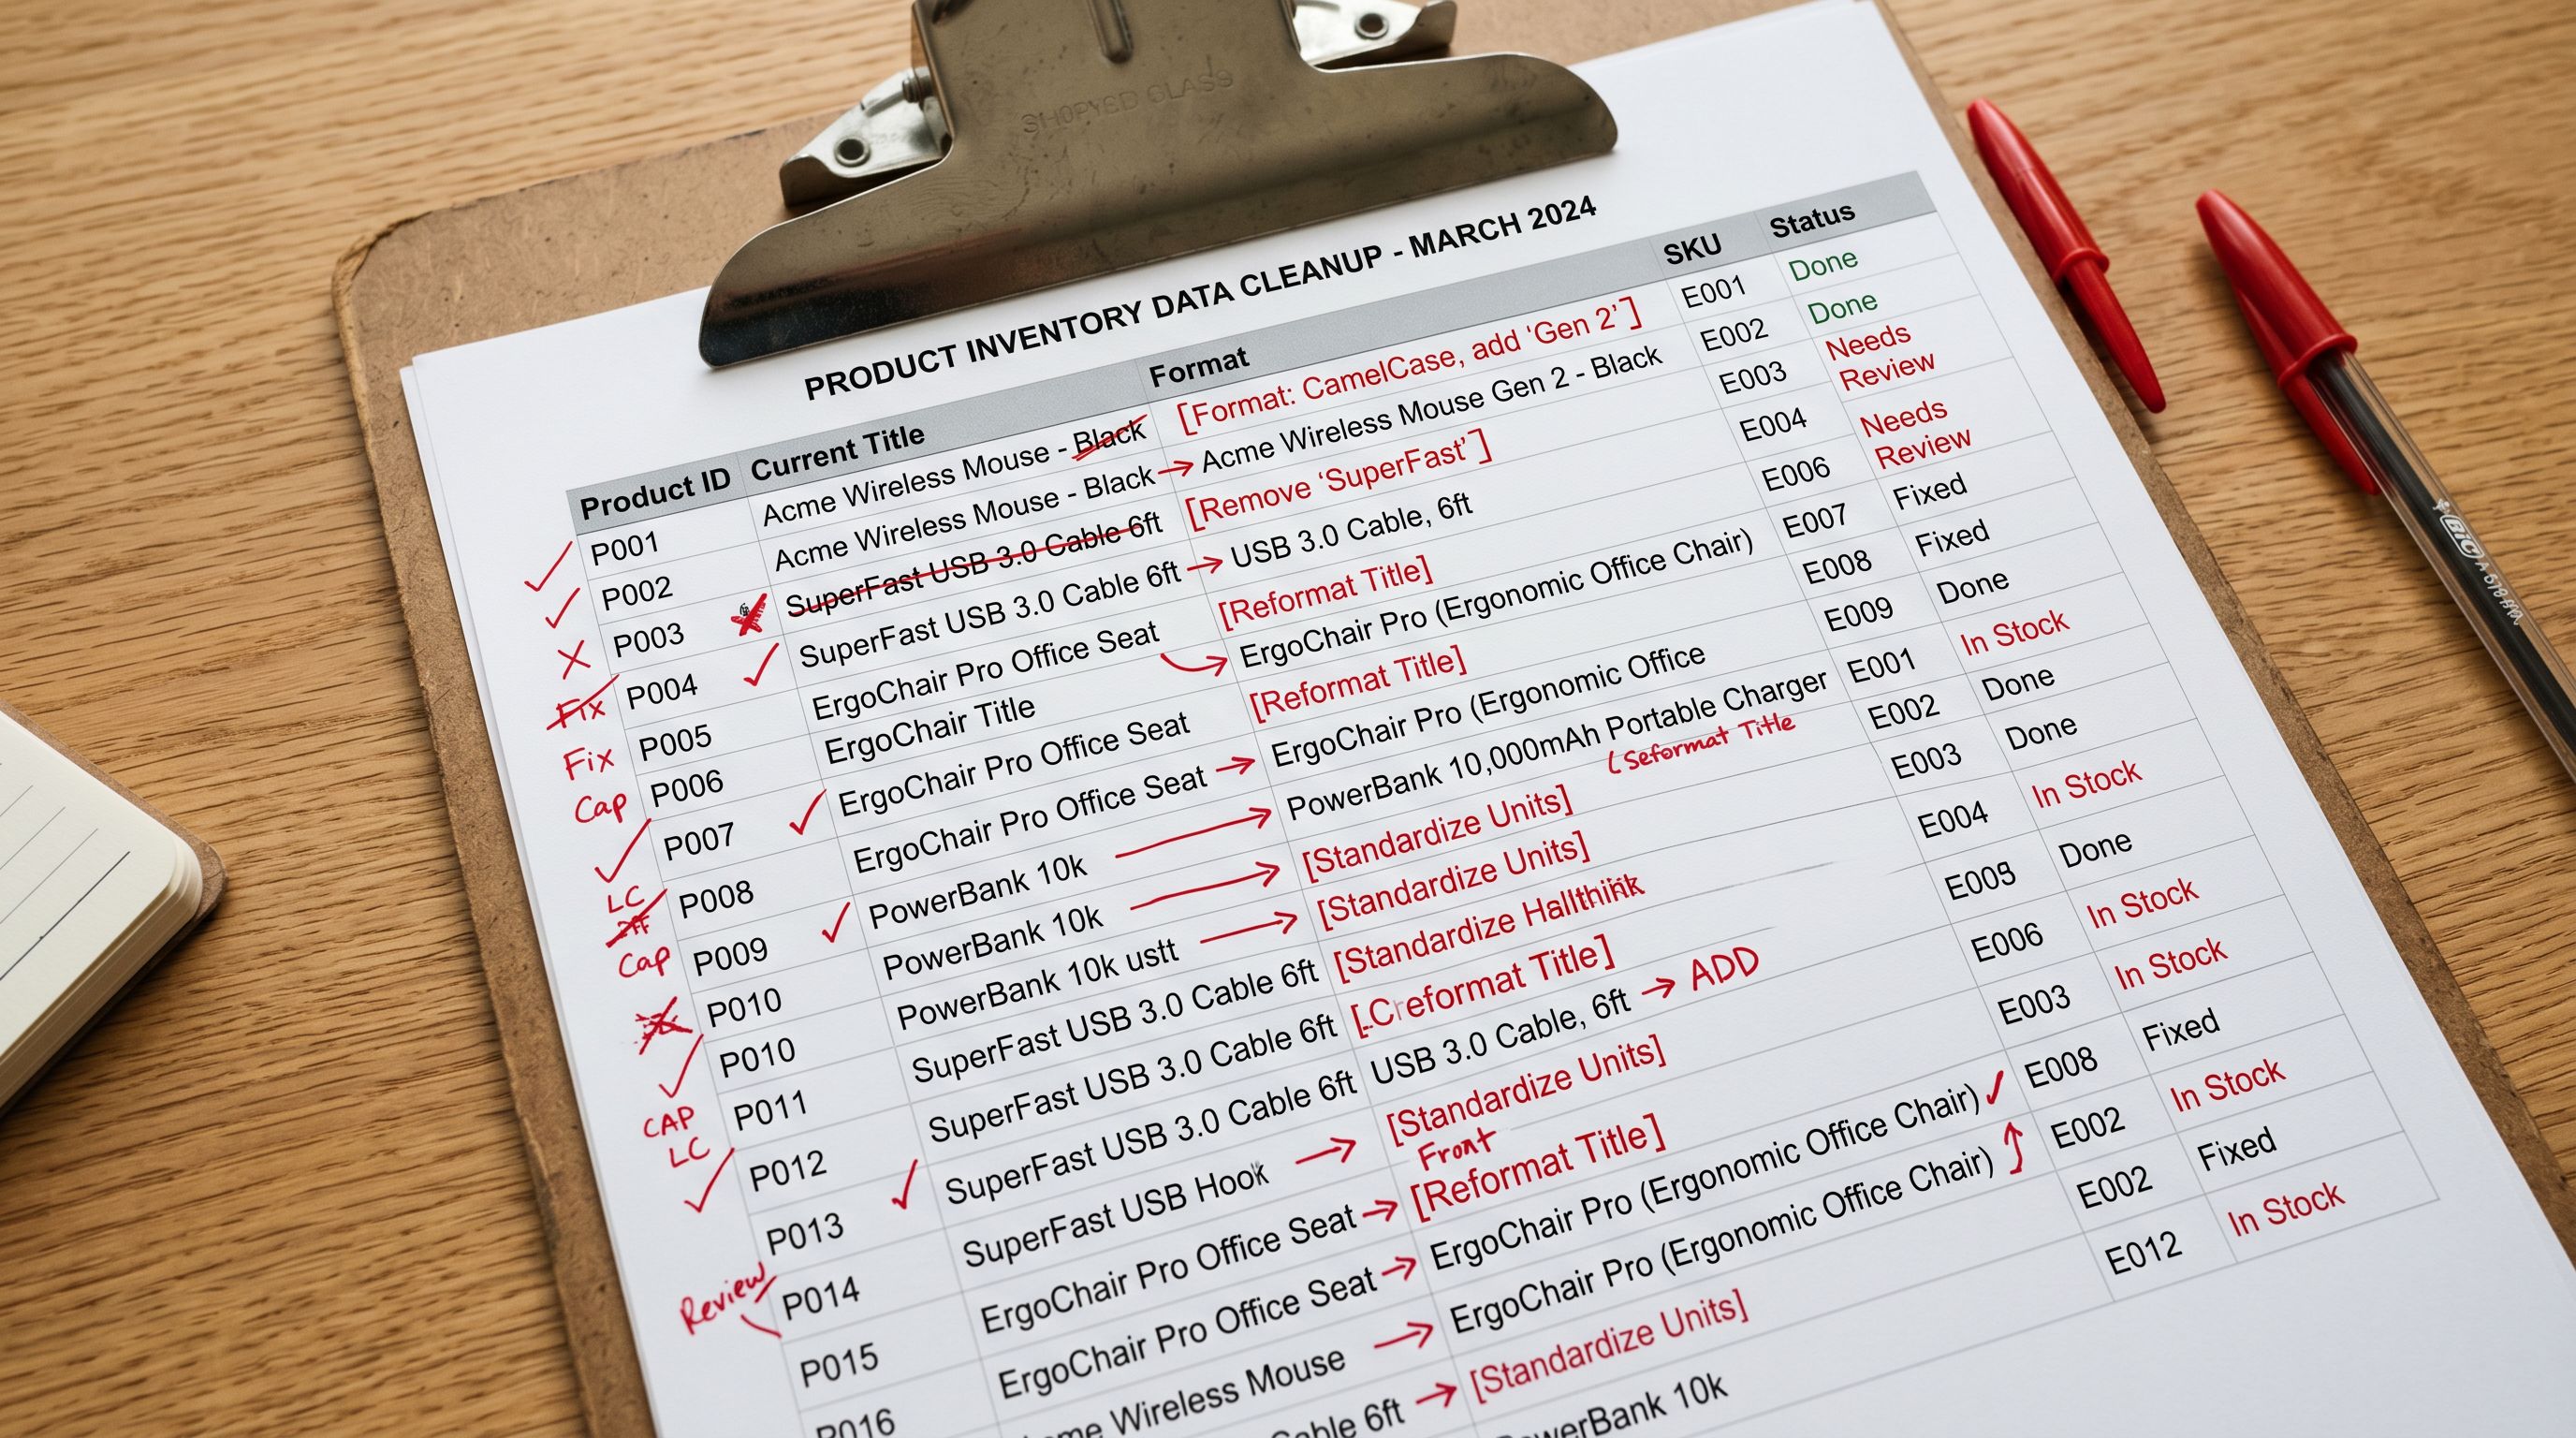
The Bulk Title Editing Tools panel in the Generate Descriptions step applies a transform to any selection of products at once. There are four groups of tools:
- Change case: Sentence case, Capitalise Each Word, lower case, lower then capitalise, UPPER CASE, and an invert-current-case toggle. Six options in total.
- Add text by position: at the beginning, at the end, after a specific character number, or before or after a nominated string.
- Remove characters by position: first N characters, last N characters, a from-to range, or everything before or after a nominated string.
- Clean up spaces and delimiters: trim ends, collapse repeated spaces, remove all spaces, strip line breaks, decode stray HTML entities, remove HTML tags, remove common delimiters (commas, semicolons, pipes, slashes), and strip invisible non-printing characters.
The sequencing is the critical point. Title editing happens before AI description generation runs, because the AI uses the product title as its primary input. A clean, accurate title produces a better, more specific description. HTML entities or fragment-heavy titles produce generic output that needs more post-generation editing than if you had cleaned the titles first.
The non-printing character strip is worth a specific note. Characters like zero-width spaces and byte-order marks are invisible in a spreadsheet but break Shopify's search indexing and Smart Collection rules. Products containing them refuse to appear in filtered views or site search results, and the cause is not obvious. One click removes them across the entire selection. The full tool breakdown and before-and-after examples are in the article on bulk editing product titles before import.
The fastest import is the one where you review and approve rather than data-enter. Every batch step is there to remove the per-product work.
Currency, Specifications, and the Review Step
Step 3: Foreign currency conversion before tax, not after
If your supplier invoice is in USD, EUR, GBP, or another currency, the Tax step in the wizard is where you convert it. Open the Currency Conversion section, select the source currency, and either fetch the current published exchange rate or type the contracted rate you have agreed with your supplier.
Importier applies that one rate to every product's cost, price, and compare-at price across the batch. The entire batch converts at a consistent rate, which matters for margin reporting. You can compare products within the import without accounting for rate variations across individual rows.
The order of operations is built into the wizard for a specific reason. Conversion happens before the tax calculation in the Tax step, so tax runs on the store-currency figure. Converting after tax would apply tax to the foreign-currency price, which produces wrong figures on every product. Shopify's own product CSV format documentation handles prices in the store's base currency, which means conversion must happen before the file reaches Shopify, not as a post-import adjustment.

The rate override is particularly useful for merchants with fixed supplier agreements. Rather than accepting the market rate, you type the contracted rate to match your actual landed cost. For a walkthrough of the full conversion flow and the fixed-rate option, see the guide to importing supplier invoices in a foreign currency.
Step 4: Specification auto-fill in the Review step
The Review step is the confirmation gate for the entire workflow. Every field is visible in a sortable table, editable by hand, and exportable to CSV before you confirm. Nothing reaches your Shopify store until you click confirm.
For stores with a theme spec table covering fields like Magnification, Material, or Capacity, the Review step is where you populate custom metafields without per-product typing. Turn on manual specification assignment in Review settings, and three Specification columns appear. In each column header, select one of your store's existing custom metafields. That maps each column to the exact field your theme reads.
With the columns mapped, Auto-fill with AI proposes values across the batch. The AI reads each product's title and any data already gathered, then proposes a value for each assigned field. A title like 8X42 ED Binocular yields Magnification: 8x and Objective Lens Diameter: 42mm. A field that cannot be reliably inferred from the available data is left blank rather than guessed.
The confidence gate is what makes this trustworthy at scale. A tool that fills every field produces silent errors: plausible-looking values that are wrong and difficult to find in a batch of 300 products. A tool that fills only what it can extract with confidence, and returns blanks for the rest, produces output you can trust and quickly supplement by hand. Importier never overwrites a value you typed manually; auto-fill targets blank cells only. The full worked example is in the article on auto-filling product specifications from the title.
The theme template selector
One additional setting in the wizard connects import and storefront layout: the template selector. In the product configuration step, you choose which Shopify product page template the imported products use. Set it once for the entire batch, or override it per product in the Review table.
This matters for mixed catalogues. A sporting goods retailer importing outdoor furniture, accessories, and apparel in the same batch can assign each product type to its matching template during the import session. The alternative is a post-import bulk edit to sort products into templates, an extra step the template selector removes.

What the Review step shows you before you confirm
The Review step collects the output of every previous step and presents it in one place. Column mapping, title edits, image attachments, currency conversion, variant grouping from Smart Variant Detection, AI-generated descriptions, and specification proposals are all visible and editable together.
You can sort by any column to identify outliers: products with unusually short descriptions, missing weights, titles that still contain a supplier code, or specification fields that returned blanks and need a manual value. Sorting by description length is a quick way to find products where the AI had less to work with.
You can also export the Review table as a CSV before confirming. That gives you a Shopify-format file for your records, or for a manual check before the import runs, useful on first imports with a new supplier file format.
Google's product data specification for Merchant Centre requires specific field coverage: GTINs, taxonomy-aligned categories, titles within character limits, and unique descriptions. The Review step is where you verify that coverage before products go live, rather than discovering gaps in a Merchant Centre diagnostic a week later.
- Download each image, re-host it, paste URLs per photo
- Fix titles one row at a time in a spreadsheet
- Convert currency in a separate spreadsheet, recheck tax manually
- Type spec values into metafields after import, product by product
- Confirm by hoping the CSV columns mapped correctly
- One shared folder link per product, images sorted in natural order and attached automatically
- Bulk title transforms applied across hundreds of rows in seconds, before AI descriptions run
- Currency converted before tax in the Tax step, one rate applied consistently across the batch
- Specs proposed by AI from product titles in Review, blanks returned instead of guesses, editable before confirming
- Sortable Review table shows every field across every product before anything reaches Shopify

Five takeaways from this Shopify product import workflow
- The four batch steps (cloud images, bulk title edits, currency conversion before tax, and specification auto-fill) each remove a category of per-product manual work. Combined, they turn a multi-day import into an afternoon.
- Title editing happens before AI description generation because the AI uses the title as its primary input. Clean titles produce better descriptions with less post-generation editing.
- Currency conversion happens before the Tax step because tax must run on the converted store-currency figure. The sequence is built into the wizard to enforce this.
- The specification confidence gate returns blanks instead of guesses. Blanks are easier to review and fill than incorrect values spread across a 300-product batch.
- The Review step is the safety net. Every field is visible, sortable, and editable before you confirm. Nothing reaches your live store without your sign-off.
Set up your first import in under five minutes.
Importier brings products into Shopify with AI descriptions, category metafields, and data enrichment on every run.