From Wholesale Supplier to Shopify Storefront: The Complete Import Guide
From Wholesale Supplier to Shopify Storefront: The Complete Import Guide
Getting a wholesale supplier catalogue into Shopify is a two-part problem that most merchants only discover after the first attempt. The first part is structural: supplier files use column names, variant formats, and data layouts that Shopify's native importer does not understand. The second part is strategic: supplier files are written for procurement buyers, not retail customers.
The field values that matter for purchasing (MOQ, pallet weight, HS code, country of origin) are not the field values that sell products to buyers. Most merchants spend several hours fixing the structural part. They rarely address the strategic part at all, which means their store goes live with product descriptions that read like warehouse catalogues.
This guide covers both: the structural import workflow from supplier file to Shopify product records, and the content transformation from procurement-spec copy to retail-quality descriptions.
What a Wholesale Supplier File Actually Contains
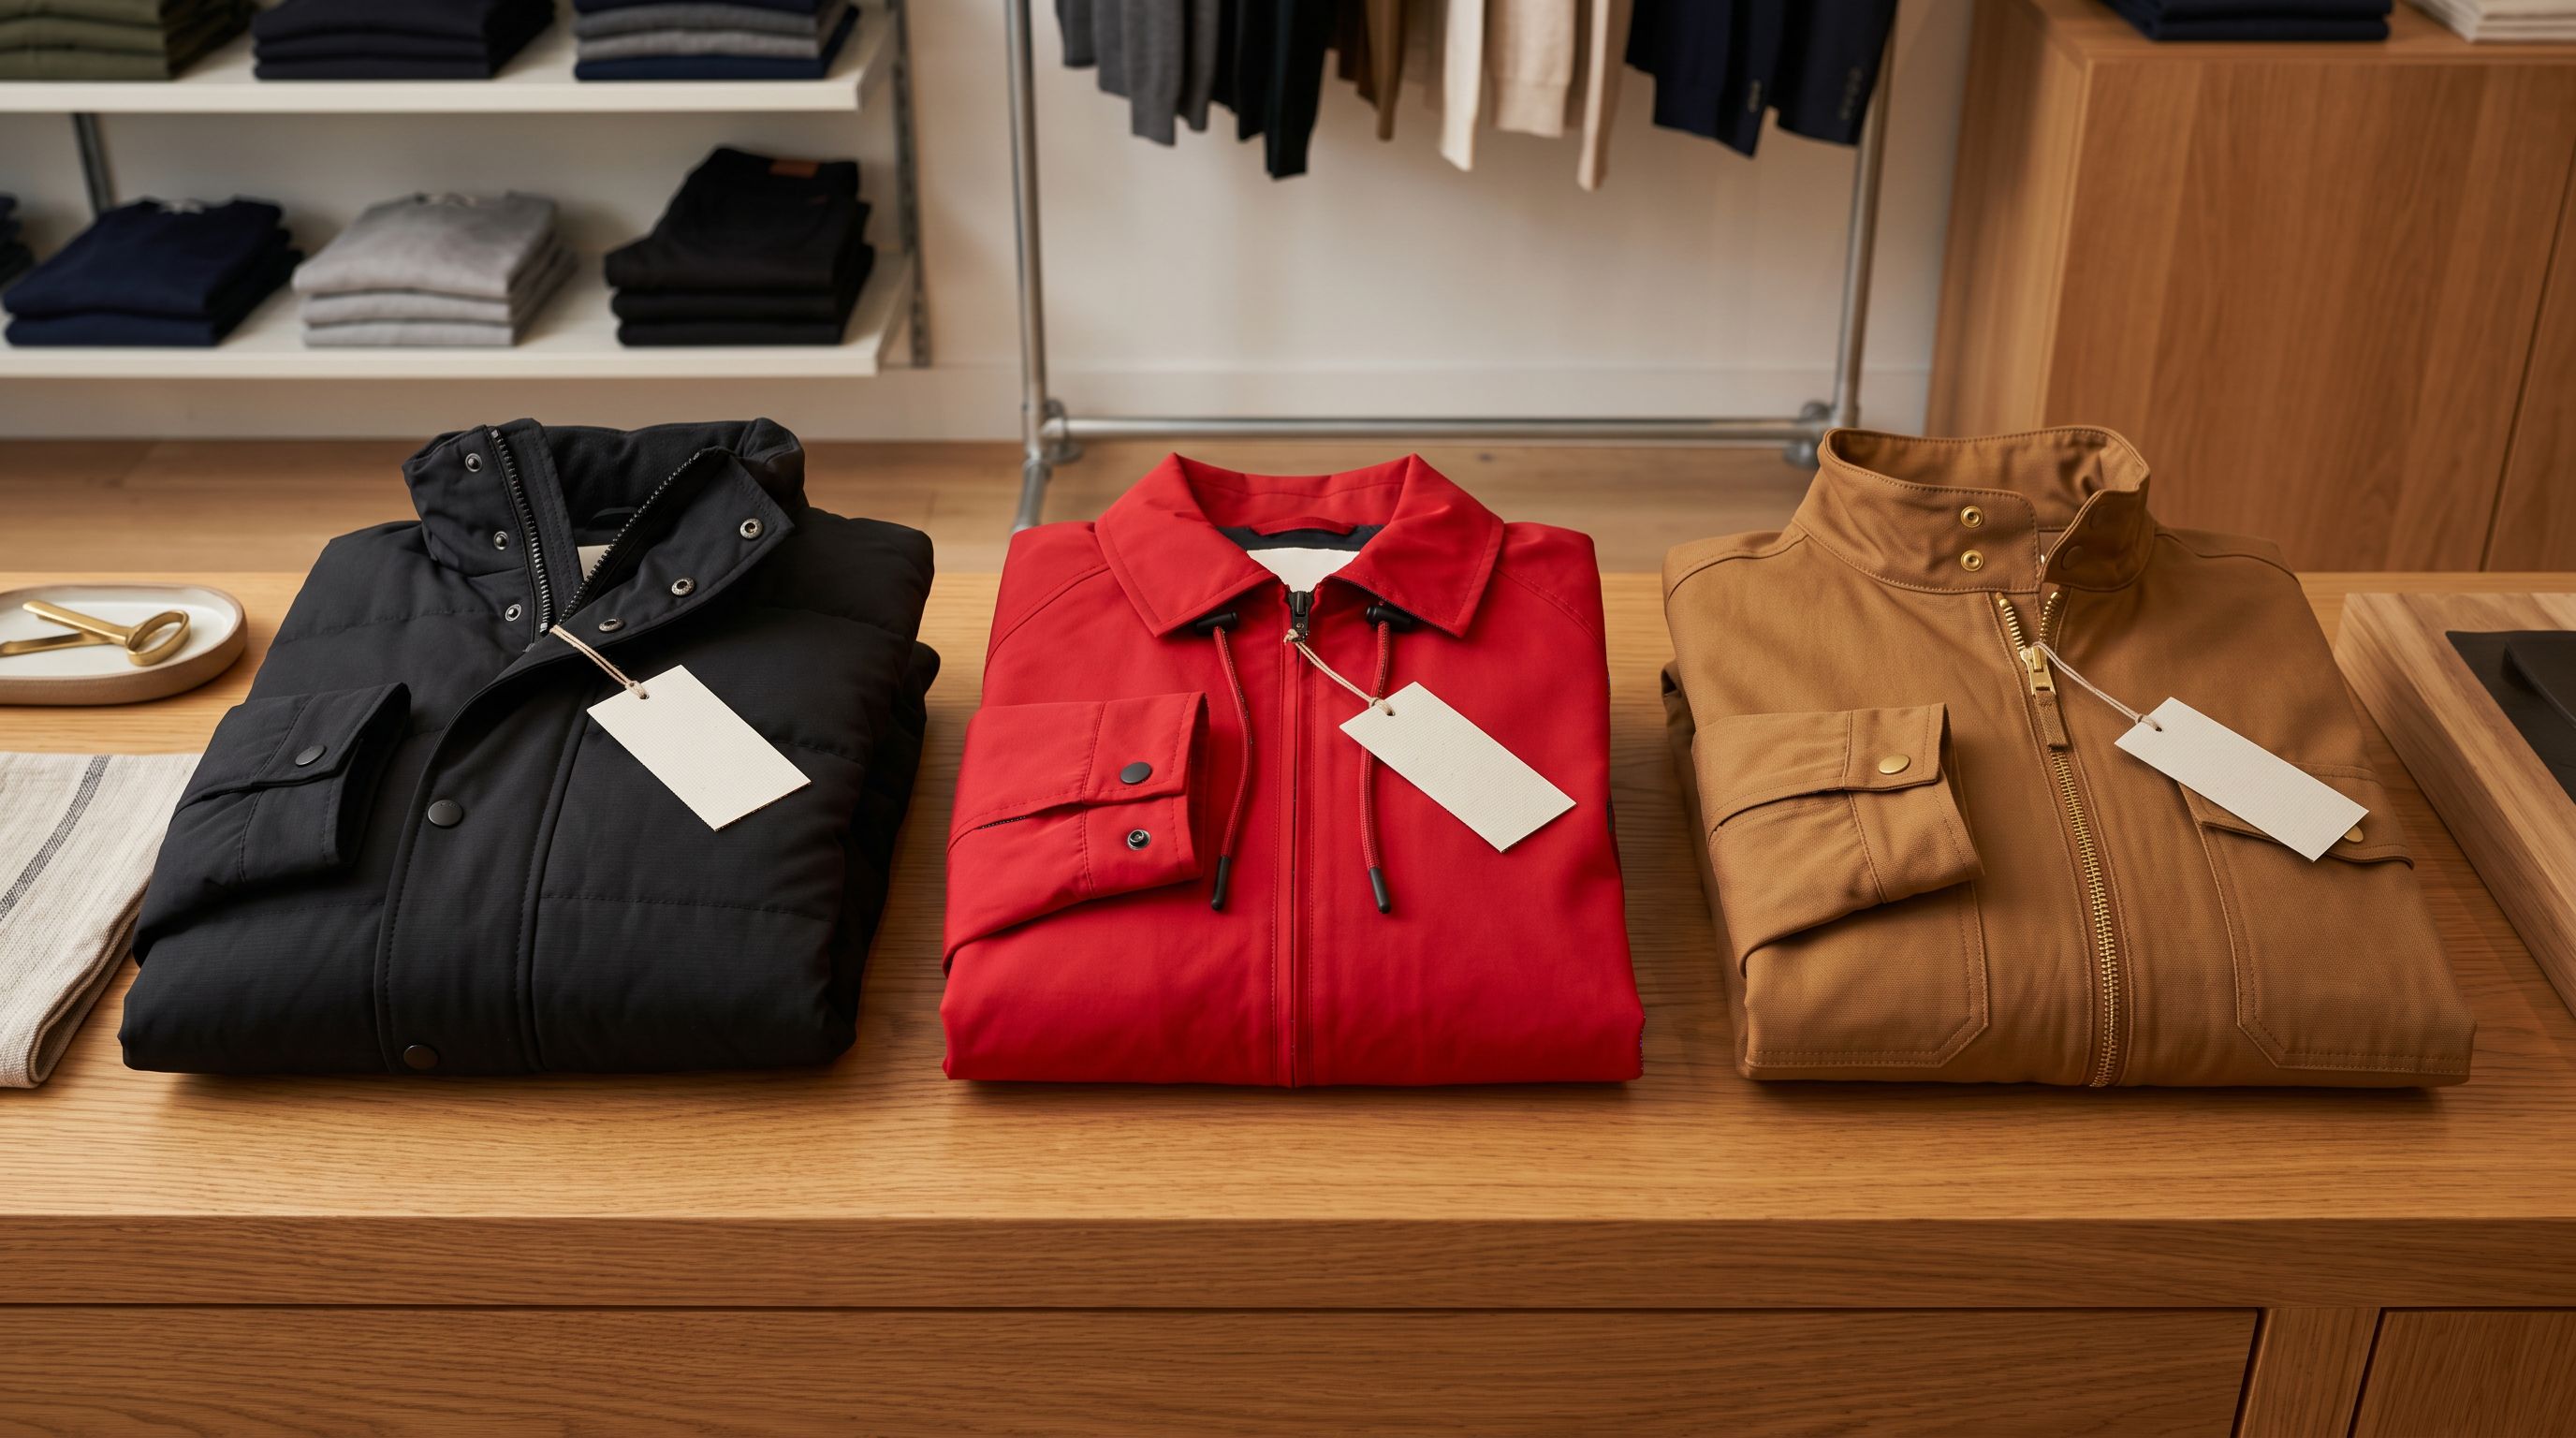
Wholesale suppliers build files for procurement workflows. A typical supplier CSV includes internal product codes (SKUs, style numbers, season codes) as the primary identifier, not the Title field Shopify expects. Weight arrives in kilograms when Shopify needs grams. Product names look like warehouse labels: "SHIRT-BLUE-S," "MODEL-3287-BLK-M," "ITEM-1200-150G."
Most supplier files use per-variant rows: each size-colour combination on its own row, with no Handle column to group them into Shopify's product-with-variants structure. A shirt in three colours and four sizes appears as 12 rows. Without grouping logic, those 12 rows become 12 separate Shopify products, each with one variant.
The specification data (weight, HS codes, country of origin, material composition) is genuinely useful. Importier's data enrichment step reads it directly. But the descriptions written for procurement buyers are wrong for retail customers, and the column names are wrong for Shopify.
Step 1: Upload the Supplier File Without Pre-Processing
Importier accepts supplier files in CSV, Excel (.xlsx, .xls), and PDF invoice format as-is. There is no need to rename columns, remove rows, or convert formats before uploading. Drag the file into the wizard, and it reads the headers and content directly.
The first wizard step is header row selection. If the supplier file has a summary row or a blank row before the actual column headers, select the correct row. Importier then reads every column and presents them for mapping.

Without a dedicated import tool, this step involves manually reformatting the supplier file to match Shopify's exact column name requirements (Title, Handle, Body (HTML), Variant SKU, Variant Price, and 40+ more), removing summary rows, and saving a new CSV. For a file with 15+ columns, that work takes 45 to 90 minutes and still does not address the variant structure or the missing data fields.
For suppliers who use PDF invoices rather than CSV files, the Shopify PDF invoice import guide covers how Importier extracts product data from supplier invoices in a separate workflow.
Step 2: Map Supplier Columns to Shopify Fields
Column mapping is where the structural transformation begins. Importier's auto-mapper reads your column headers and proposes mappings based on name similarity and content analysis.
For a typical wholesale supplier file, "Product Name" maps to Title, "RRP" maps to Variant Price, "Item Code" maps to Variant SKU, "Weight (KG)" maps to Variant Grams with automatic unit conversion, and image URL columns map to Image Src. The auto-mapper handles common supplier naming conventions, but you review and confirm every mapping before anything runs.
For suppliers who send files in the same format on a recurring basis, save the mapping as a named profile. Every subsequent import from that supplier auto-loads the profile and flags only changed or new columns for review, not the entire mapping.
- 01Upload the supplier CSV, Excel, or PDF file to Importier. Select the correct header row if the file includes summary rows above the column headers.
- 02Review the auto-mapped column proposals. Correct any mismatchesmap 'RRP' to Variant Price, 'Item Code' to Variant SKU, 'Weight (KG)' to Variant Grams. Set the source currency if the supplier invoices in a currency different from your store.
- 03Confirm the mapping and save it as a named profile for this supplier. Every future import from this supplier loads the profile automatically without re-mapping.
- 04Review the Smart Variant Detection proposal in the next step. Confirm that rows belonging to the same product are grouped as one product with multiple variants rather than as separate products.
- 05Configure AI descriptionsselect the description style and industry persona that suit your product category. Enable data enrichment to fill missing weight, HS codes, and barcodes in the same pass. Apply the relevant Industry Pack for category metafields. Review the import preview, then confirm to push to Shopify.
Step 3: Smart Variant Detection Groups Supplier Rows Automatically
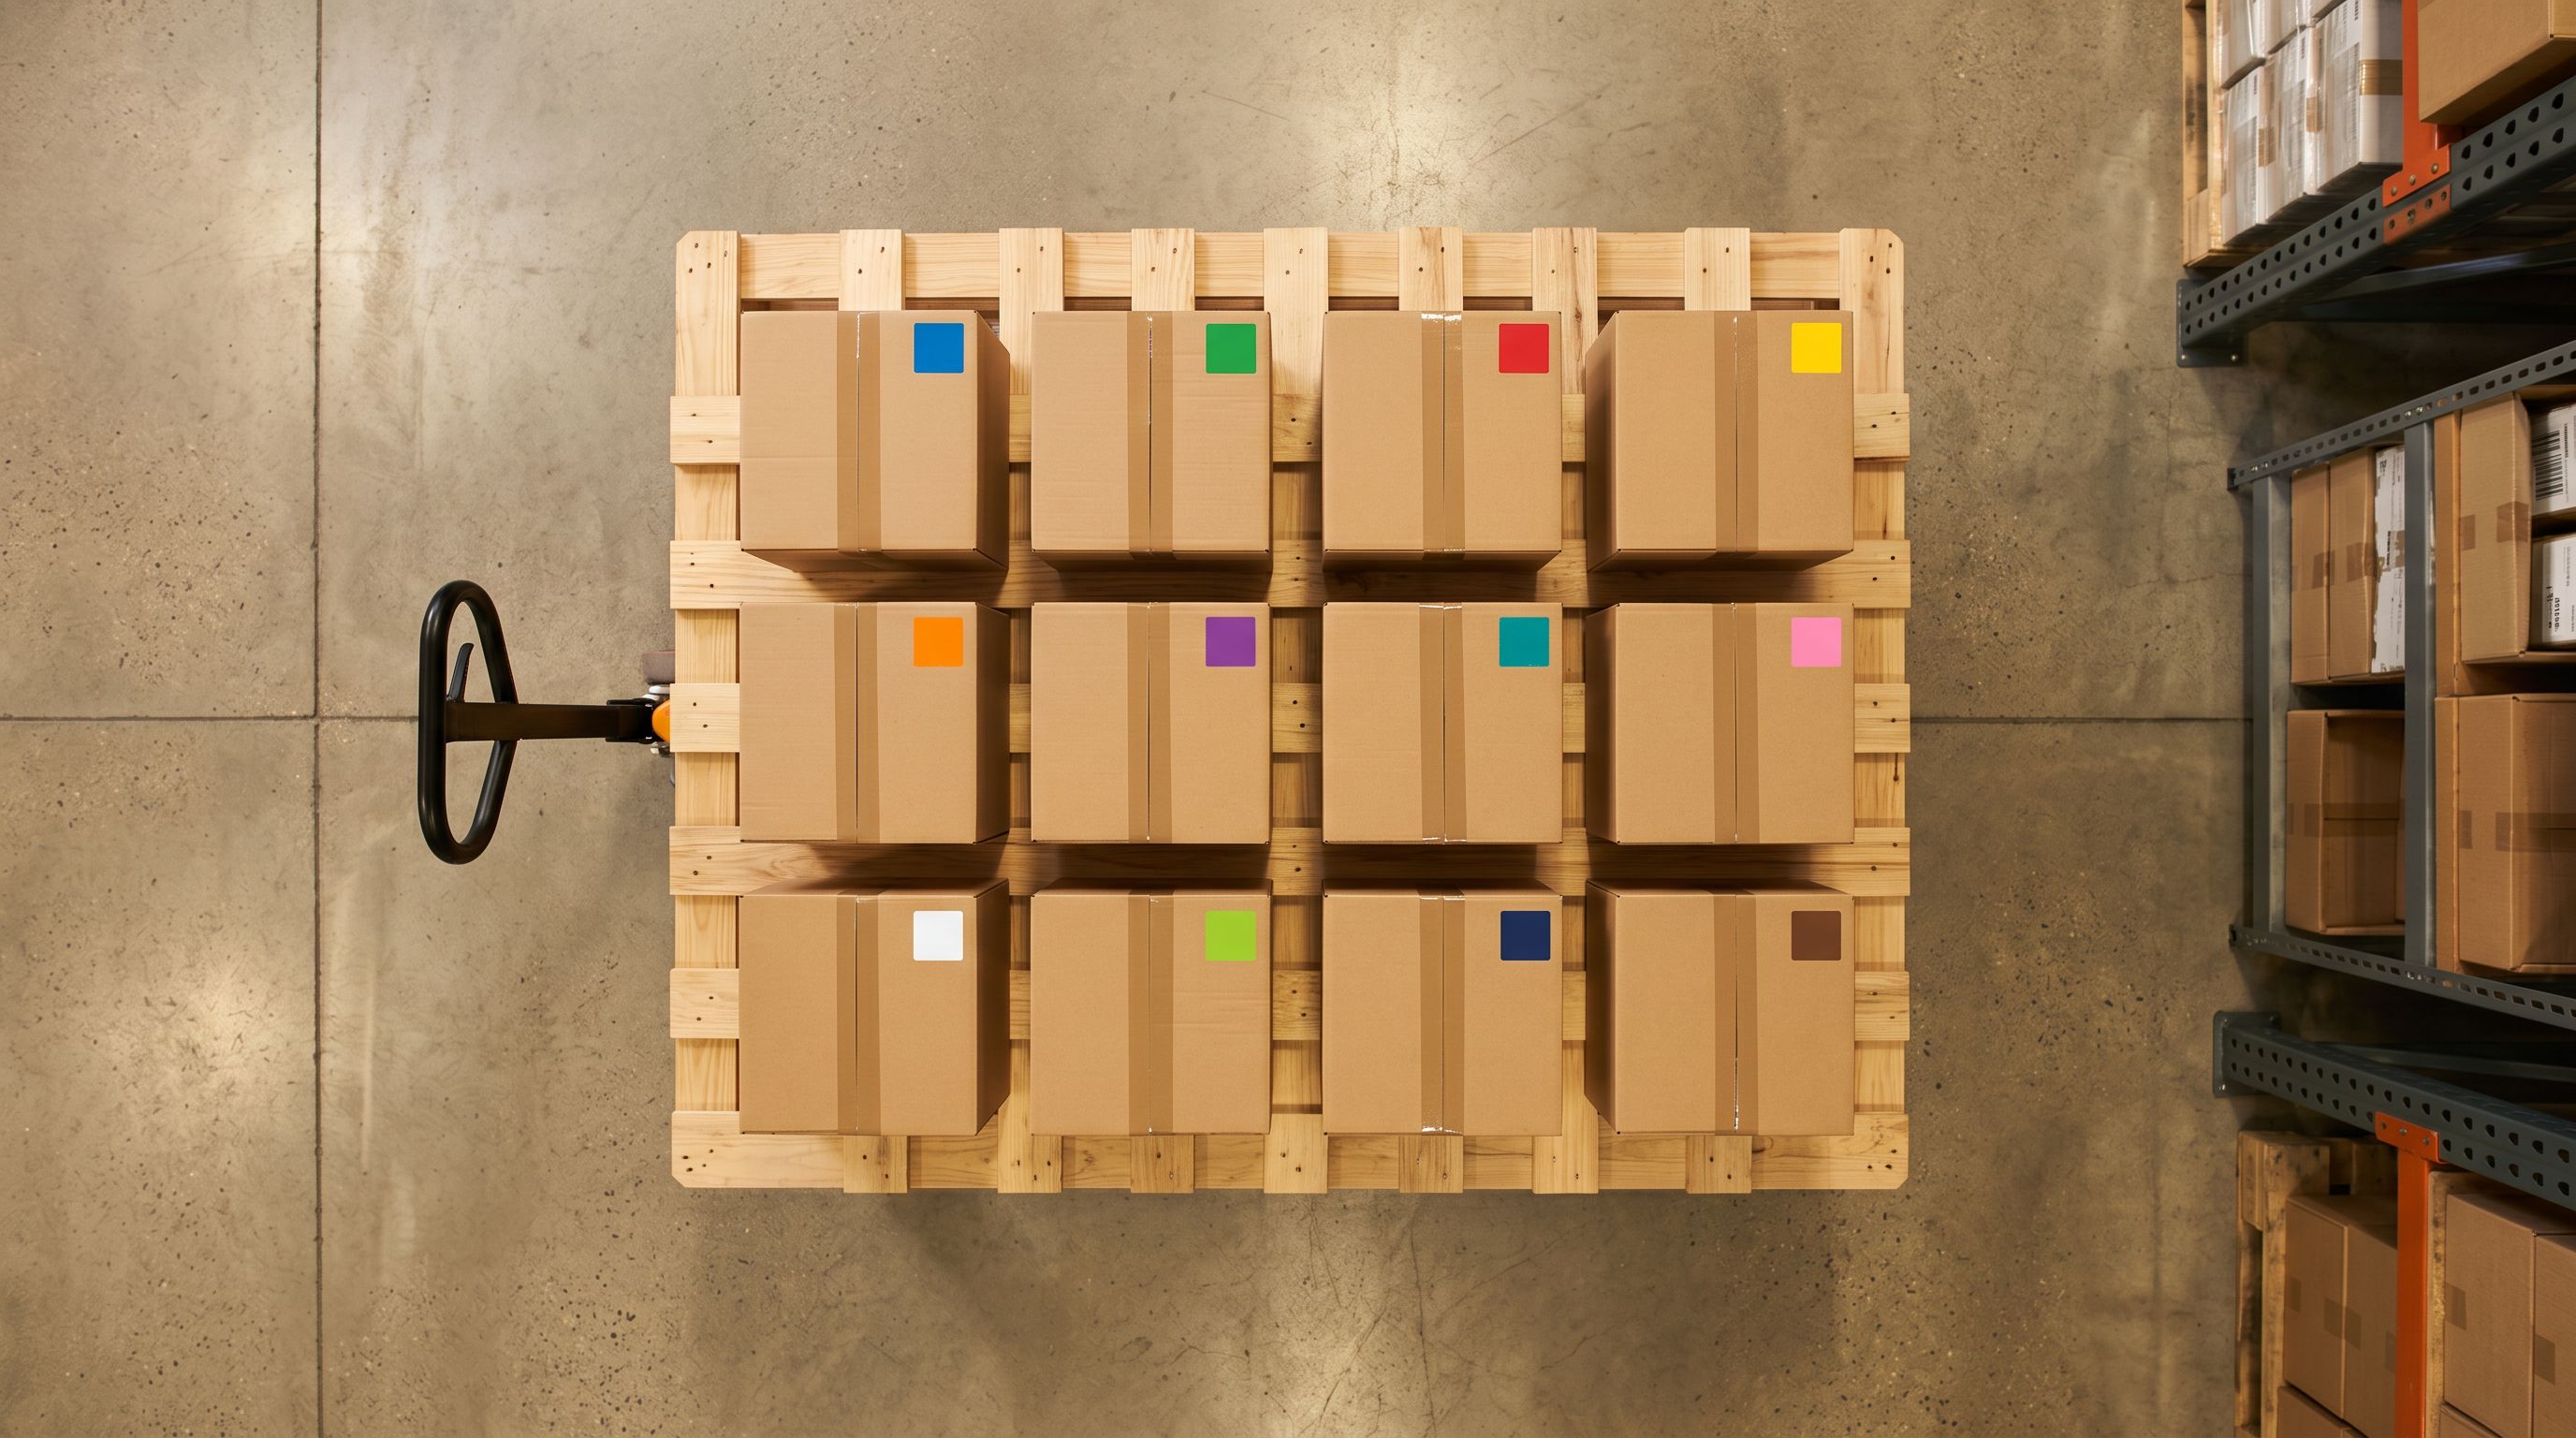
Wholesale supplier files almost always deliver per-variant rows. A shirt in three colours and four sizes appears as 12 rows. Shopify expects one product with 12 variants, grouped by a consistent Handle value.
Without that grouping, every row imports as a separate product. A 200-product wholesale catalogue sent as 800 rows becomes 800 products in Shopify, each with one variant. Merging them manually takes hours and is error-prone.
Importier's Smart Variant Detection reads the supplier file and identifies which rows belong to the same product using 150+ detection patterns across 15+ industries. For wholesale suppliers, the relevant patterns recognise size indicators (numeric, S/M/L/XL, EU, US, waist-inseam), colour and colourway across rows sharing the same base product identifier, weight and volume variants for food and supplement suppliers, and pack size variants (single, twin-pack, six-pack, case quantities).
After detection runs, the wizard shows the proposed grouping before anything reaches Shopify. The proposal is editable: adjust any row that was assigned to the wrong group, or correct a product that detection split incorrectly.
For the full variant grouping workflow and how detection handles unusual supplier file formats, the Shopify import product variants guide covers detection across different source file structures and the review interface for correcting grouping proposals.

Step 4: Data Enrichment Fills What the Supplier File Left Out
Most wholesale supplier files are missing at least some of the fields Shopify and Google require. Commonly absent or incorrect:
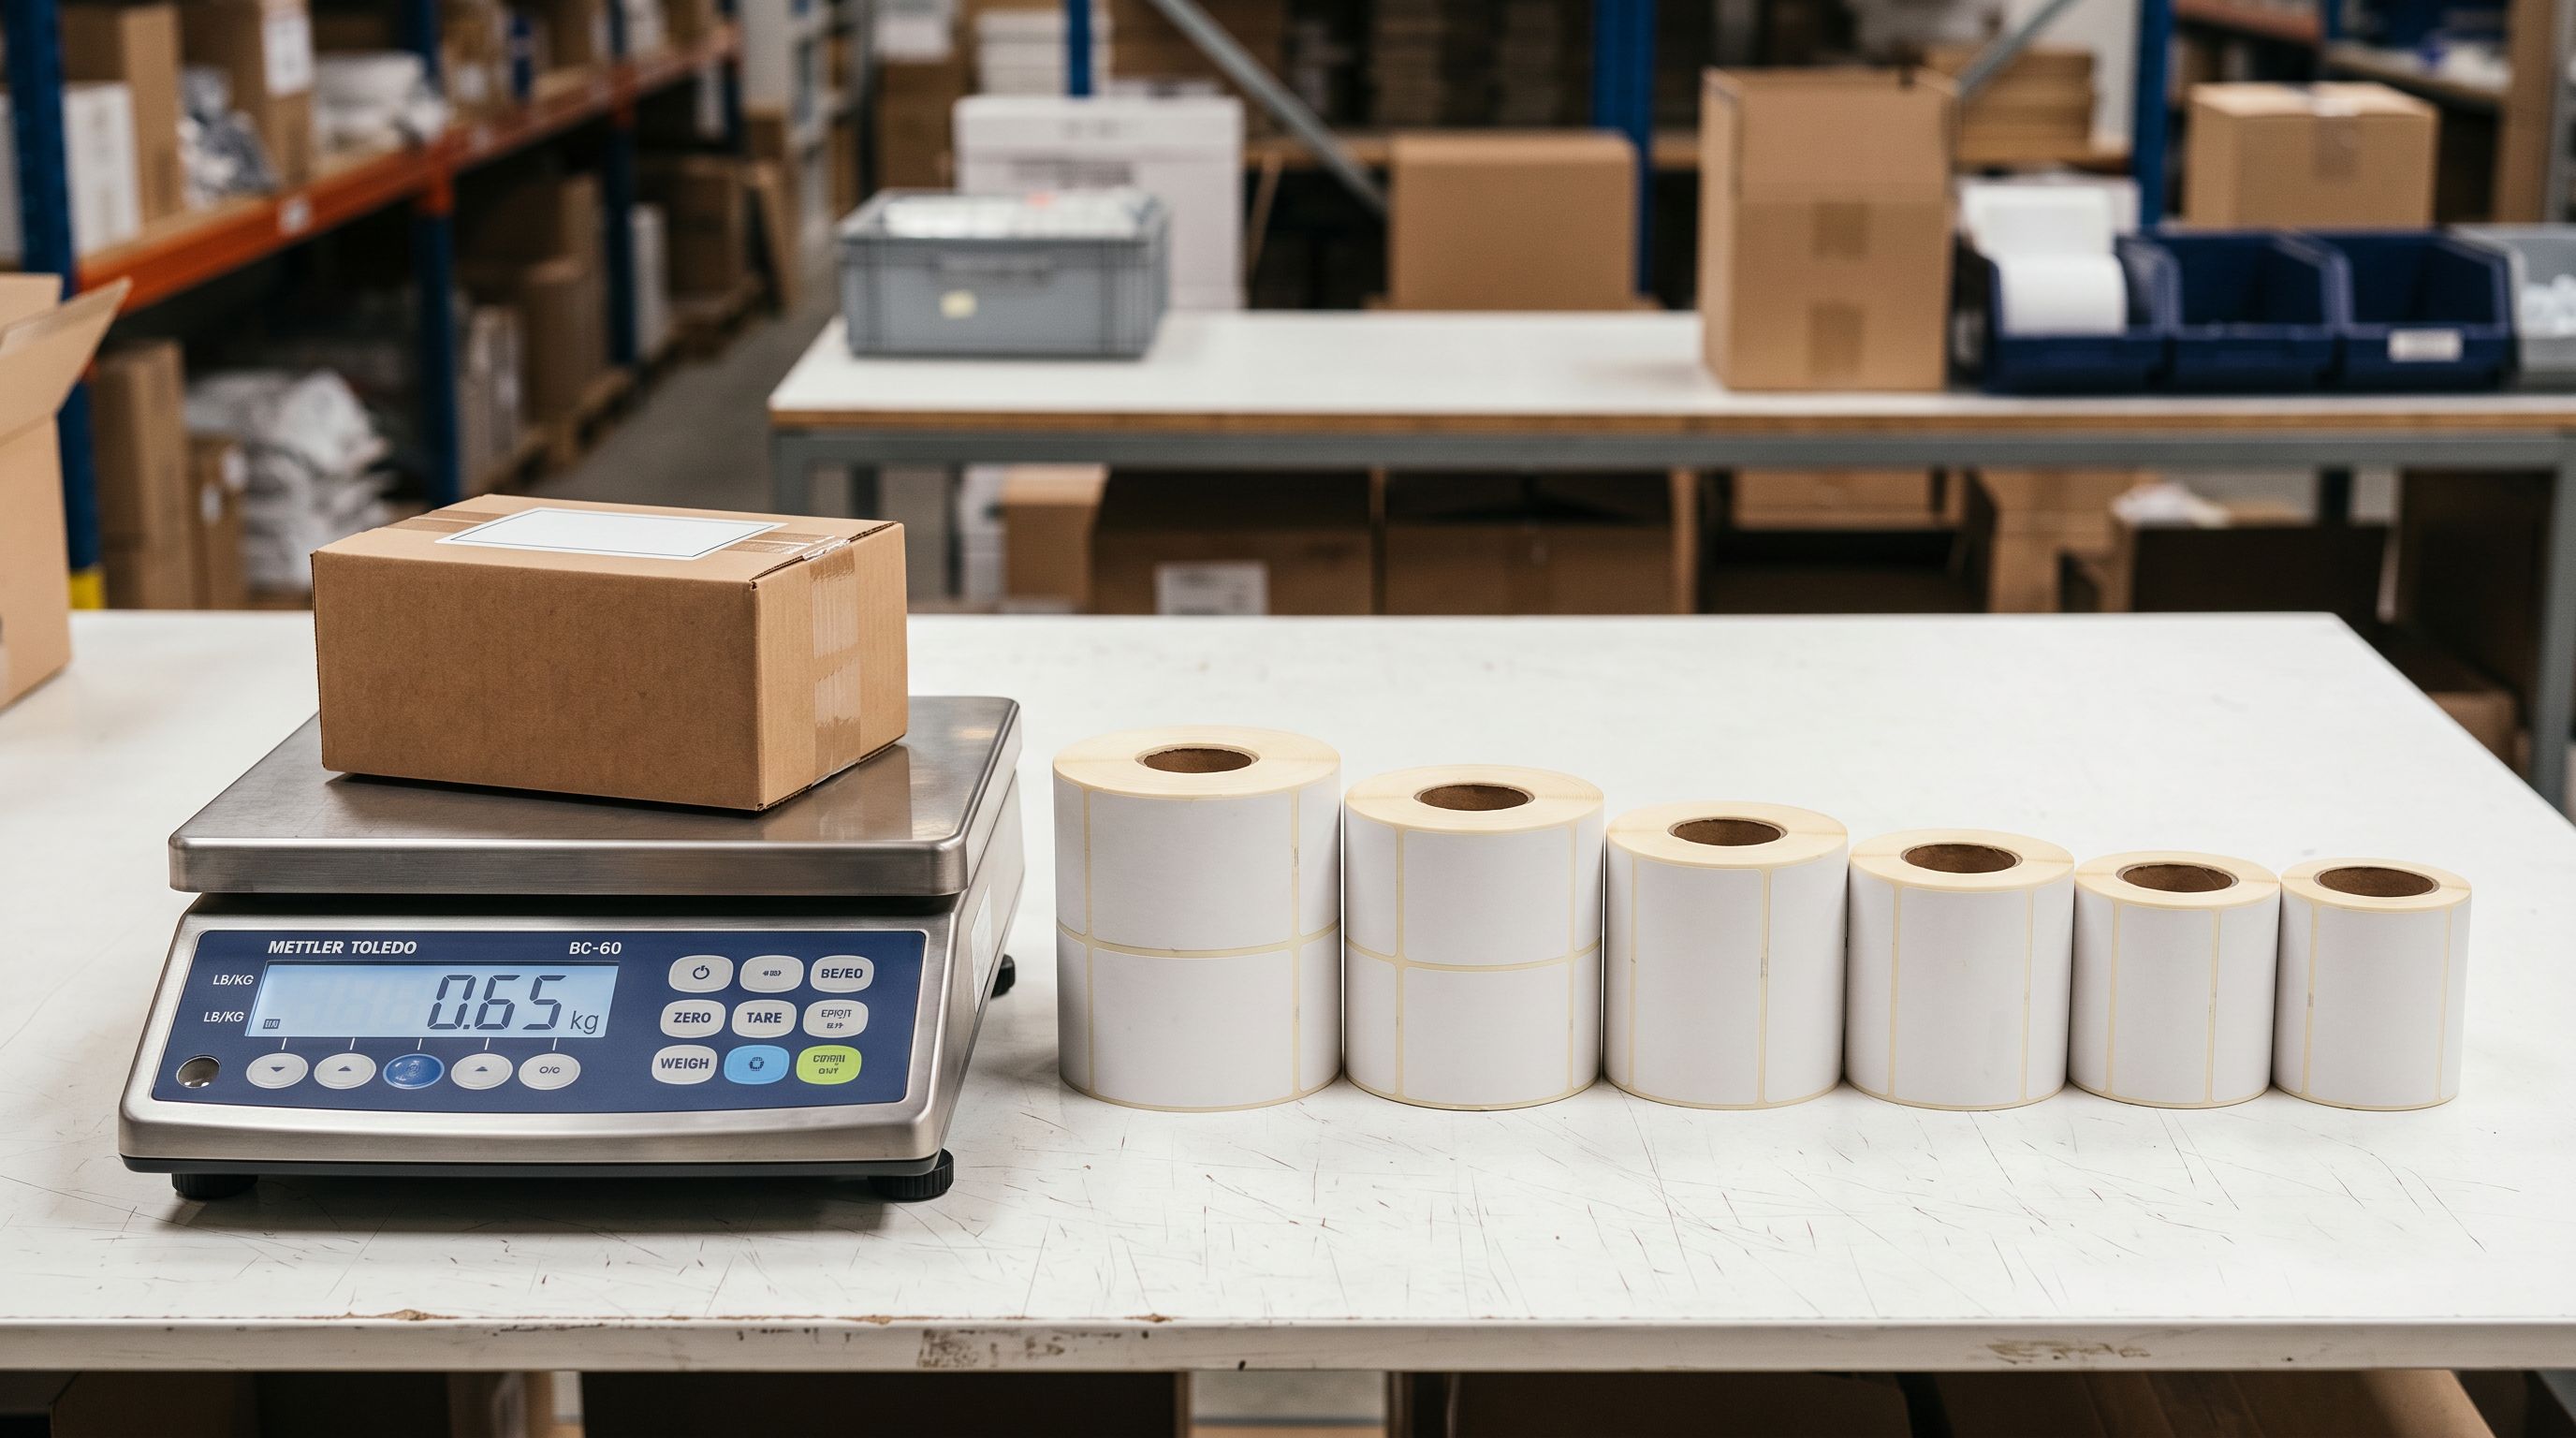
- Weight in grams: present in kilograms in the supplier file, or missing entirely for lighter products
- HS tariff code: critical for international shipping, customs clearance, and Google Merchant Centre
- Country of origin: required for IOSS, UK VAT, and Australia Post international labels
- Barcode/GTIN: supplier internal codes like "SHIRT-001" occupy the barcode field but fail Google Merchant Centre GTIN validation
Importier's data enrichment step runs in the same import pass. The AI reads each product's title, type, vendor, and available specification data and proposes values for blank fields. Weight is converted to grams automatically. HS codes are proposed from product category and type. Barcodes are looked up from registered GTIN databases where the product has a publicly registered identifier.
Enrichment fills only blank fields and never overwrites values the supplier file already provides. If the lookup cannot find a valid GTIN for a product, the barcode field stays blank rather than receiving a fabricated value. A blank barcode is better for Google Merchant Centre than an invalid one.

Step 5: The Transformation from Supplier Spec to Retail Copy
This is the step that most Shopify import tools skip entirely. It is also the step that makes the most difference to a store's performance after launch.
Wholesale suppliers write product descriptions for procurement staff. "Cotton 60%, Polyester 40%, 180 GSM, Machine Wash Cold, Graded A+" is exactly right for a procurement catalogue. The buyer needs to confirm specifications and verify compliance. It is the wrong description for a retail product page where the buyer is deciding whether to purchase the garment.
Importier's AI description generation takes the supplier data (the specification values, the product type, the vendor, and the variant options) and generates retail-quality copy that addresses why a buyer should choose the product. The specification values move into structured data fields (where Google Shopping and AI shopping agents read them). The customer-facing description answers buyer intent.
Wholesale suppliers write for procurement buyers. Retail buyers have completely different questions. The supplier spec sheet answers none of them.
For a wholesale fashion import, selecting Sensory-Rich style with an Apparel persona generates descriptions that describe how the fabric feels and how the garment wears, using the same specification data the supplier used to produce "Cotton 60%, Polyester 40%, 180 GSM." For a homewares supplier, Benefits-First style converts "Load capacity: 15kg, Material: Powder-coated steel" into copy that addresses storage needs and durability.
Importier runs the description pass across the full import batch. For a 200-product wholesale catalogue, this step takes minutes rather than the 50 to 100 hours manual rewriting would require.
For the full AI description workflow including style selection, persona configuration, and how Brand Voice ensures consistent tone across the catalogue, the Shopify AI product descriptions guide covers all seven styles with examples organised by product category.
Category and Data
Step 6: Category Metafields via Industry Packs
Every wholesale product needs to be assigned to the correct node in Shopify's Standard Product Taxonomy before it goes live. The taxonomy node determines which category attribute fields apply to the product (fabric composition, size type, gender, age group for apparel; wattage, connectivity, compatible devices for electronics), and it controls where the product appears in Google Shopping category-browsing surfaces.
Most wholesale suppliers use their own category codes, which do not map to Shopify's taxonomy. A supplier's "Outerwear" category does not tell Shopify or Google which specific taxonomy node the product belongs to.
Importier's 22 Industry Packs cover 3,758 category attribute types. During the import, the AI reads each product's type and category signals and assigns the correct taxonomy node, then populates the category attribute fields for that node. A wholesale homewares import assigns products to the correct Home and Garden subcategories and populates attributes like Room Type, Material, and Style in the same pass.
- Generic product type from supplier file ('Outerwear' or 'Apparel')
- No Google Product Category assignment; receives a generic Shopping category
- Missing gender, age_group, size_type, material attributes
- Products excluded from attribute-filtered Shopping queries
- No structured data for AI Shopping agent comparison
- Specific taxonomy: Apparel > Clothing > Outerwear > Jackets
- Correct GPC assignment; eligible for category-specific Shopping surfaces
- gender, age_group, size_type, material populated from import data
- Eligible for attribute-filtered Shopping and AI Shopping queries
- Structured category attributes readable by AI Shopping agents
Step 7: Review the Preview and Confirm
Before any product reaches Shopify, Importier shows the full import in a review table. Every row shows the mapped field values, the AI-generated description excerpt, the proposed variant grouping, and the enriched data fields alongside the original supplier values.
The review table is sortable and editable. Correct individual descriptions, adjust a price, fix a variant grouping that detection missed, all before the import runs. This is the propose-and-confirm design: the import wizard proposes every decision, and you confirm the batch after reviewing a representative sample.
The preview also shows the create-versus-update split: how many products will be created as new records versus updated to existing products. For a first wholesale import, the count should be 100% creates. For a re-import of an updated supplier catalogue, a higher-than-expected update count indicates a Handle collision with existing products that needs investigation before confirming.
For re-importing when the supplier sends a price update without changing descriptions or variants, the Shopify supplier price update guide covers selective column mapping to update price columns only without overwriting AI-generated descriptions.
Recurring Wholesale Imports with Scheduled Imports
Most wholesale merchants receive updated catalogues regularly: new season lines, price changes, discontinued products, new stock additions. Running the full import workflow manually each time is the right approach for the first import. After that, Scheduled Imports automate the process.

Once a column mapping profile is saved and the AI configuration is set, a Scheduled Import runs the full pipeline at the configured interval: daily, weekly, or monthly. The schedule reads the source file, applies the saved column mapping, runs Smart Variant Detection, fills enrichment, generates descriptions, and pushes to Shopify.
For merchants with multiple wholesale suppliers, each supplier gets its own schedule with its own column mapping profile. Scale plan supports two simultaneous schedules; Enterprise supports ten.
Scheduled Imports also protect AI-generated content from supplier overwrites. When the supplier sends an updated catalogue and the full reimport would normally overwrite the AI-enriched descriptions with raw supplier copy, the saved mapping profile controls exactly which columns are written to Shopify on each run.
For the full Scheduled Imports setup workflow including how to run the first manual import before configuring the schedule, the Shopify scheduled product imports guide covers configuration, source file management, and how to handle supplier format changes.
How the Time Compares Across the Workflow
| Workflow step | Manual approach | With Importier |
|---|---|---|
| Column reformatting | 45-90 minutes per supplier file | 2-5 minutes (auto-mapping, saved profile) |
| Variant grouping (500-row file) | 3-4 hours of CSV restructuring | Automatic (150+ detection patterns) |
| Data enrichment for 200 products | 40-125 hours (5-15 min per product) | Runs during the import pass |
| AI descriptions for 200 products | 50-100 hours (15-30 min per product) | Batch generation in minutes |
| Category metafields for 200 products | Full working day or more | Industry Pack applied at import |
| Total for a 200-product wholesale import | Several working weeks | Under 1 hour |
Shopify's B2B documentation covers the account-level wholesale setup: company accounts, price lists, payment terms, and minimum order quantities. That is the configuration layer that happens after products are live in the store. Shopify's product CSV reference documents the exact column format Shopify's native importer requires. This clarifies why supplier files in non-standard formats need either manual reformatting or a tool that handles column mapping directly.
Try Importier free at importier.app
Set up your first import in under five minutes.
Importier brings products into Shopify with AI descriptions, category metafields, and data enrichment on every run.