Shopify Multi-Location Inventory Import: Assign by Location
On this page
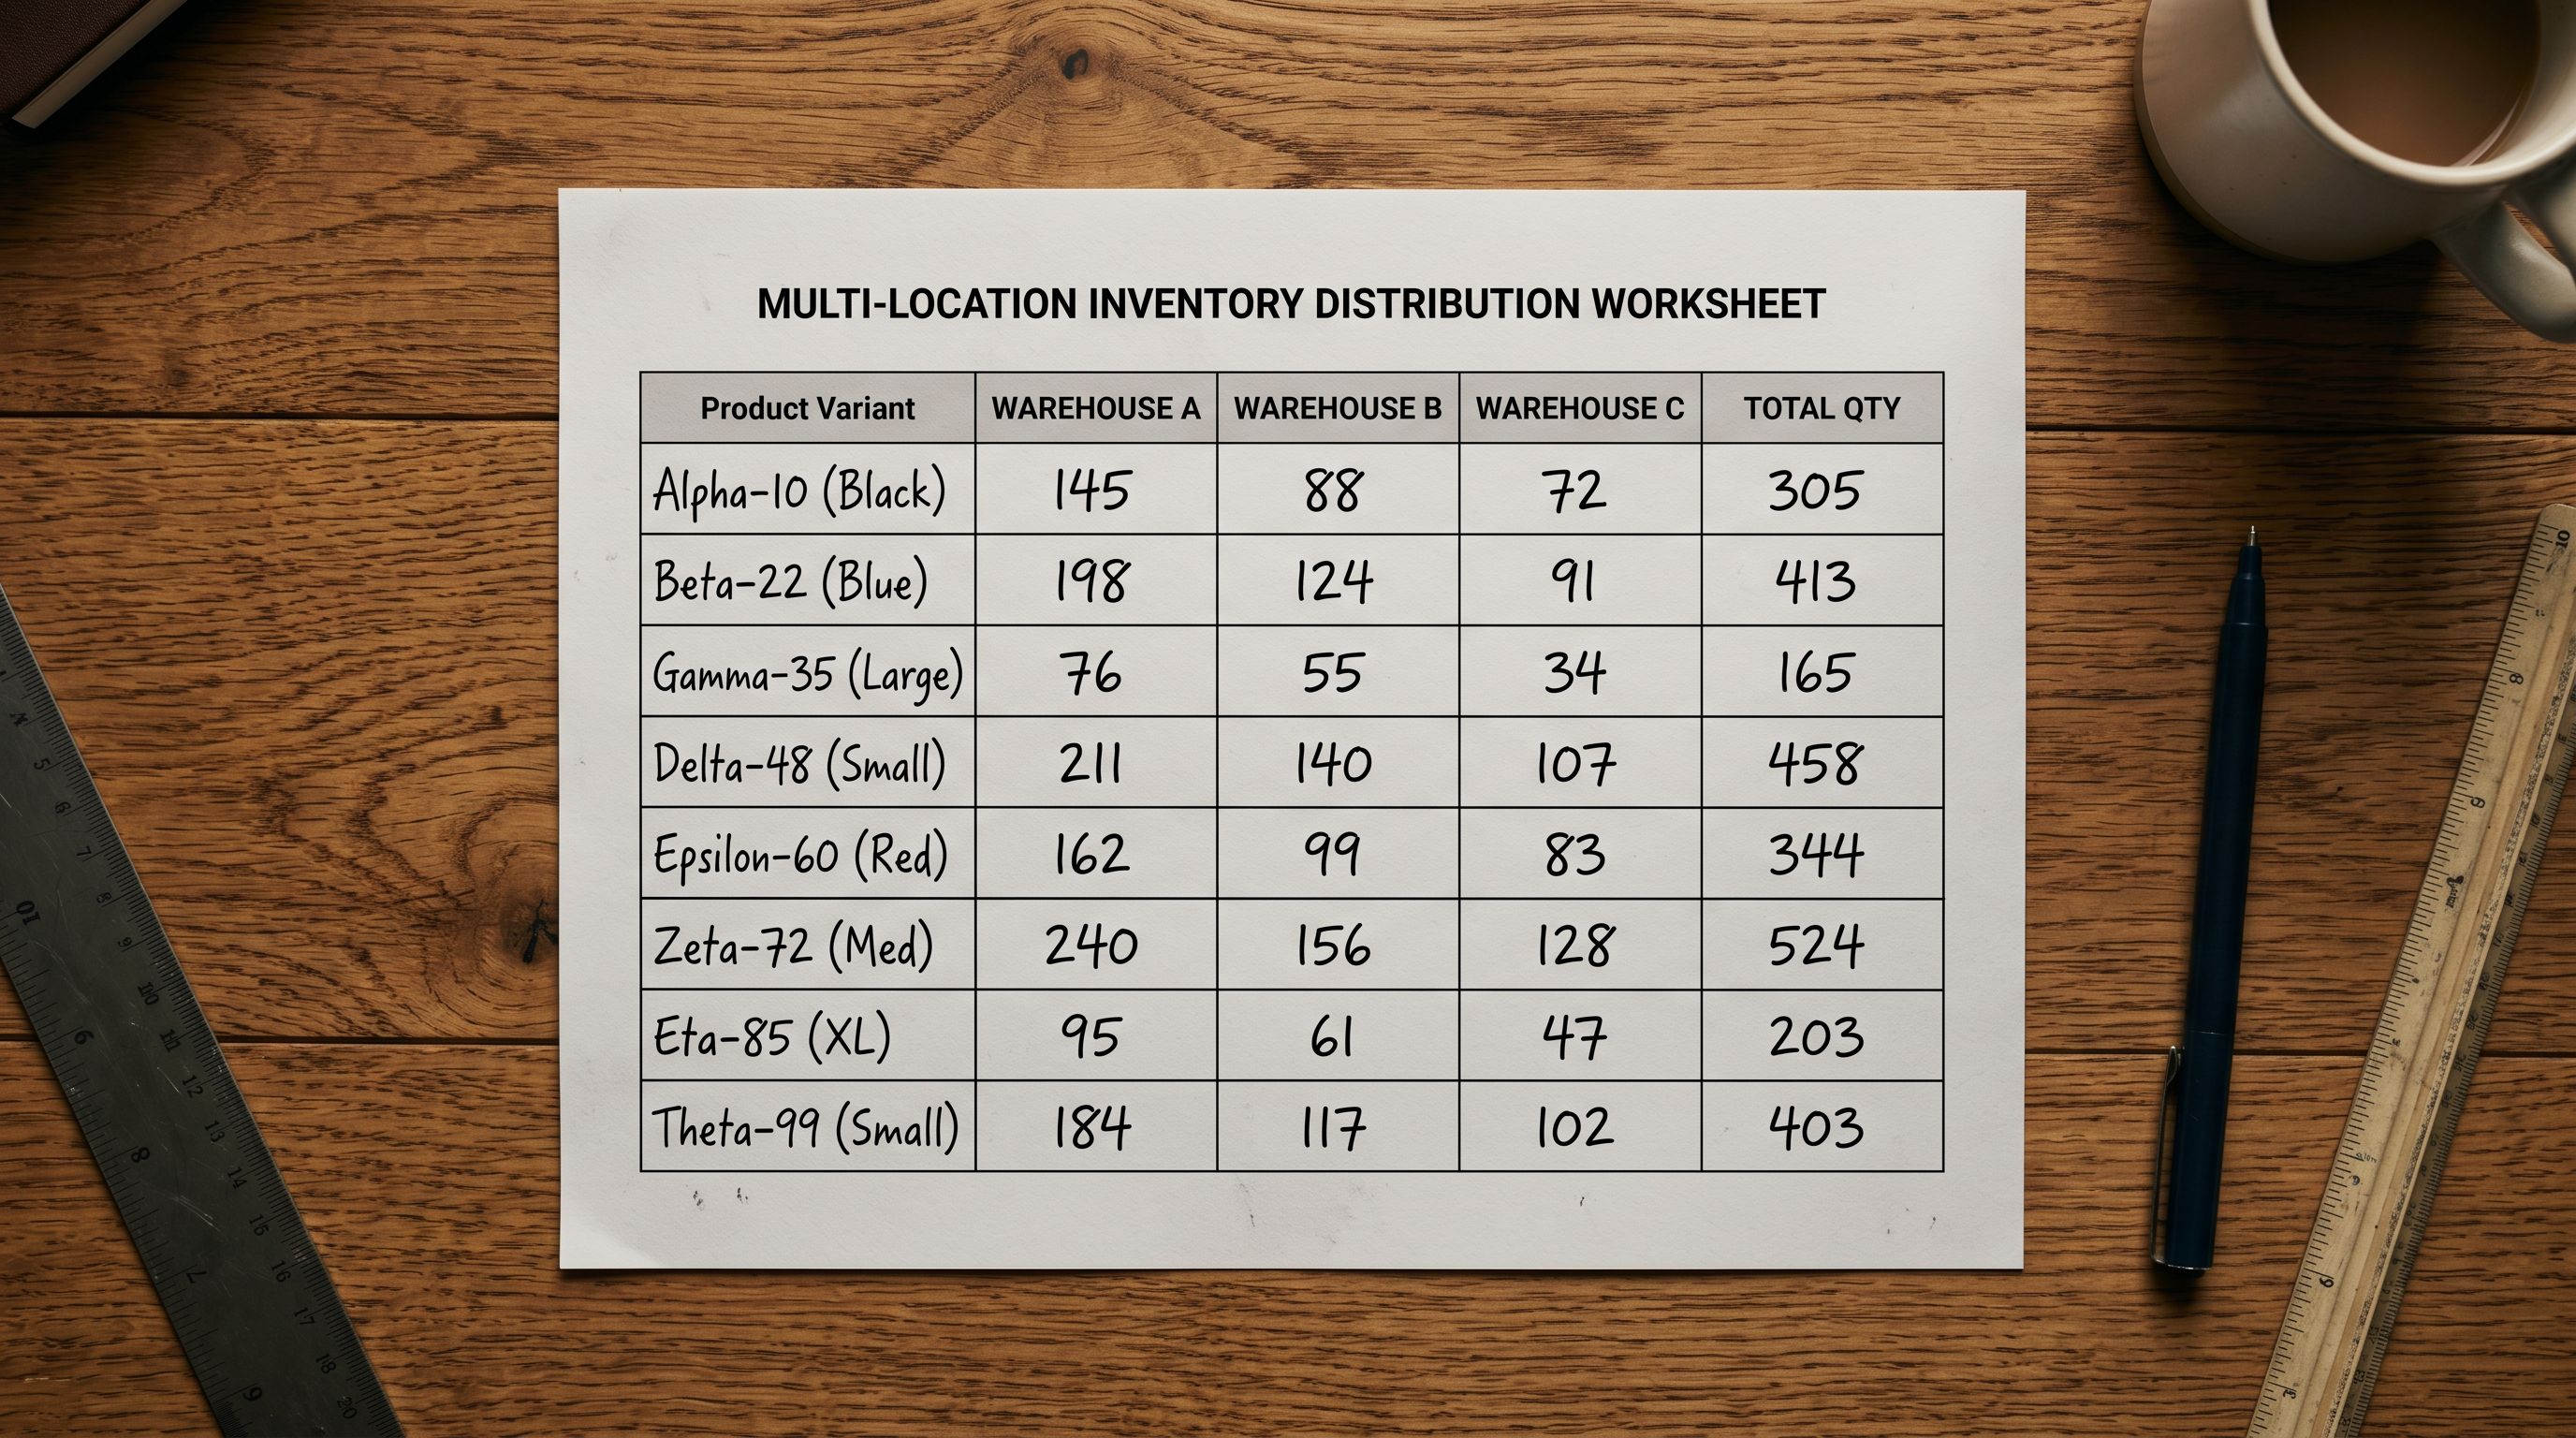
A fashion wholesaler with one central warehouse and two retail showrooms enables Shopify POS alongside their online store, then imports 620 SKUs from a supplier spreadsheet. The shopify multi-location inventory import completes without errors. Within an hour, they notice that every product shows pickup availability only at the warehouse. The two retail showrooms are not listed as pickup options. Customers checking product availability at the showrooms see nothing. The products imported correctly, but only to one location.
This is the pattern that most merchants hit after enabling multiple locations for the first time. The import mapped quantities to the warehouse. The retail locations were not included. The products exist in Shopify, but they do not exist at the locations where the merchant needs to sell them.
How Shopify Multi-Location Inventory Works at the Product Level
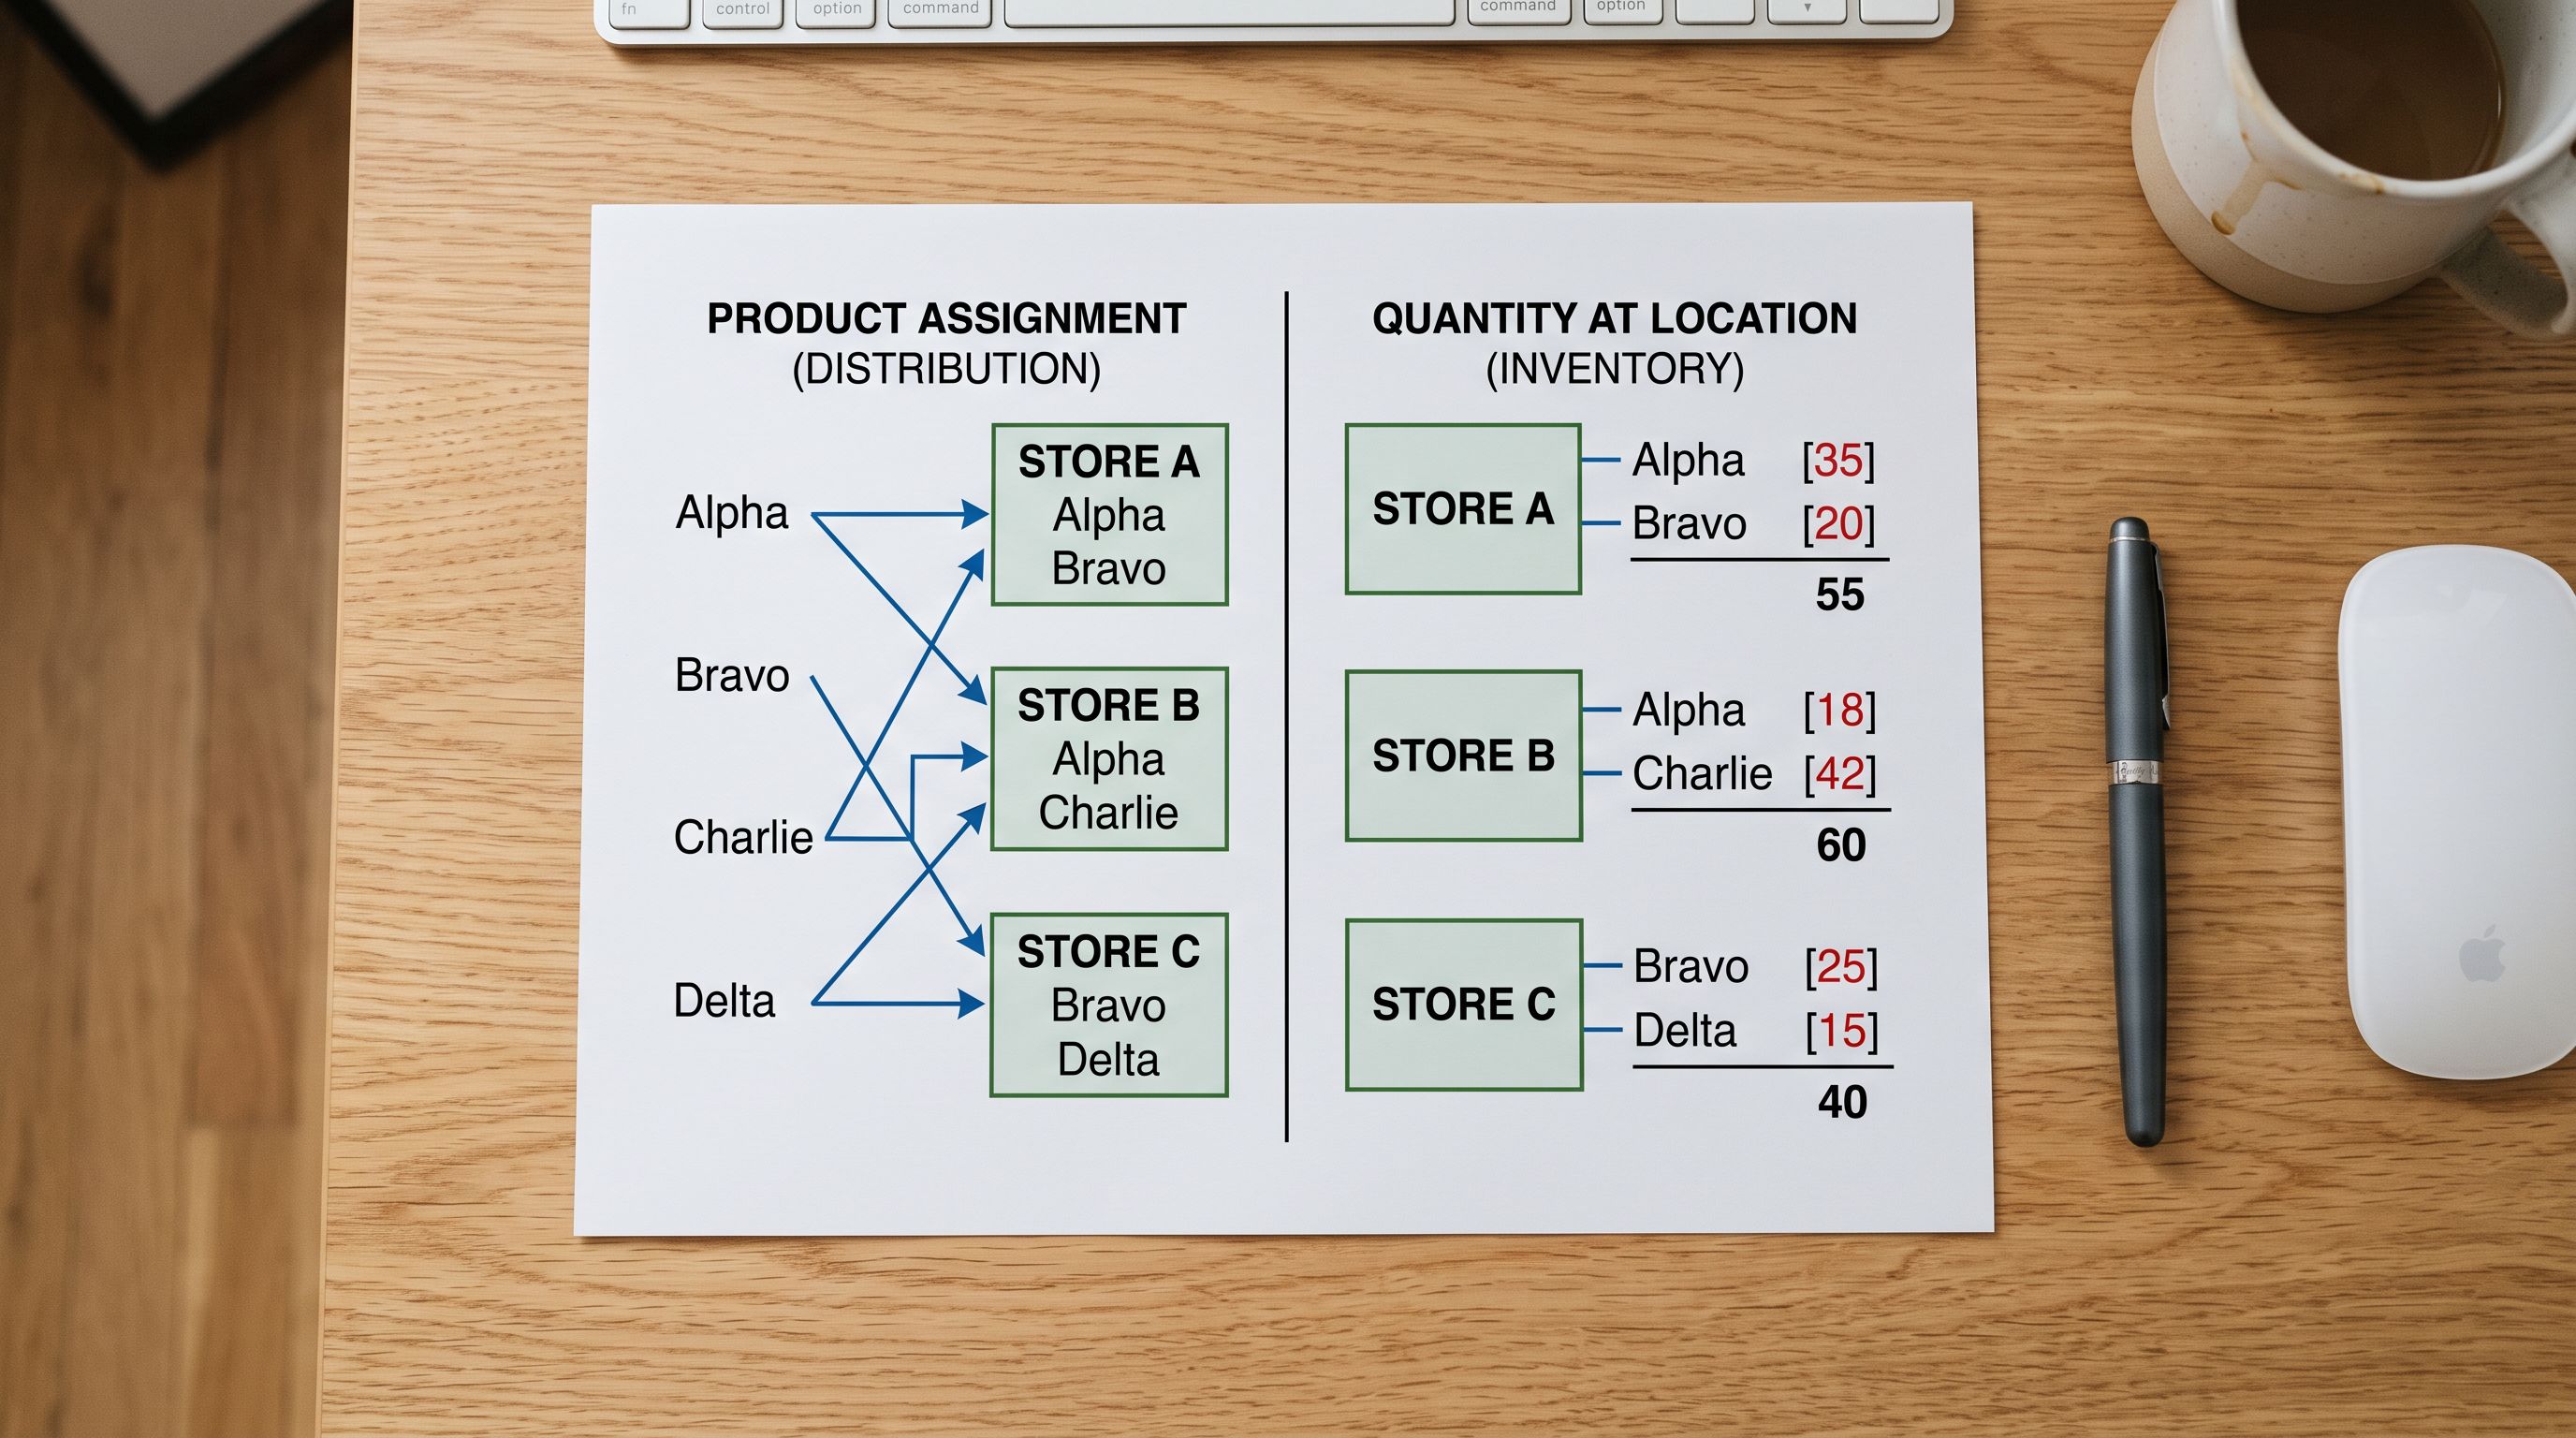
Shopify's multi-location inventory model separates two distinct concepts: which locations carry a product, and how much of that product each location has.
When a product variant is assigned to a location, Shopify creates an InventoryLevel record connecting that variant's inventory item to that location. This record is required for any inventory activity at that location: receiving stock, making sales, enabling "available for pickup," appearing in POS inventory counts.
Without an InventoryLevel record, the product is invisible to that location, regardless of what the overall product status is. A product can be active, published, and fully stocked at the warehouse, and still not exist at a retail location that has no InventoryLevel record for it.
Quantity is a property of the InventoryLevel record. A variant can be assigned to three locations with quantities of 40, 0, and 15. The location with zero quantity shows the variant as "sold out" at that location. The variant is still assigned there; a customer checking availability sees "sold out" rather than "not available." A variant with no InventoryLevel record at a location doesn't appear in that location's inventory at any quantity.
Why Imports Miss Location Assignment
Shopify's CSV import schema uses Location [Location Name] Qty column headers to set quantities per location. Per Shopify's InventoryLevel API documentation, each InventoryLevel record connects a variant's inventory item to a specific location by location ID. The CSV import creates InventoryLevel records for each location column that appears in the import file.
The problem is what the import omits. If the file has Location [Warehouse] Qty but no Location [Retail 1] Qty column, Shopify creates an InventoryLevel record only at the Warehouse. The Retail 1 location has no InventoryLevel record for any of those products after the import. They are not sold out at Retail 1; they simply do not exist there.
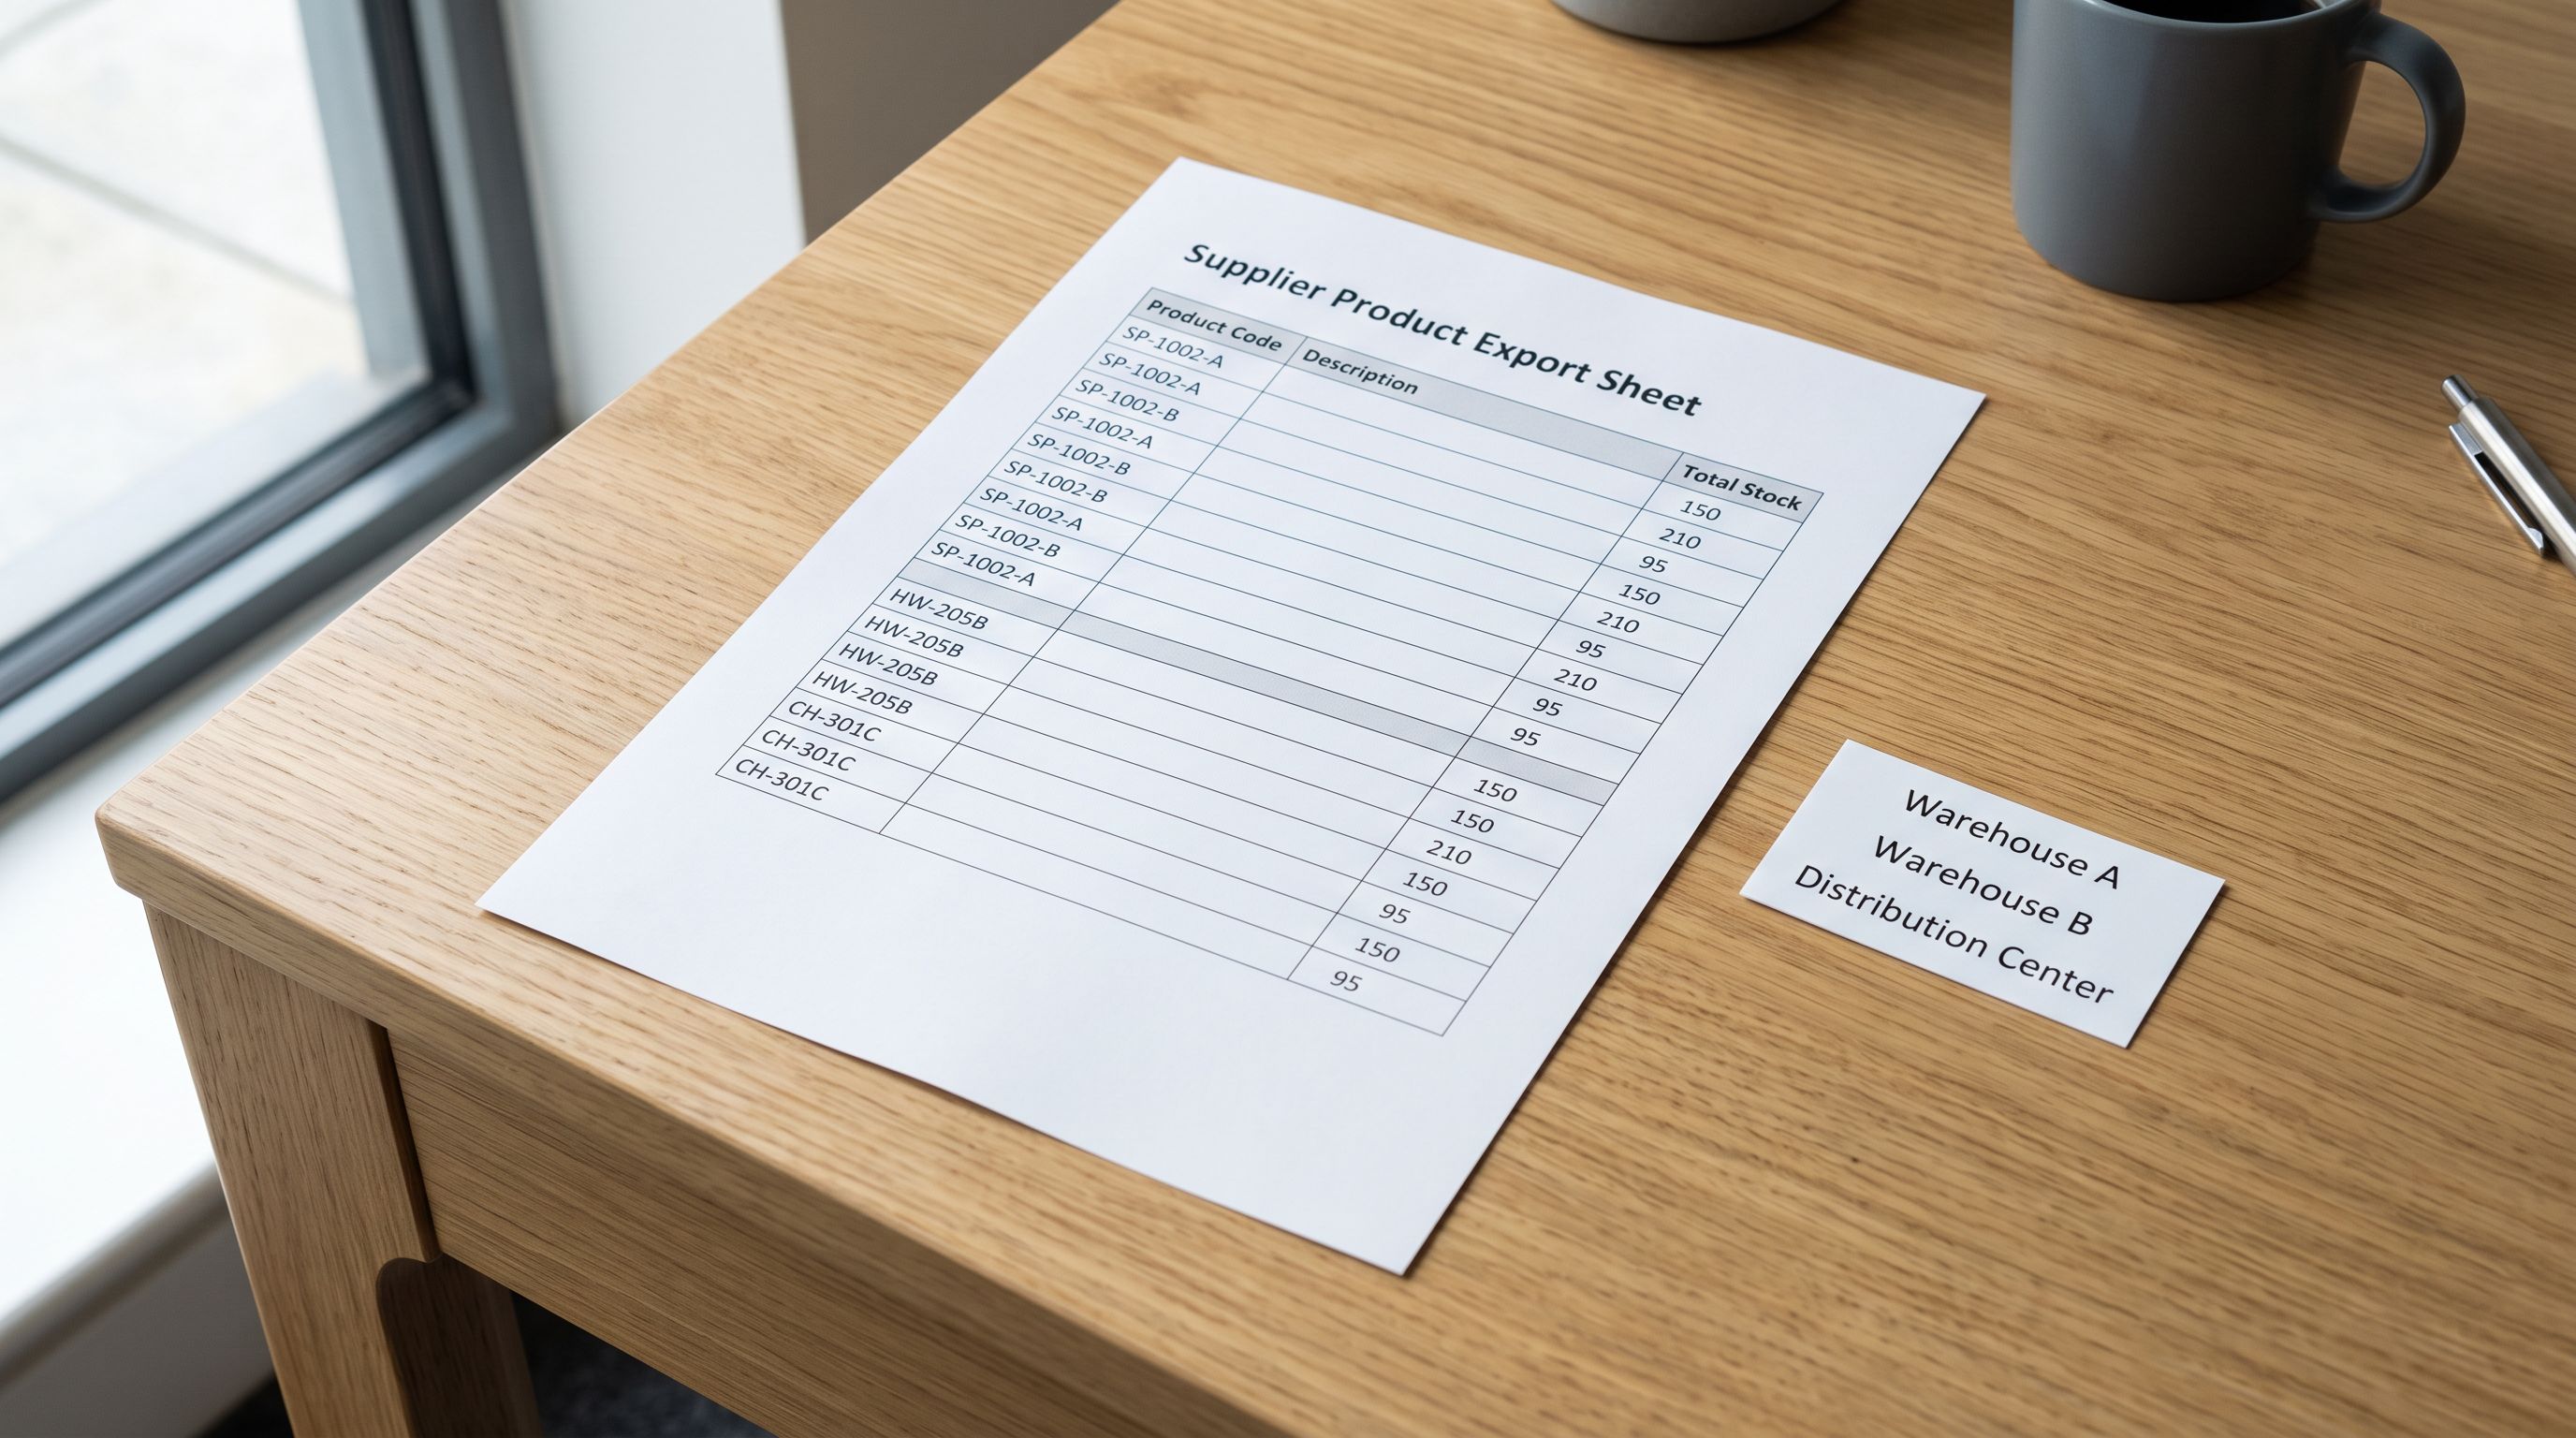
Supplier spreadsheets do not include Shopify location columns. A supplier sends a data file with SKUs, prices, descriptions, and a quantity figure. That quantity represents total available stock, not a per-location breakdown. There is no "how much goes to each of your locations" column in supplier data. The import tool must translate a single quantity figure into the per-location structure Shopify expects.
The default behaviour of most import tools, including Shopify's native CSV import, is to assign all inventory to the store's default location. This is correct for single-location stores. For stores with multiple active locations, it produces the partial assignment problem.
Solving the location assignment problem
Shopify Multi-Location Inventory Import: Structuring Location Columns
For a multi-location Shopify store, the import file needs to either map quantities to each active location explicitly, or specify which locations receive assignment during the import configuration step.
Format 1: per-location quantity columns
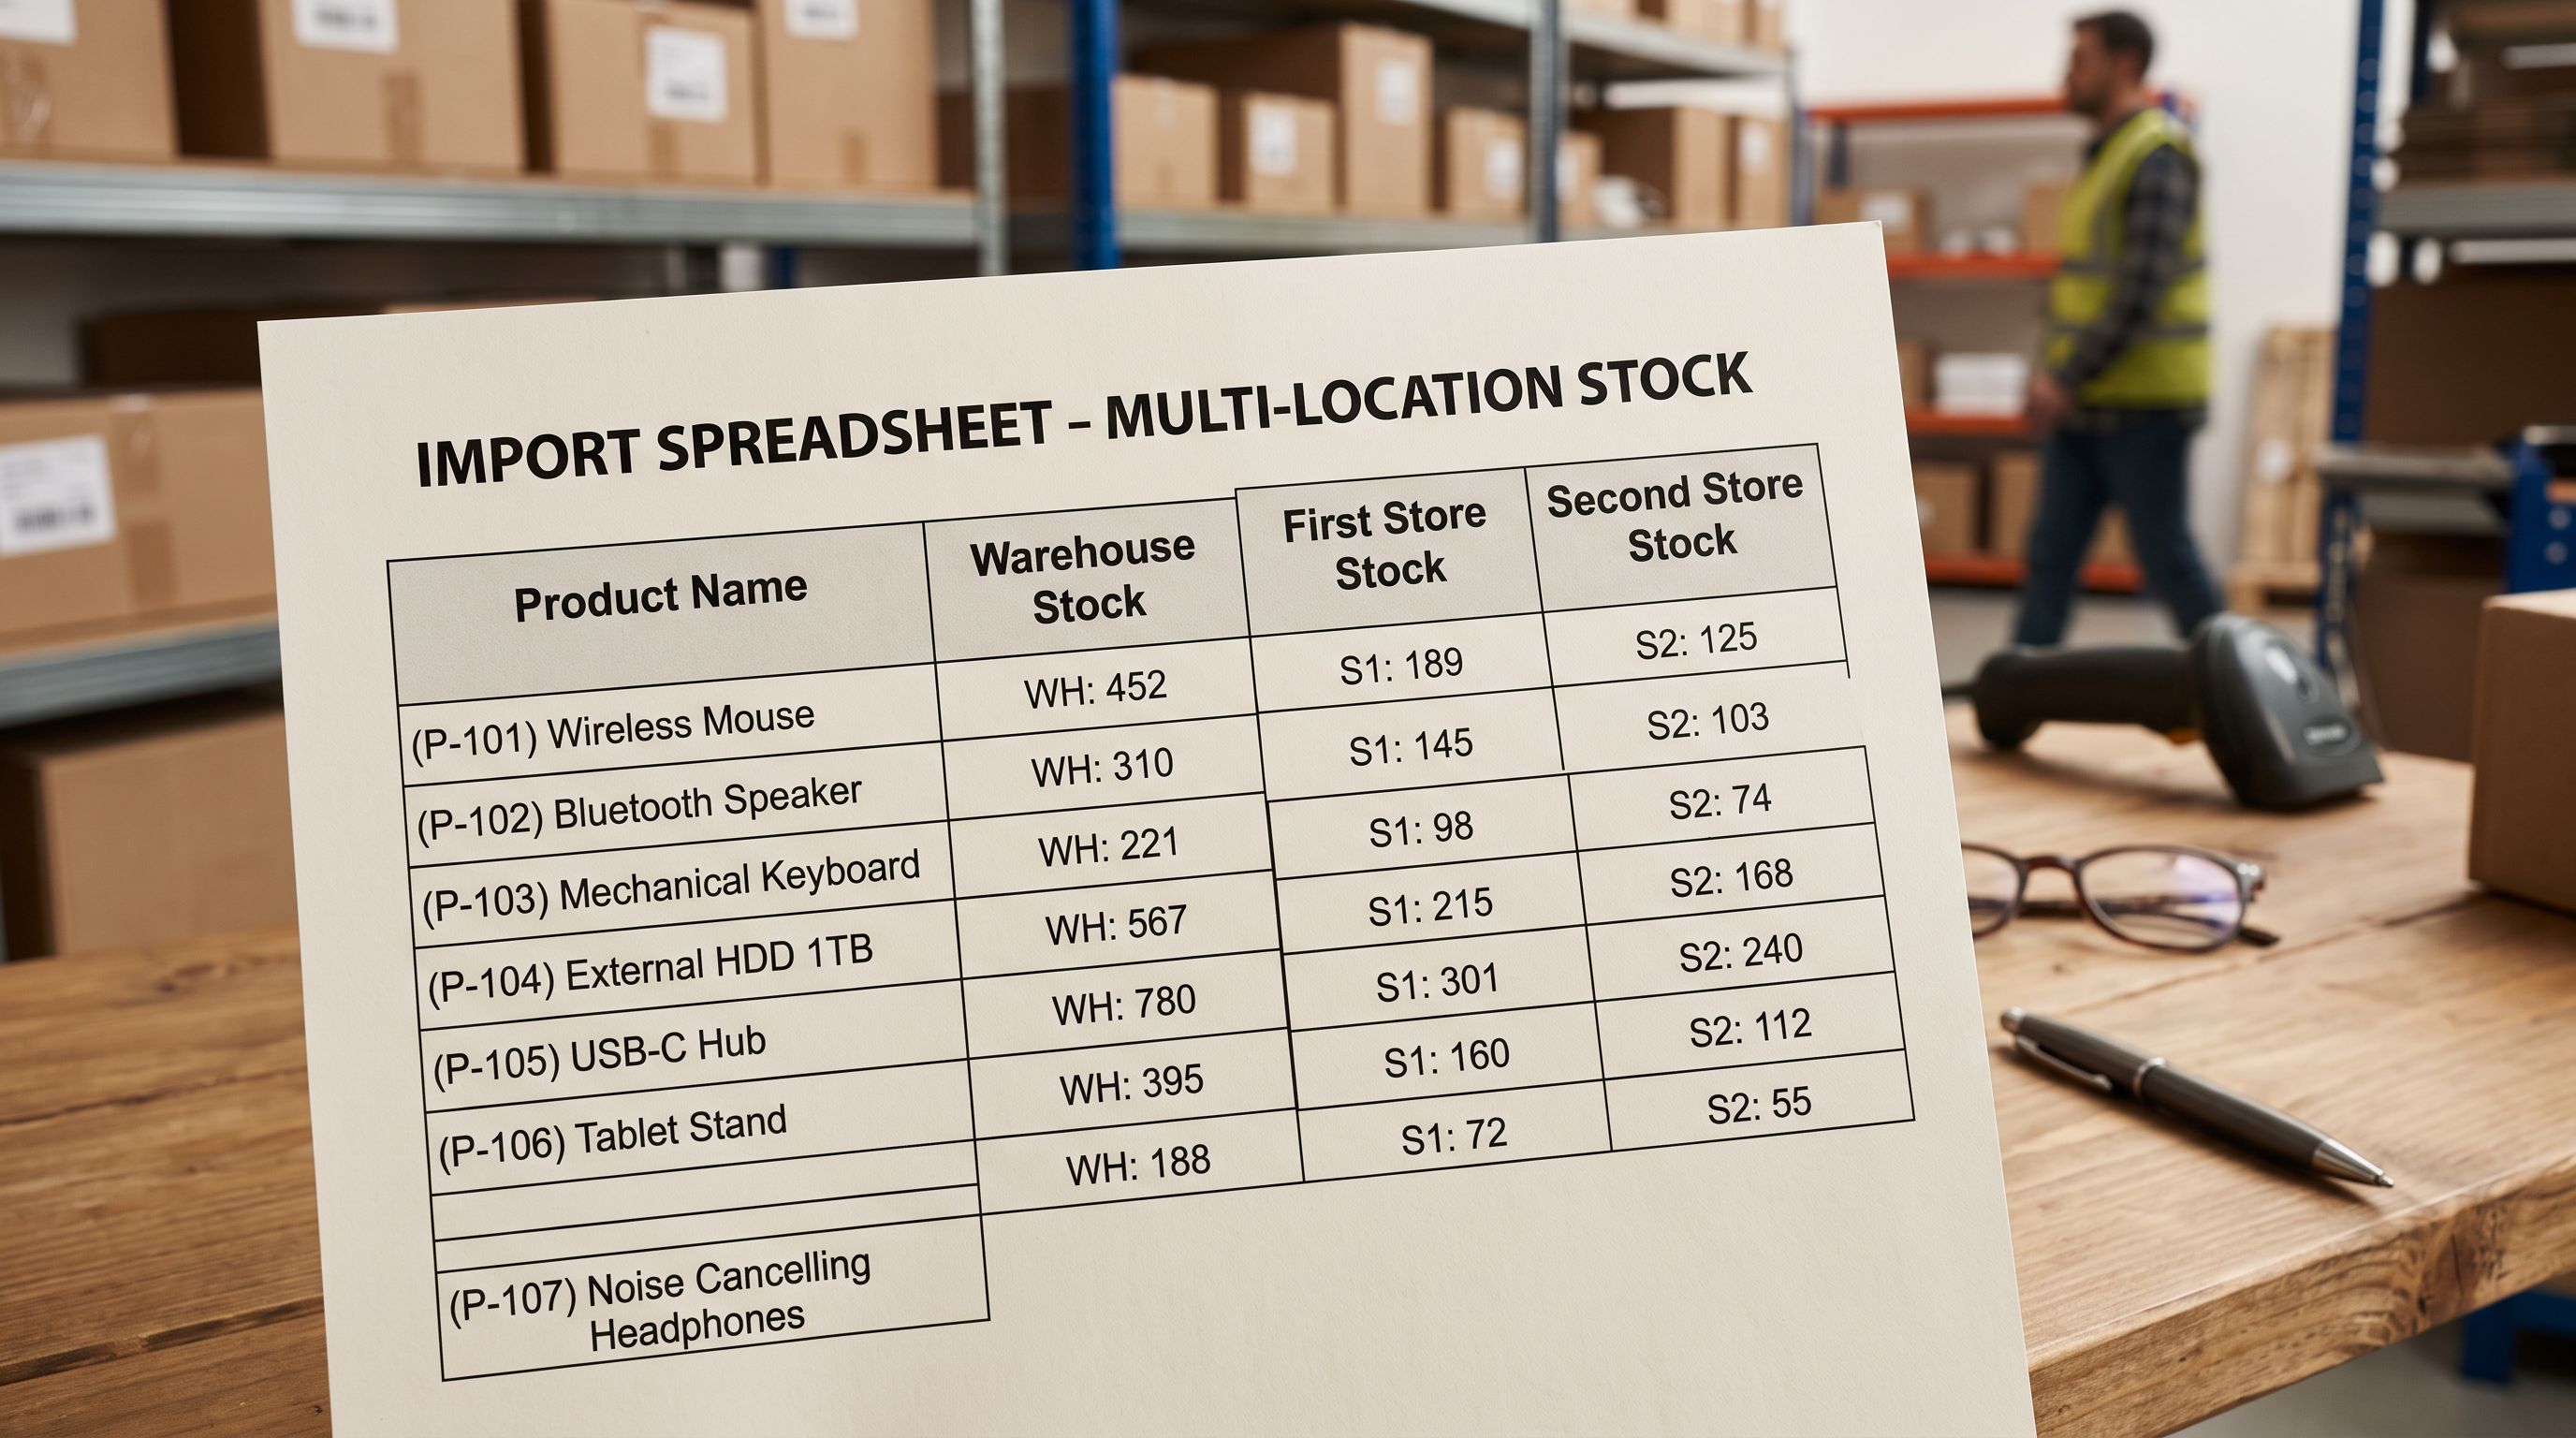
The Shopify CSV format supports separate columns for each location: Location [Warehouse] Qty, Location [Retail 1] Qty, Location [Retail 2] Qty. When the supplier provides a single total quantity, the merchant must decide how to distribute it across locations before or during import.
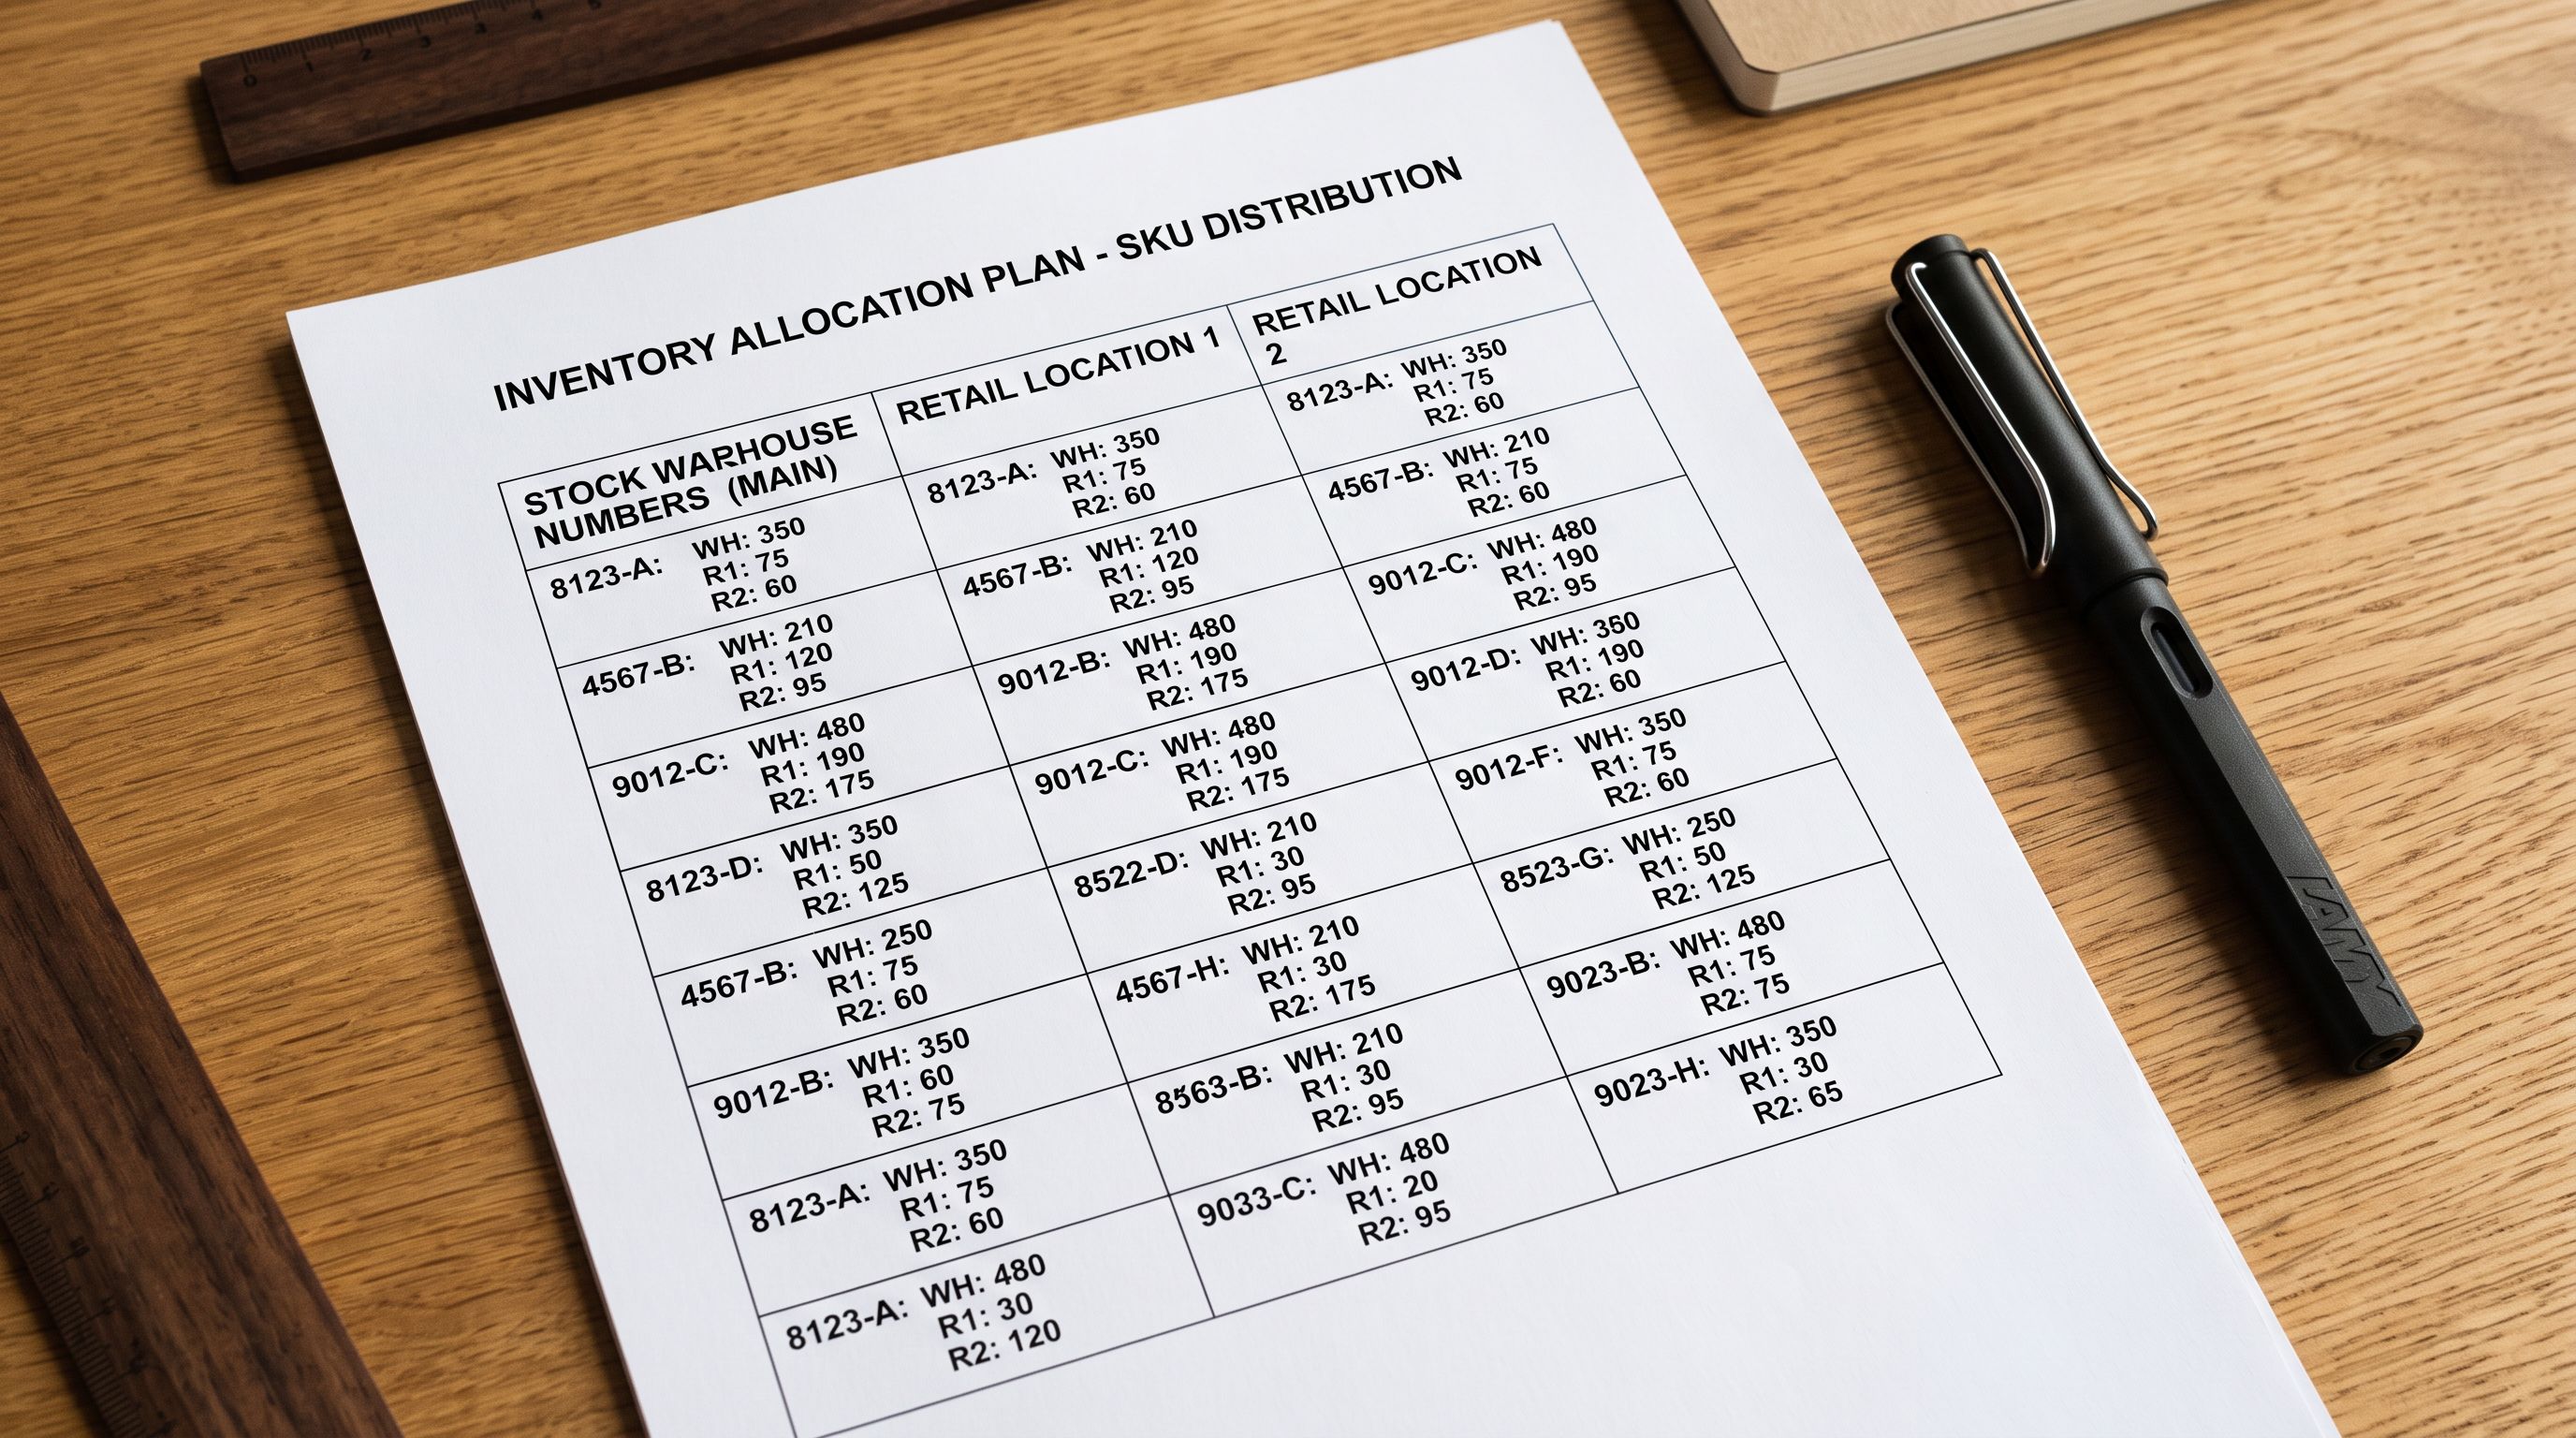
For a wholesale merchant receiving 200 units of a product allocated to three locations, a sensible distribution might be 120 at the warehouse (fulfilment base) and 40 at each retail location (display stock). This distribution is a business decision the import tool must support as a mapping step, not a formula Shopify applies automatically.
Importier's column mapping step handles this in two ways. If the import file has separate quantity columns per location, Importier maps each column to the corresponding Shopify location. If the import file has a single total quantity column, the mapping step allows the merchant to define a distribution rule: assign all to one location, split evenly across selected locations, or assign a percentage to each selected location. The import applies this rule to every product in the batch.
Format 2: explicit location assignment column
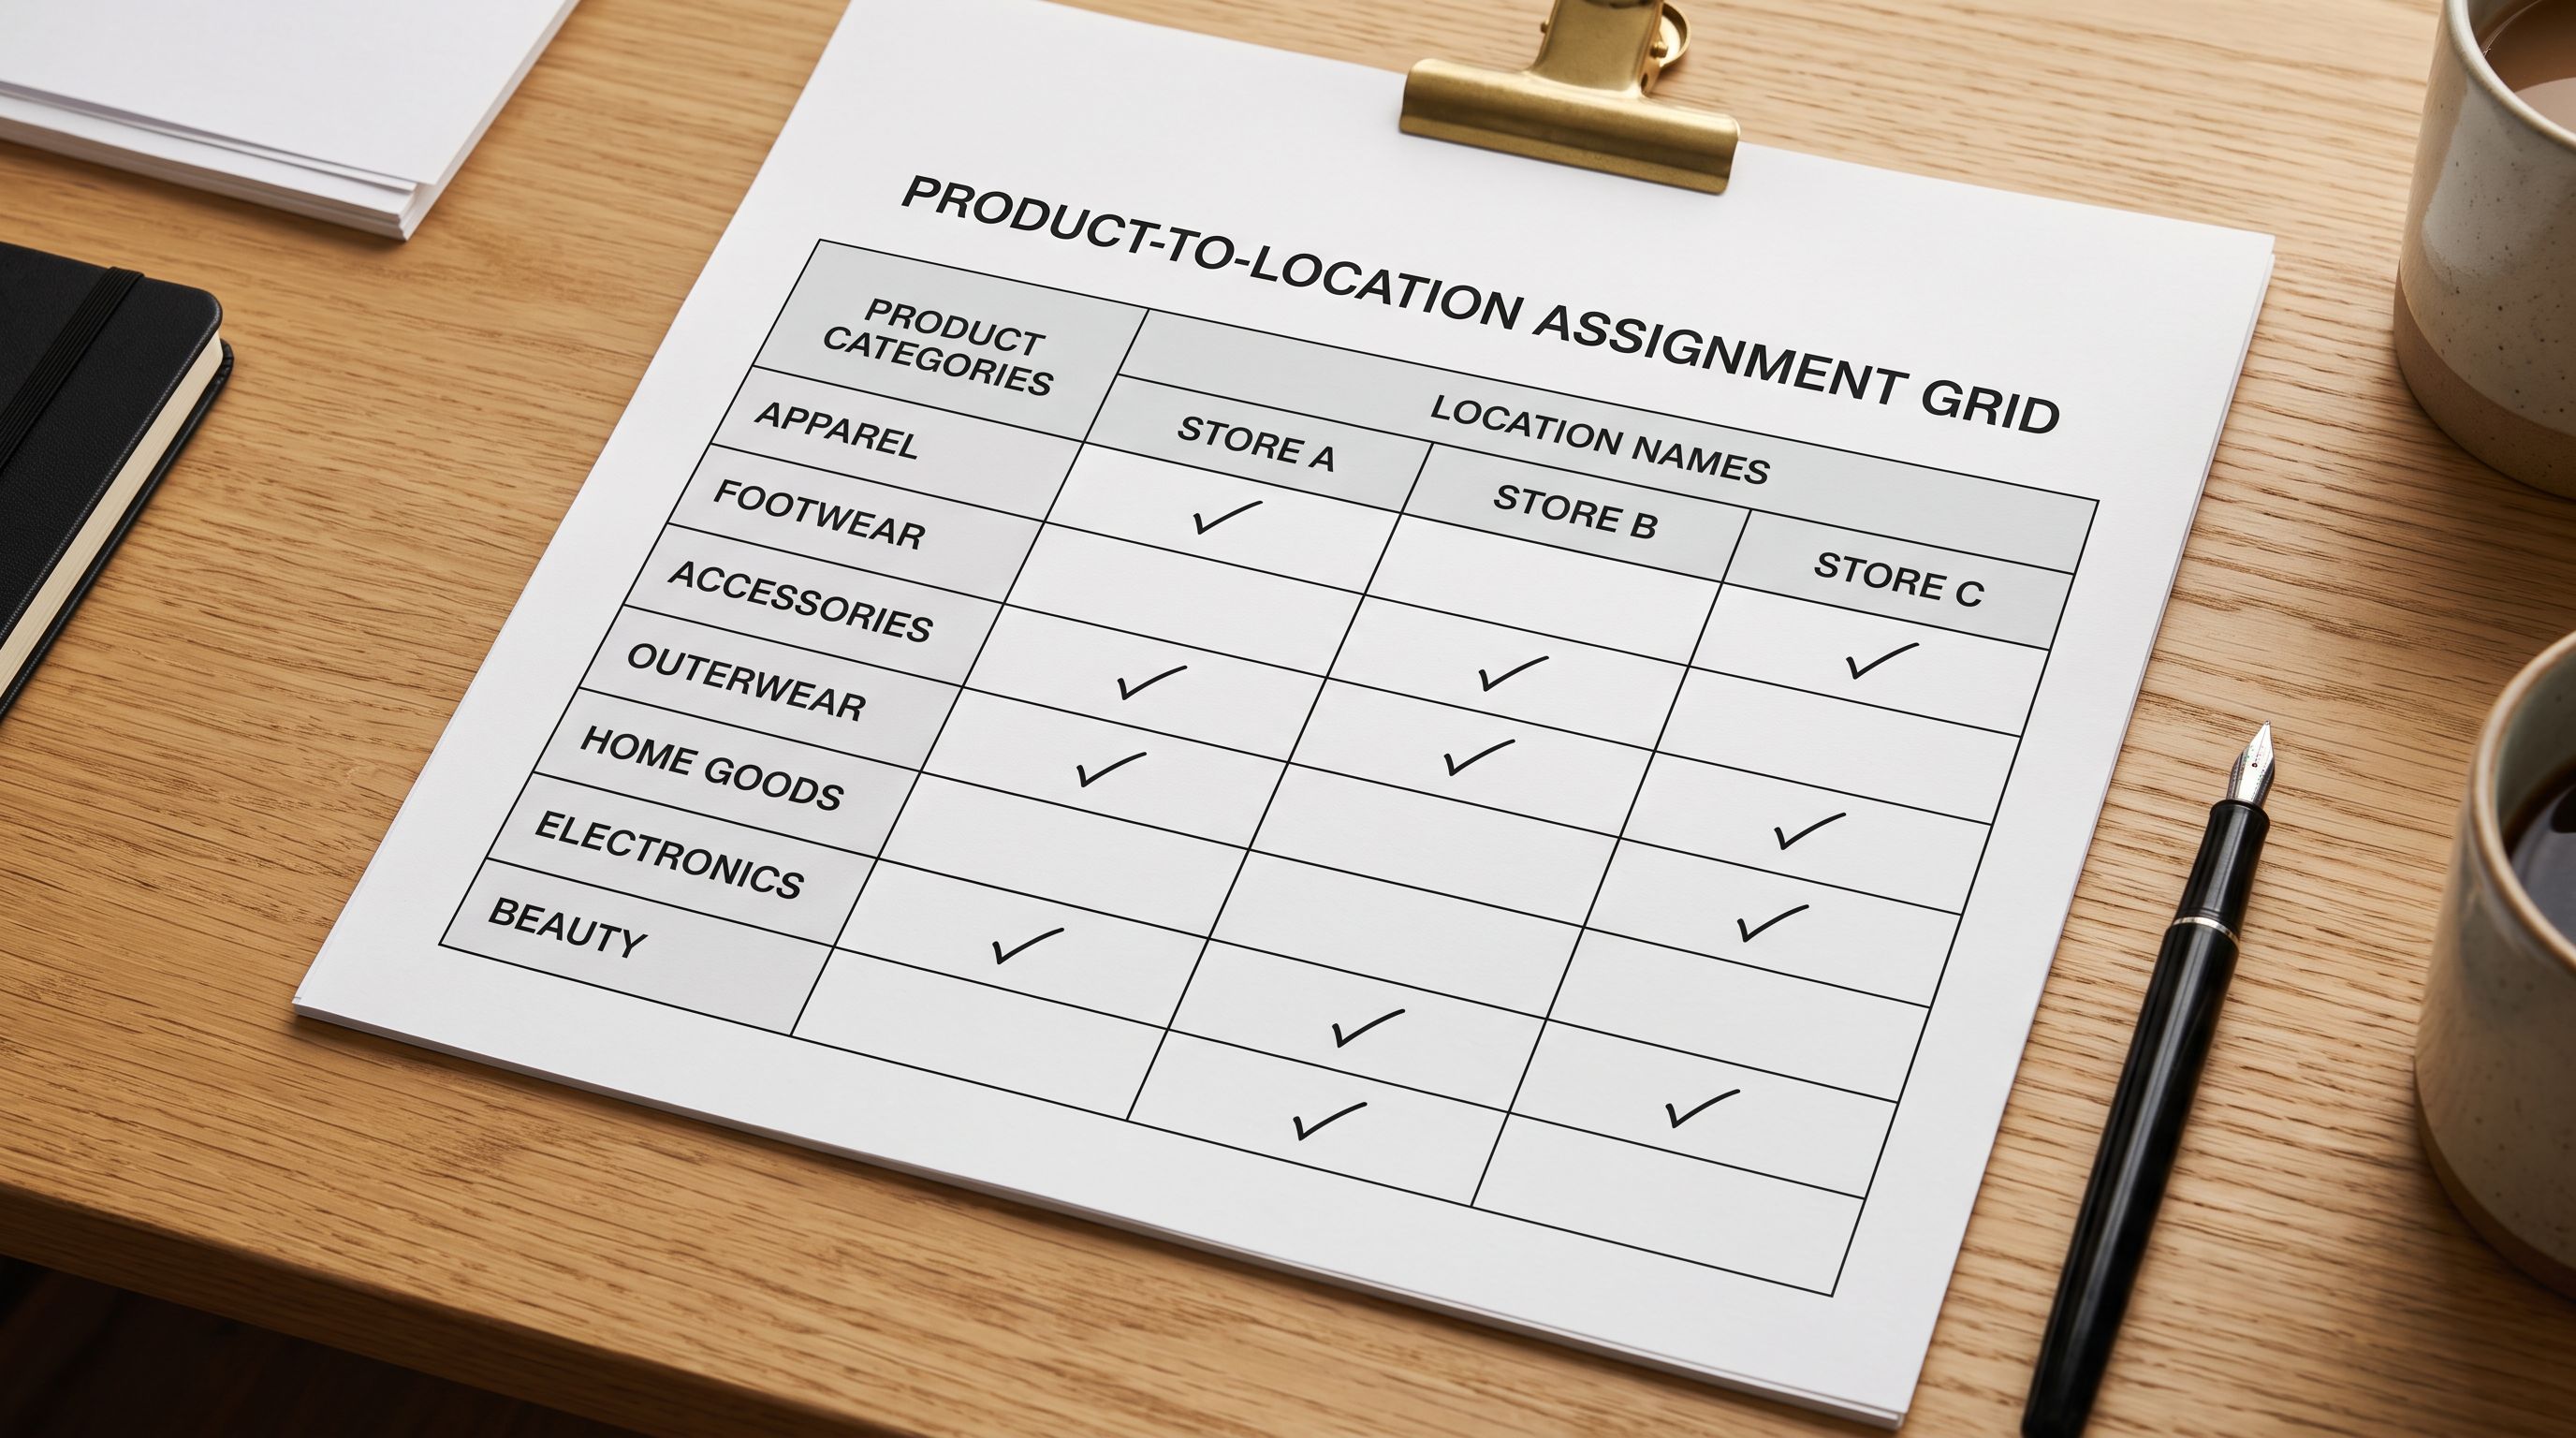
Some merchant import files include a locations column that lists which locations carry each product. A product stocked in all three locations has Warehouse, Retail 1, Retail 2. A product stocked only at the warehouse has Warehouse. Importier parses this column and creates InventoryLevel records only for the listed locations, with quantities distributed according to the merchant's configured rule.
This approach directly solves the partial inventory problem for catalogues where not every SKU belongs at every location.
The most common multi-location import mistake is not a wrong quantity. It is missing location assignment. A product imported without an InventoryLevel record at a location cannot be sold there, regardless of how much stock physically exists at that location.
Partial Inventory: SKUs That Belong at Some Locations Only
Not every product in a catalogue belongs at every location. A wholesale distributor might stock industrial fasteners at the warehouse only, never at their retail showrooms. A fashion brand might carry certain colourways only at specific regional stores. An import that assigns all products to all locations is as problematic as one that assigns products to only one location.
According to Shopify's guide to inventory management, managing inventory across locations requires knowing not just what stock exists but where it should be available. An import that creates unintended location assignments means POS staff see products they cannot actually sell, and pickup widgets show availability that does not exist.
The practical approach for partial inventory: a product with a locations column value of Warehouse gets InventoryLevel records at the warehouse only. Shopify's POS at the retail locations will not show it. The "available for pickup" widget on the product page will not list the retail locations. The product exists only where it was assigned.
A product with Warehouse, Retail 2 gets InventoryLevel records at those two locations. Retail 1 has no record for this product and cannot sell or fulfil it.
Per-product location assignment, set at import time, saves merchants from manually configuring which products belong at which locations after the import. For a 600-product catalogue across three locations, that post-import configuration would take several days of admin work.
Importier's inventory import workflow covers how to format Location Qty columns for quantity-focused imports. This article covers the upstream decision: which locations receive the product at all, and how to encode that decision in the import file.
Shopify Multi-Location Inventory Import: Common Mistakes
Importing to the default location, then activating other locations manually
The standard Shopify admin workflow for adding products to a new location is to open each product, navigate to the inventory settings, and enable the location manually. For a 600-product catalogue, this is 600 individual admin operations per location. Merchants who import to the default location and then try to activate all others after the fact face this entire overhead. Import-time assignment eliminates it.
Confusing "sold out" with "not assigned"
A product with an InventoryLevel of 0 at a location shows as "sold out" in POS and in the pickup widget. A product with no InventoryLevel record at that location shows as nothing. It does not appear in searches at that location; it cannot be added to a POS transaction there. The absence of a record is not zero stock: it is the product not existing at that location at all.
Not accounting for Shopify's fulfilment location logic
When a merchant takes an online order and Shopify routes it to a fulfilment location, it uses the product's assigned locations and their stock levels to determine where to fulfil from. A product assigned only to the warehouse, with retail locations not assigned, means all online orders fulfil from the warehouse regardless of which location is geographically closer to the customer. This is often the intended behaviour for a warehouse-first fulfilment model, but merchants who assume Shopify will auto-distribute from the nearest stocked location should confirm their fulfilment priority settings in the admin match their intent.
Checking inventory before Shopify finishes processing
After a bulk import that includes new InventoryLevel records across multiple locations, Shopify processes these records asynchronously. Inventory counts may not be accurate for up to 15 minutes after a large import completes. Merchants who check inventory counts at each location immediately after import may see zeroes and assume the assignment failed, when it is still processing.
- 01Step 1Before import, open Shopify admin and list your active locations. Note the exact name of each location as it appears in Shopify admin, including capitalisation. Location names in your import file column headers must match exactly. 'retail 1' and 'Retail 1' will not map to the same location.
- 02Step 2In your import file, either add per-location quantity columns (Location [Warehouse] Qty, Location [Retail 1] Qty, Location [Retail 2] Qty) for each active location, or add a locations column listing which locations each product should be assigned to, with location names separated by commas.
- 03Step 3In the Importier import wizard's column mapping step, map each location quantity column to the corresponding Shopify location. If using a locations column, map it to the location assignment field and configure a quantity distribution rule: assign all stock to one primary location, split evenly across the listed locations, or set a percentage distribution per location.
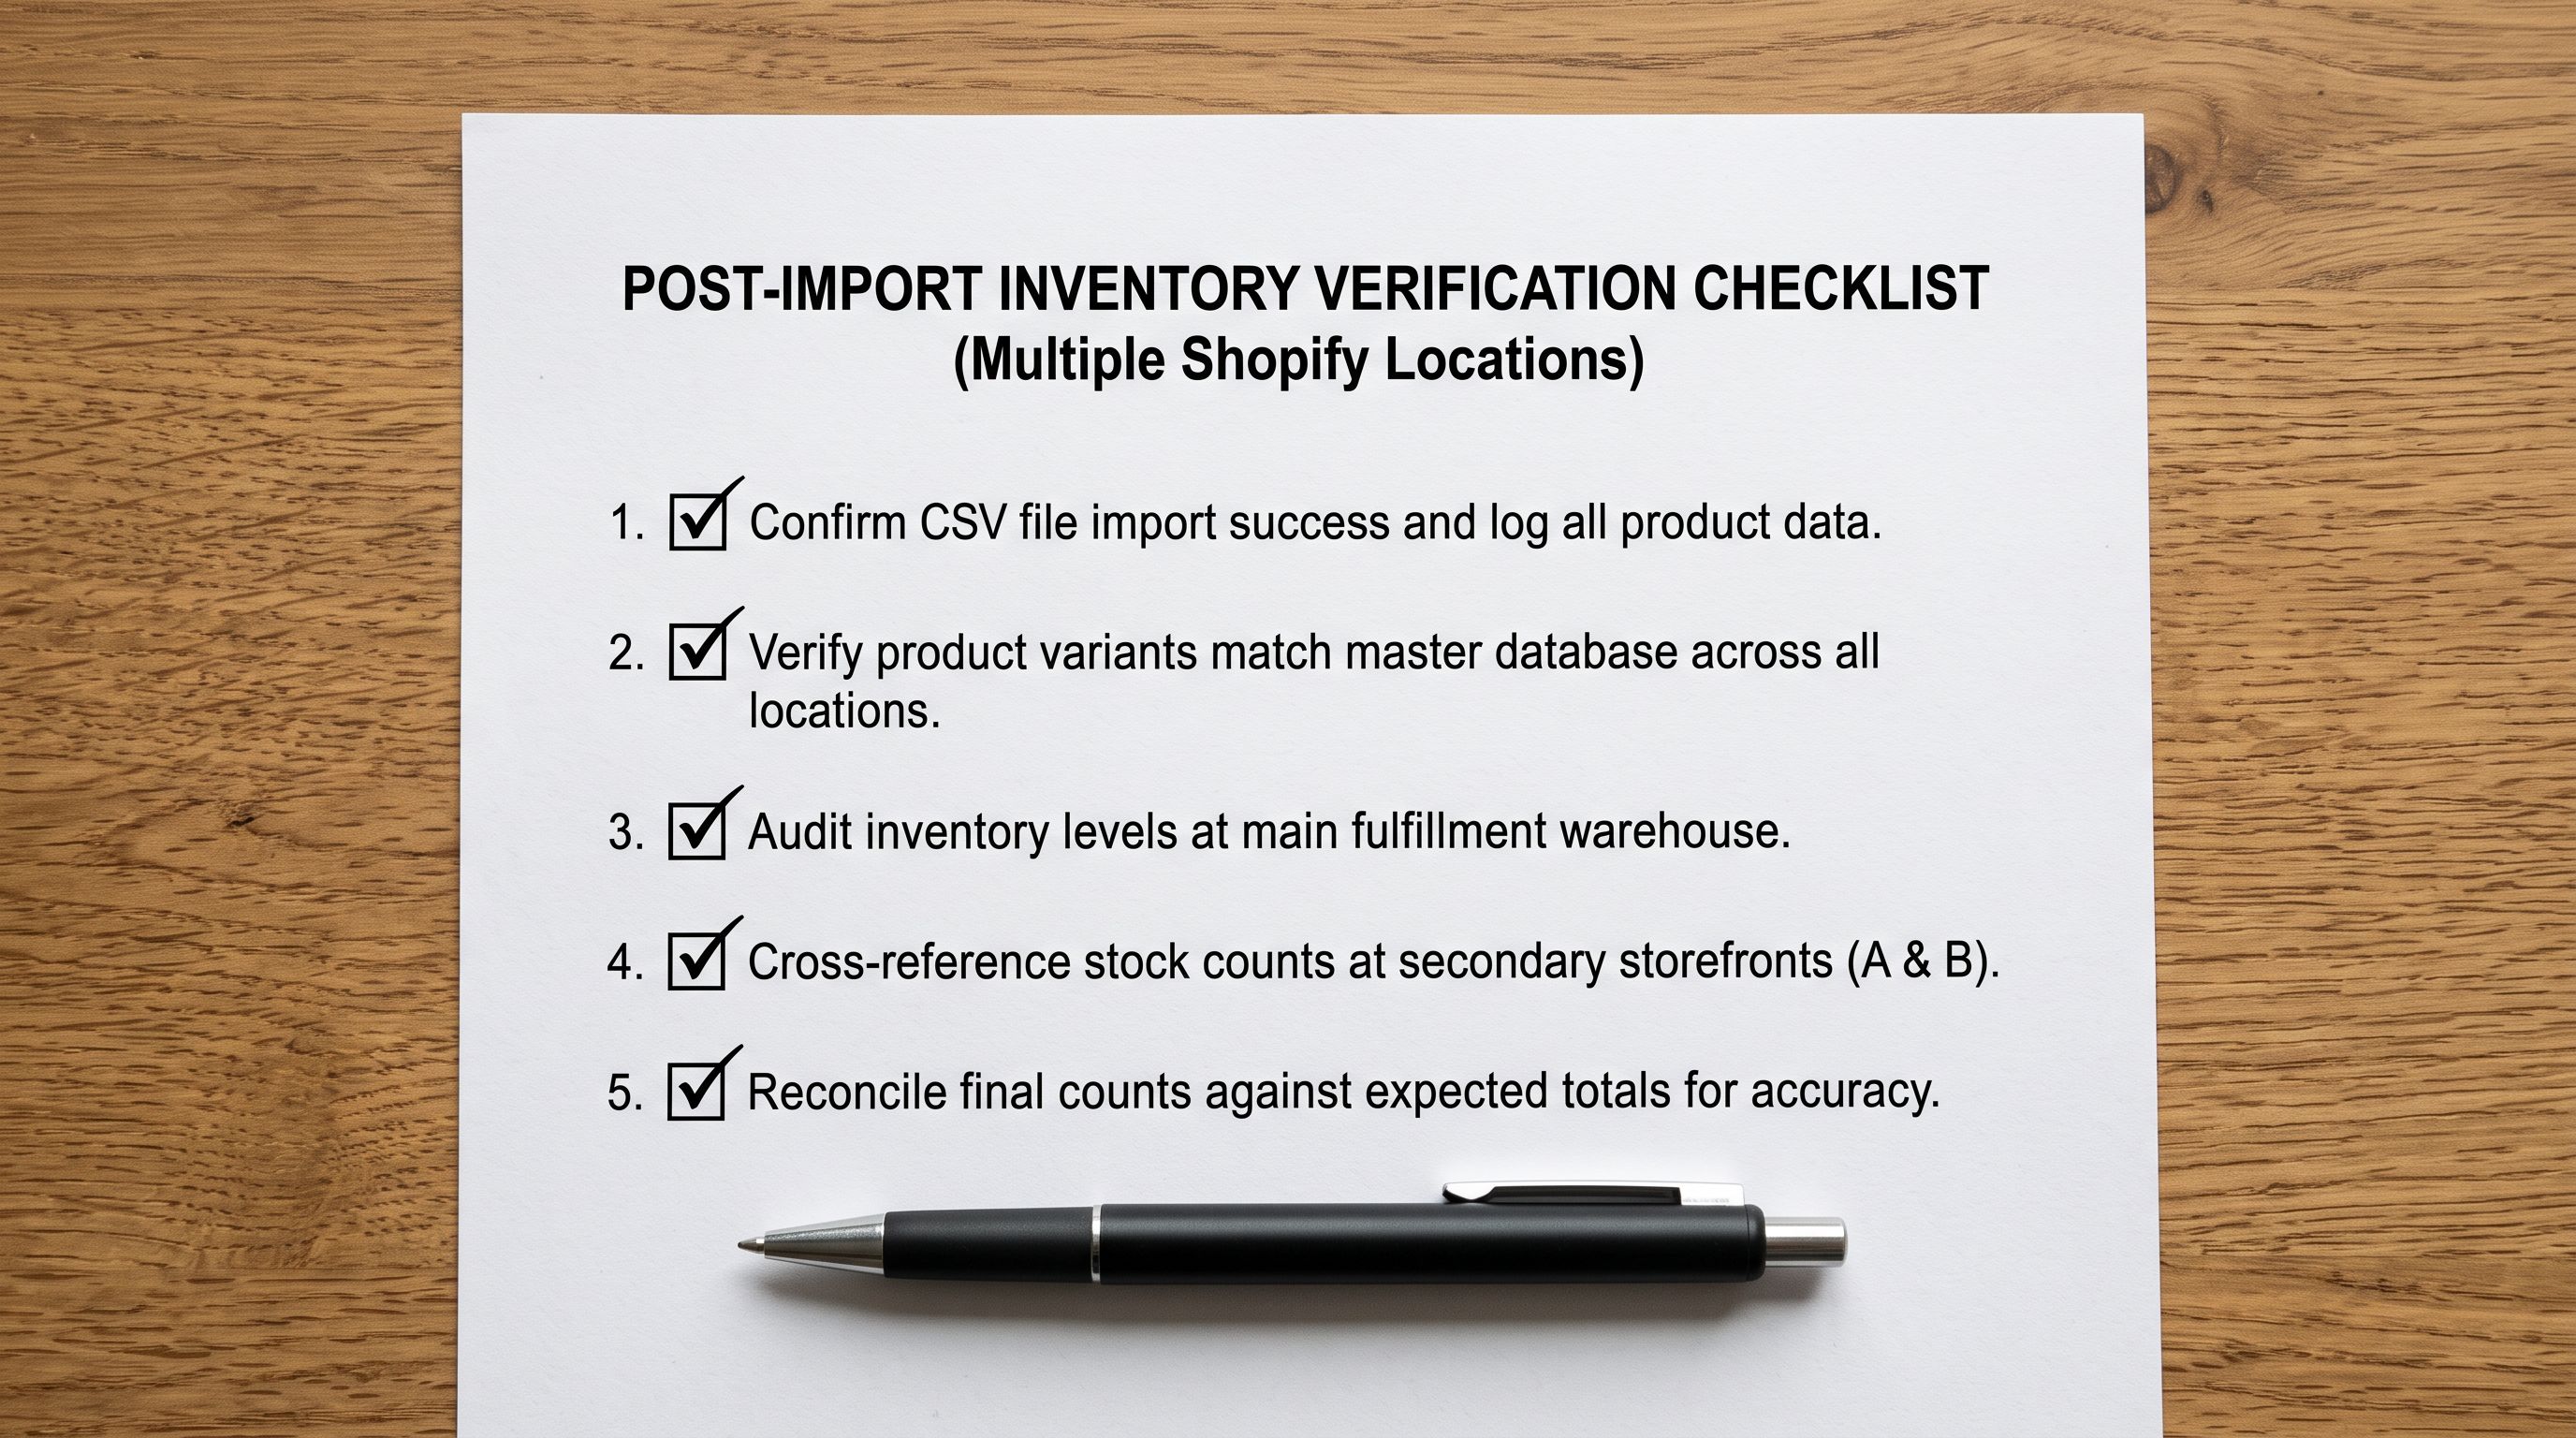
- 04Step 4Run the import on 10-20 test products first. After the import completes, check inventory at each location in Shopify admin and confirm that products appear at the correct locations, products with partial location assignment do not appear at excluded locations, and quantity counts match expectations.
- 05Step 5Run the full import after the test passes. Wait 15 minutes before running inventory reports or checking POS stock counts. Shopify processes InventoryLevel records asynchronously after large imports and immediate checks may show zeroes that resolve correctly once processing completes.
- All 620 products assigned to warehouse only
- Retail showrooms show no inventory for any products after import
- Manual location activation required per product per location
- Pickup widget shows availability at one location only
- POS staff at retail locations cannot see or sell imported products
- Post-import inventory correction takes days of manual admin work
- Products assigned to correct locations according to distribution rules set at import
- All active locations receive correct inventory assignment in the same import run
- No per-product manual activation needed after import
- Pickup widget shows correct per-location availability from day one
- POS staff at each location see only products stocked at their location
- No post-import inventory correction required
Key Takeaways
A shopify multi-location inventory import that assigns products correctly from the start saves days of post-import configuration and avoids the silent problem of products that exist in Shopify but are invisible at the locations where they need to be sold.
- Shopify's multi-location inventory model separates location assignment from quantity. A product must have an InventoryLevel record at a location to be sold, fulfilled, or picked up there. Importing without the correct location columns leaves every unlisted location with no assignment, not zero stock.
- Default import behaviour assigns products to the store's primary location only. For single-location stores this is correct. For multi-location stores, it leaves every non-primary location without any imported inventory.
- Supplier data does not include per-location quantities. The merchant or import tool must translate a single total quantity into the per-location distribution Shopify expects. Importier's mapping step handles this via distribution rules set at import time.
- Partial inventory covers SKUs that belong at some locations only, not all. A
locationscolumn in the import file listing which locations carry each product handles this at import time, before any manual admin work begins. - "Not assigned to a location" and "zero stock at a location" are different Shopify states. Zero stock shows "sold out." No assignment means the product does not appear at that location at all, in POS, the pickup widget, or staff location-specific inventory views.
- For merchants running a full catalogue import from a supplier's data file for the first time, including location assignment, AI description generation, and variant mapping, Importier's guide to importing products from a supplier website covers the complete workflow.
Assign your products to the correct locations from the start at importier.app. Set your location distribution rules in the import wizard and launch with accurate inventory at every location.
Set up your first import in under five minutes.
Importier brings products into Shopify with AI descriptions, category metafields, and data enrichment on every run.