How to Export Shopify Products and Reimport After Bulk Editing
How to Export Shopify Products and Reimport After Bulk Editing
The export-edit-reimport loop is one of the most common bulk operations in Shopify store management. A merchant needs to update 300 product titles for a new brand naming convention, correct pricing across a supplier's range, or add missing tags to a full product category. The process sounds straightforward: export the catalogue to CSV, make the changes in a spreadsheet, reimport the file.
The risk is in the reimport step. Shopify's native CSV import does not know which columns you changed and which you left as they were. It applies every column in the file to every product record. If the original export had a Body (HTML) column containing AI-generated descriptions you wrote last quarter, those descriptions are overwritten with whatever was in the export at the time you pulled the file, even if you never touched the description column during editing.
The selective reimport approach changes one variable in this workflow: instead of reimporting all columns, you reimport only the columns you actually changed. Everything else in the existing Shopify product record remains untouched.
Why the Native Loop Is Risky
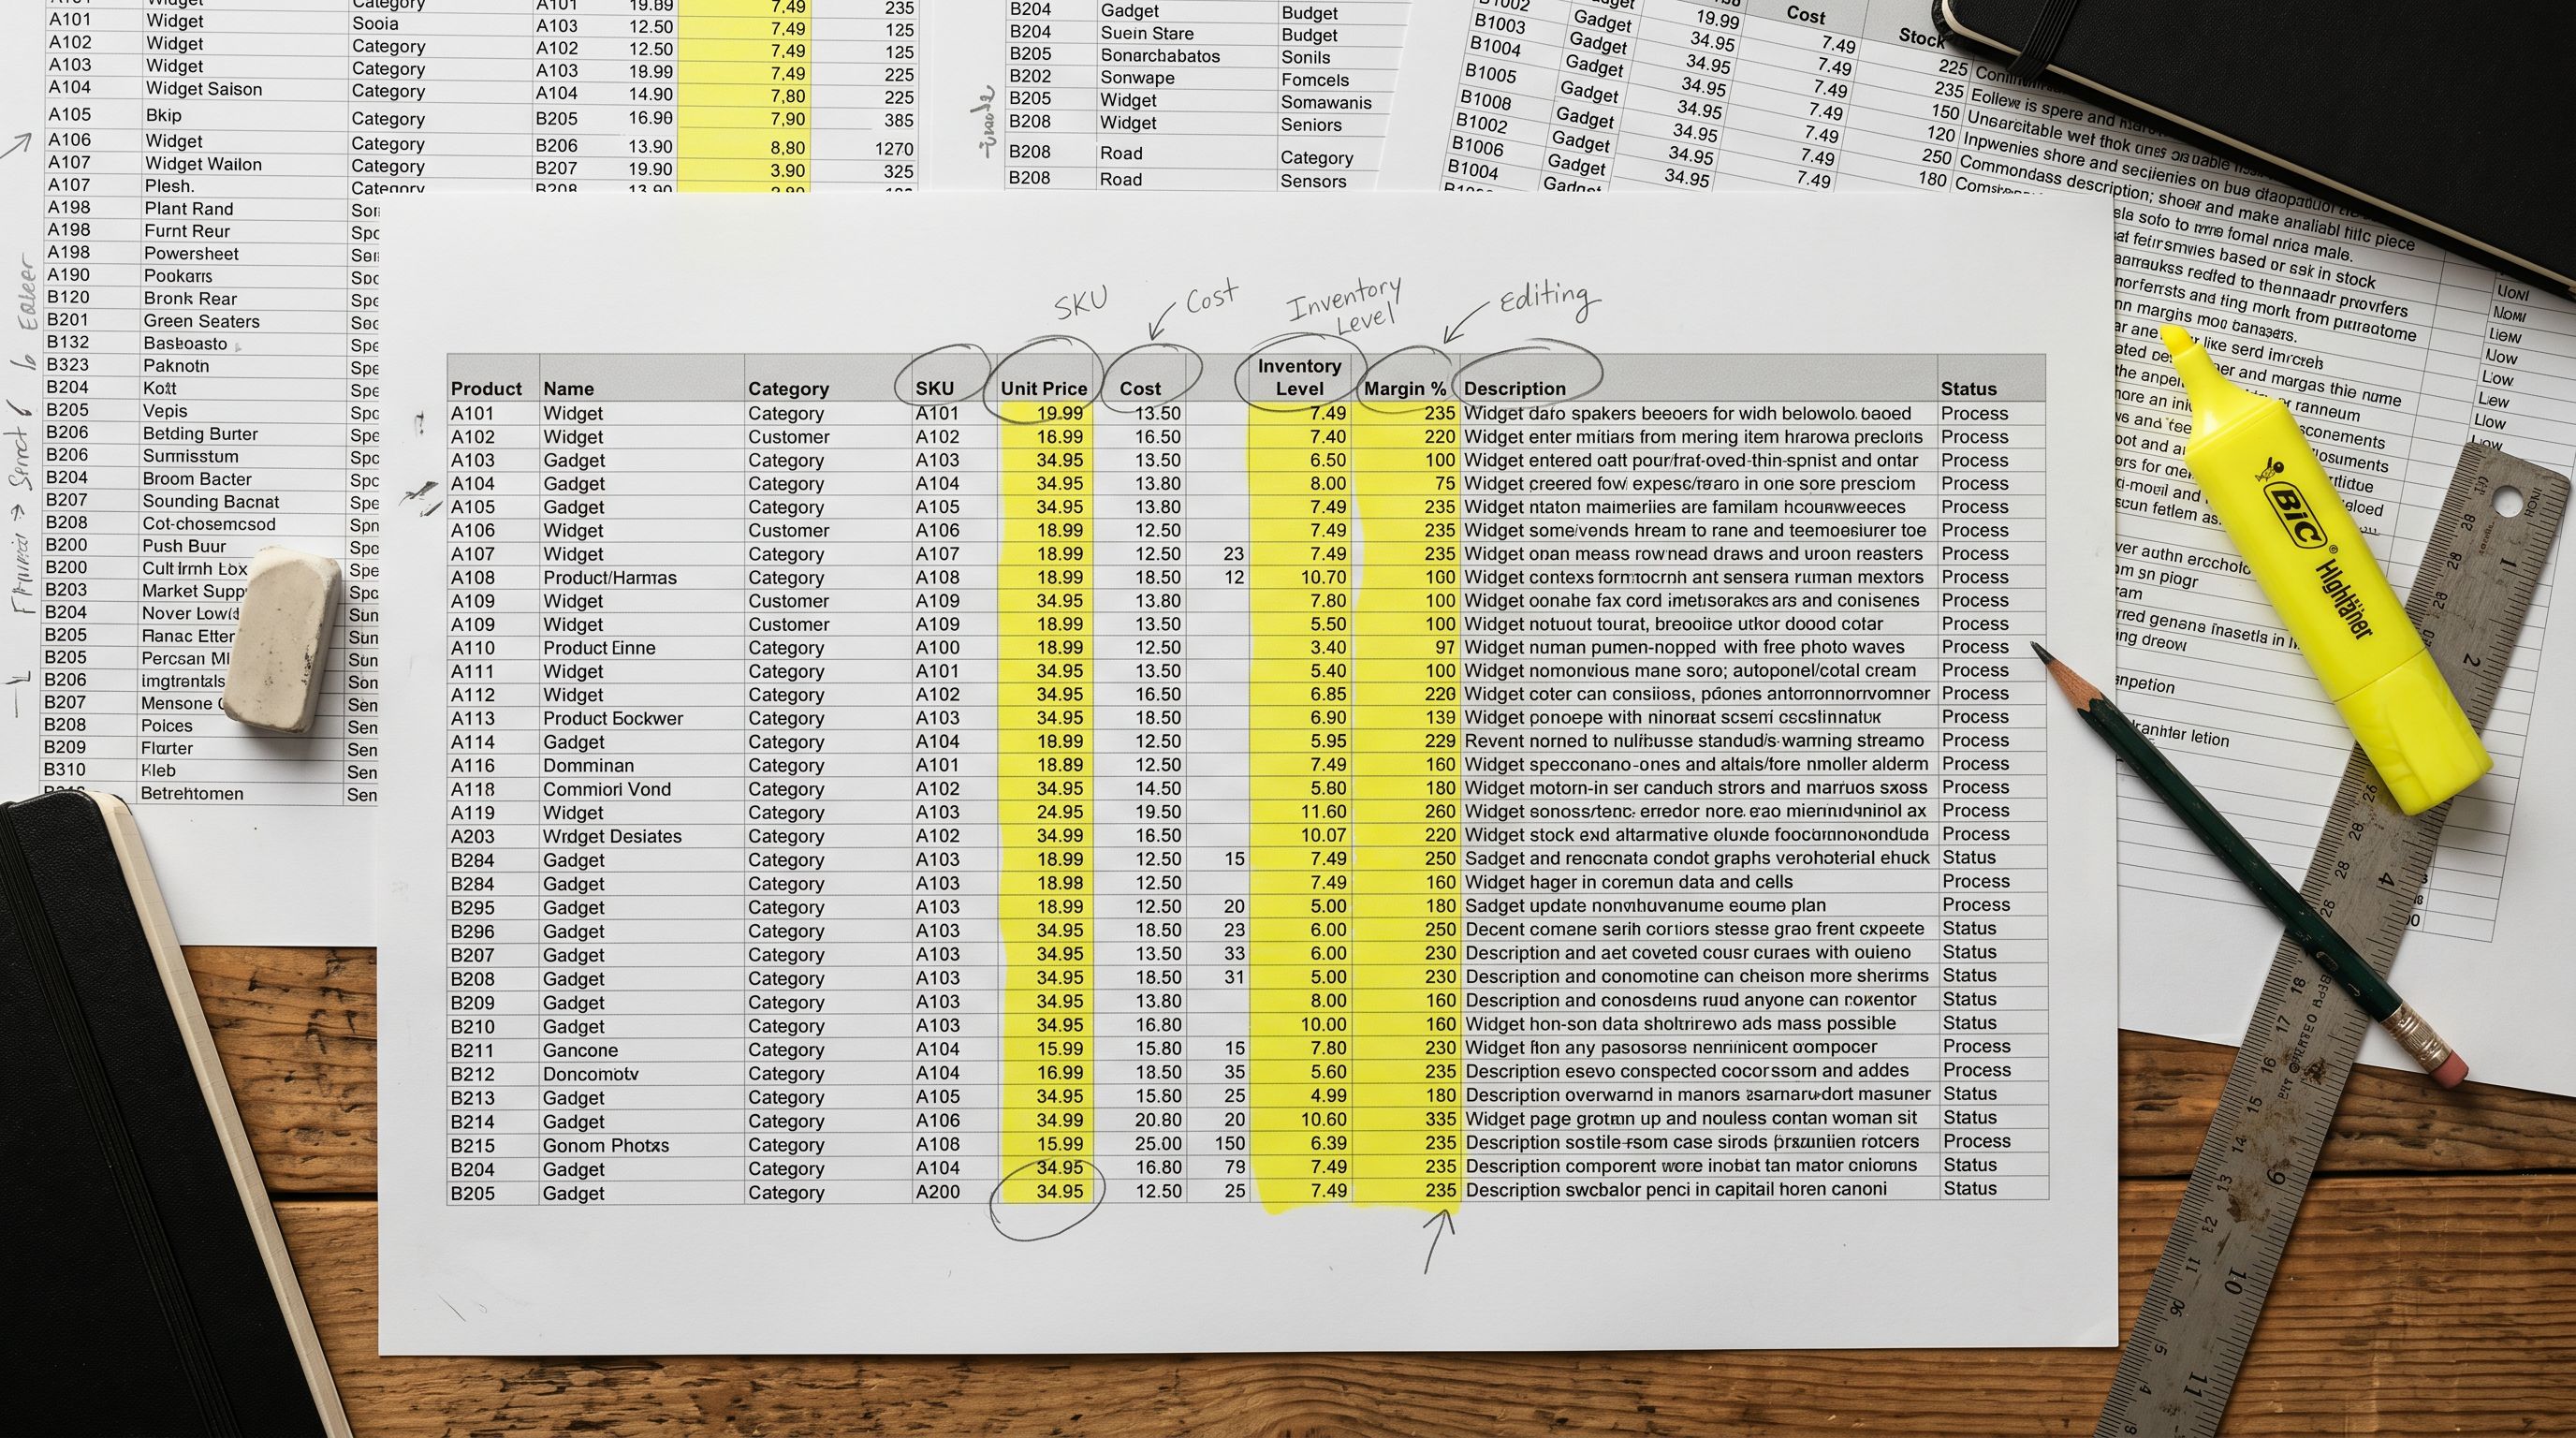
Shopify's native export produces a file with all product fields: title, body, vendor, type, tags, price, compare-at price, weight, images, metafields, variants, and more. The export is a snapshot of the current state of those fields at the time the export runs.
When you reimport that file after editing it, Shopify's importer applies the full file to the matching products (matched by Handle). This means:
Unintended overwrites: a column you did not edit still reimports with its original value. If a product description was updated in Shopify admin after the export was taken, the reimport overwrites the newer description with the older one from the export file.
Variant duplication risk: if the export is not handled carefully and some rows are edited while others are not, reimporting can create duplicate variant records rather than updating existing ones.
Lost metafield data: metafields not included in the standard export are not in the file. Reimporting a file that omits metafield columns does not delete those metafields, but metafields that ARE in the file are overwritten. If a metafield column was included in the export but not updated during editing, the old values reimport over any newer values set in Shopify admin.
File size limits: Shopify's native CSV import has file size limitations that become relevant for large catalogues with image data, descriptions, and variant rows. Exports of 5,000+ SKU catalogues regularly exceed the native importer's file size threshold.
The Selective Reimport Approach
The selective reimport workflow reduces the file to only the columns that need updating before the reimport. A merchant updating 300 product titles does not need to reimport price, description, images, vendor, tags, or any other field. The reimport file needs only two columns: Handle (to identify the product) and Title (the field being changed).
Importier's column mapping step determines which fields from the uploaded file are applied to which Shopify product fields. When you upload a two-column file (Handle and Title), only those two fields are updated in Shopify. Every other field on the product record remains exactly as it is.
This applies regardless of file size. A selective title update for 5,000 products is a small file with two columns and 5,000 rows. A selective price update for 2,000 variants is a file with Handle, Variant SKU, and Variant Price. Neither file carries the risk of inadvertently overwriting descriptions, images, or other data that was not part of the intended edit.
- 01In Shopify admin, go to Products and export your catalogue. For a targeted bulk edit, use the collection or product type filter to export only the relevant products. Save the export CSV.
- 02Open the export file in a spreadsheet application. Make only the changes you needupdate the titles, correct the prices, add the tags. Do not modify columns you are not intentionally changing.
- 03Before uploading to Importier, delete all columns except Handle (or Variant SKU for variant-level edits) and the columns you actually changed. This produces a narrow file with 2-4 columns instead of the full export width.
- 04Upload the narrow file to Importier. In the column mapping step, confirm that only the changed columns are mapped to Shopify fields. The Handle column maps to Handle for product matching.
- 05In the import settings, set the import mode to Update Existing Products. This tells Importier to match by Handle or SKU and update only the mapped fields in each matching product record.
- 06Run the import preview to confirm that the sample rows show the expected updates. Verify that the preview is pulling from the correct product records by checking that the Handles in the preview match products in your store.
- 07Confirm the import. Importier applies only the mapped fields to the matching records. All other product data remains untouched.

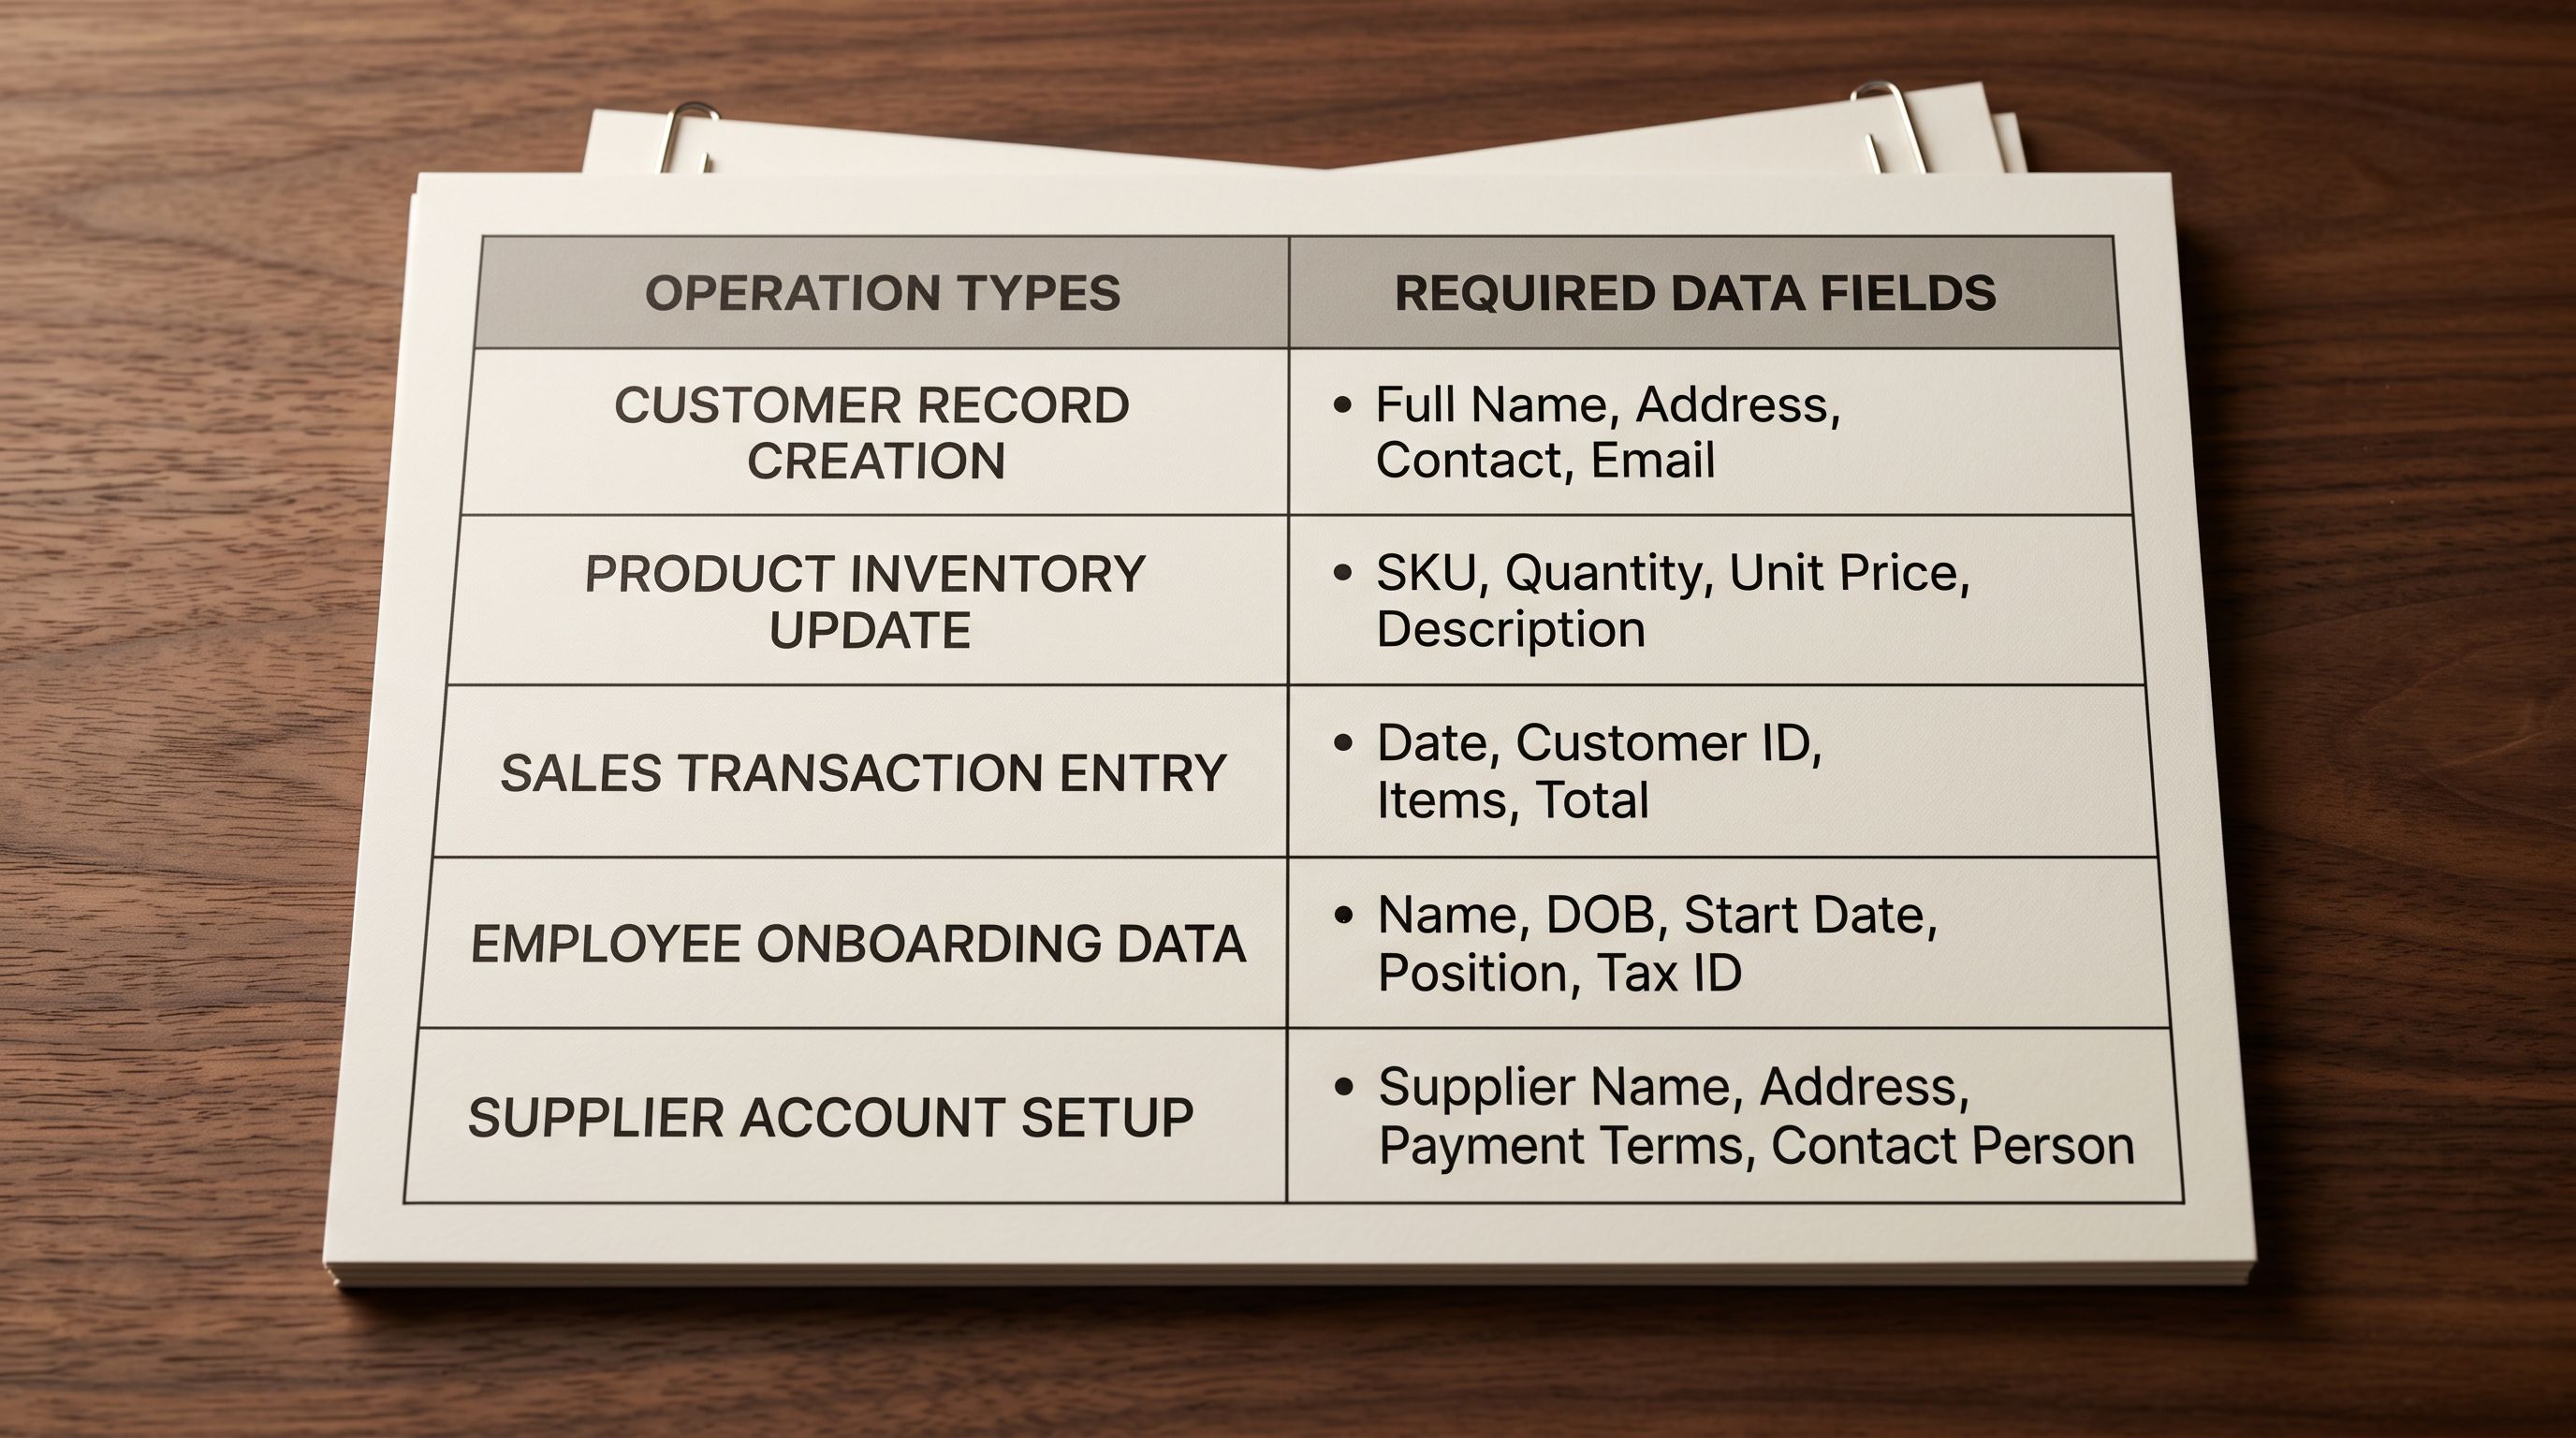
Common Bulk Edits and the Files They Need
Bulk title update: Handle + Title. Use when renaming products for a brand refresh, correcting capitalisation inconsistencies, or adding model numbers to all titles in a category.
Bulk price change: Handle + Variant SKU + Variant Price (+ Variant Compare At Price if updating sale pricing). Use for seasonal pricing, supplier cost adjustments, or promotional price changes.
Bulk tag correction: Handle + Tags. Use when standardising tag values across a catalogue, removing deprecated tags, or adding new collection-trigger tags. Note that Shopify's Tags field is a full replacement: importing a Tags column replaces all existing tags with the new value. Include all tags (existing and new) in the import row, not just the additions.
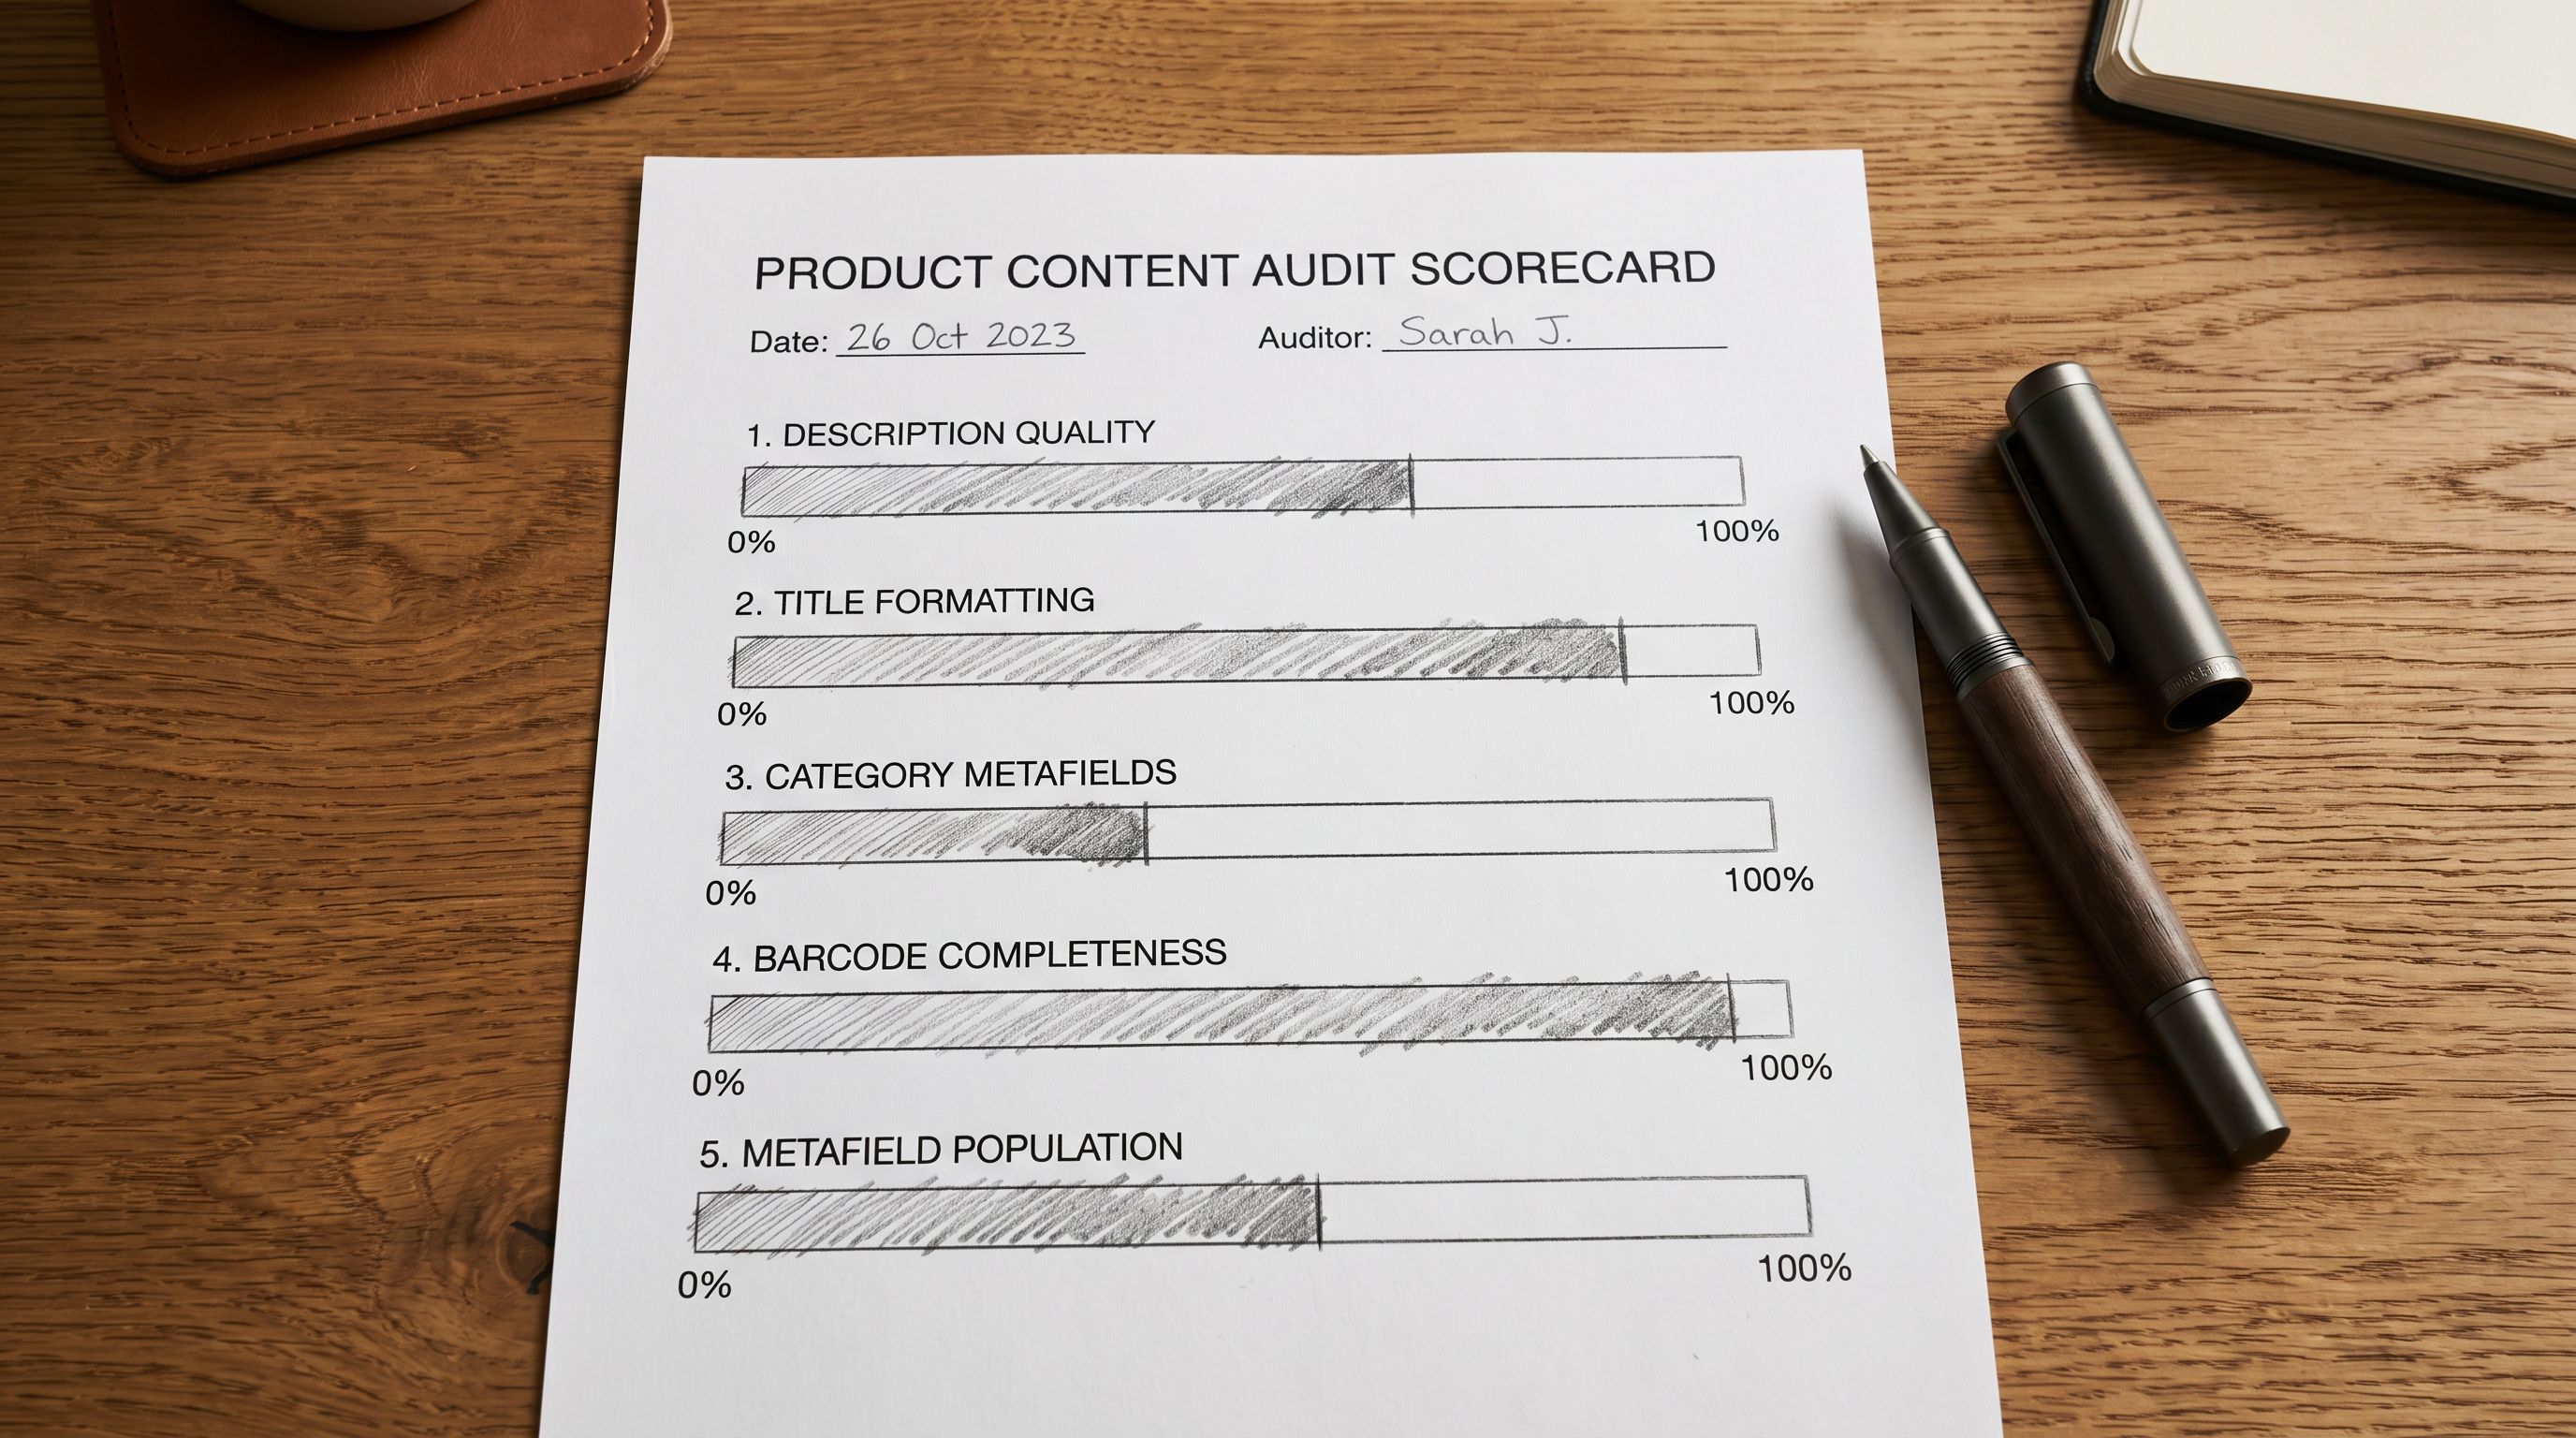
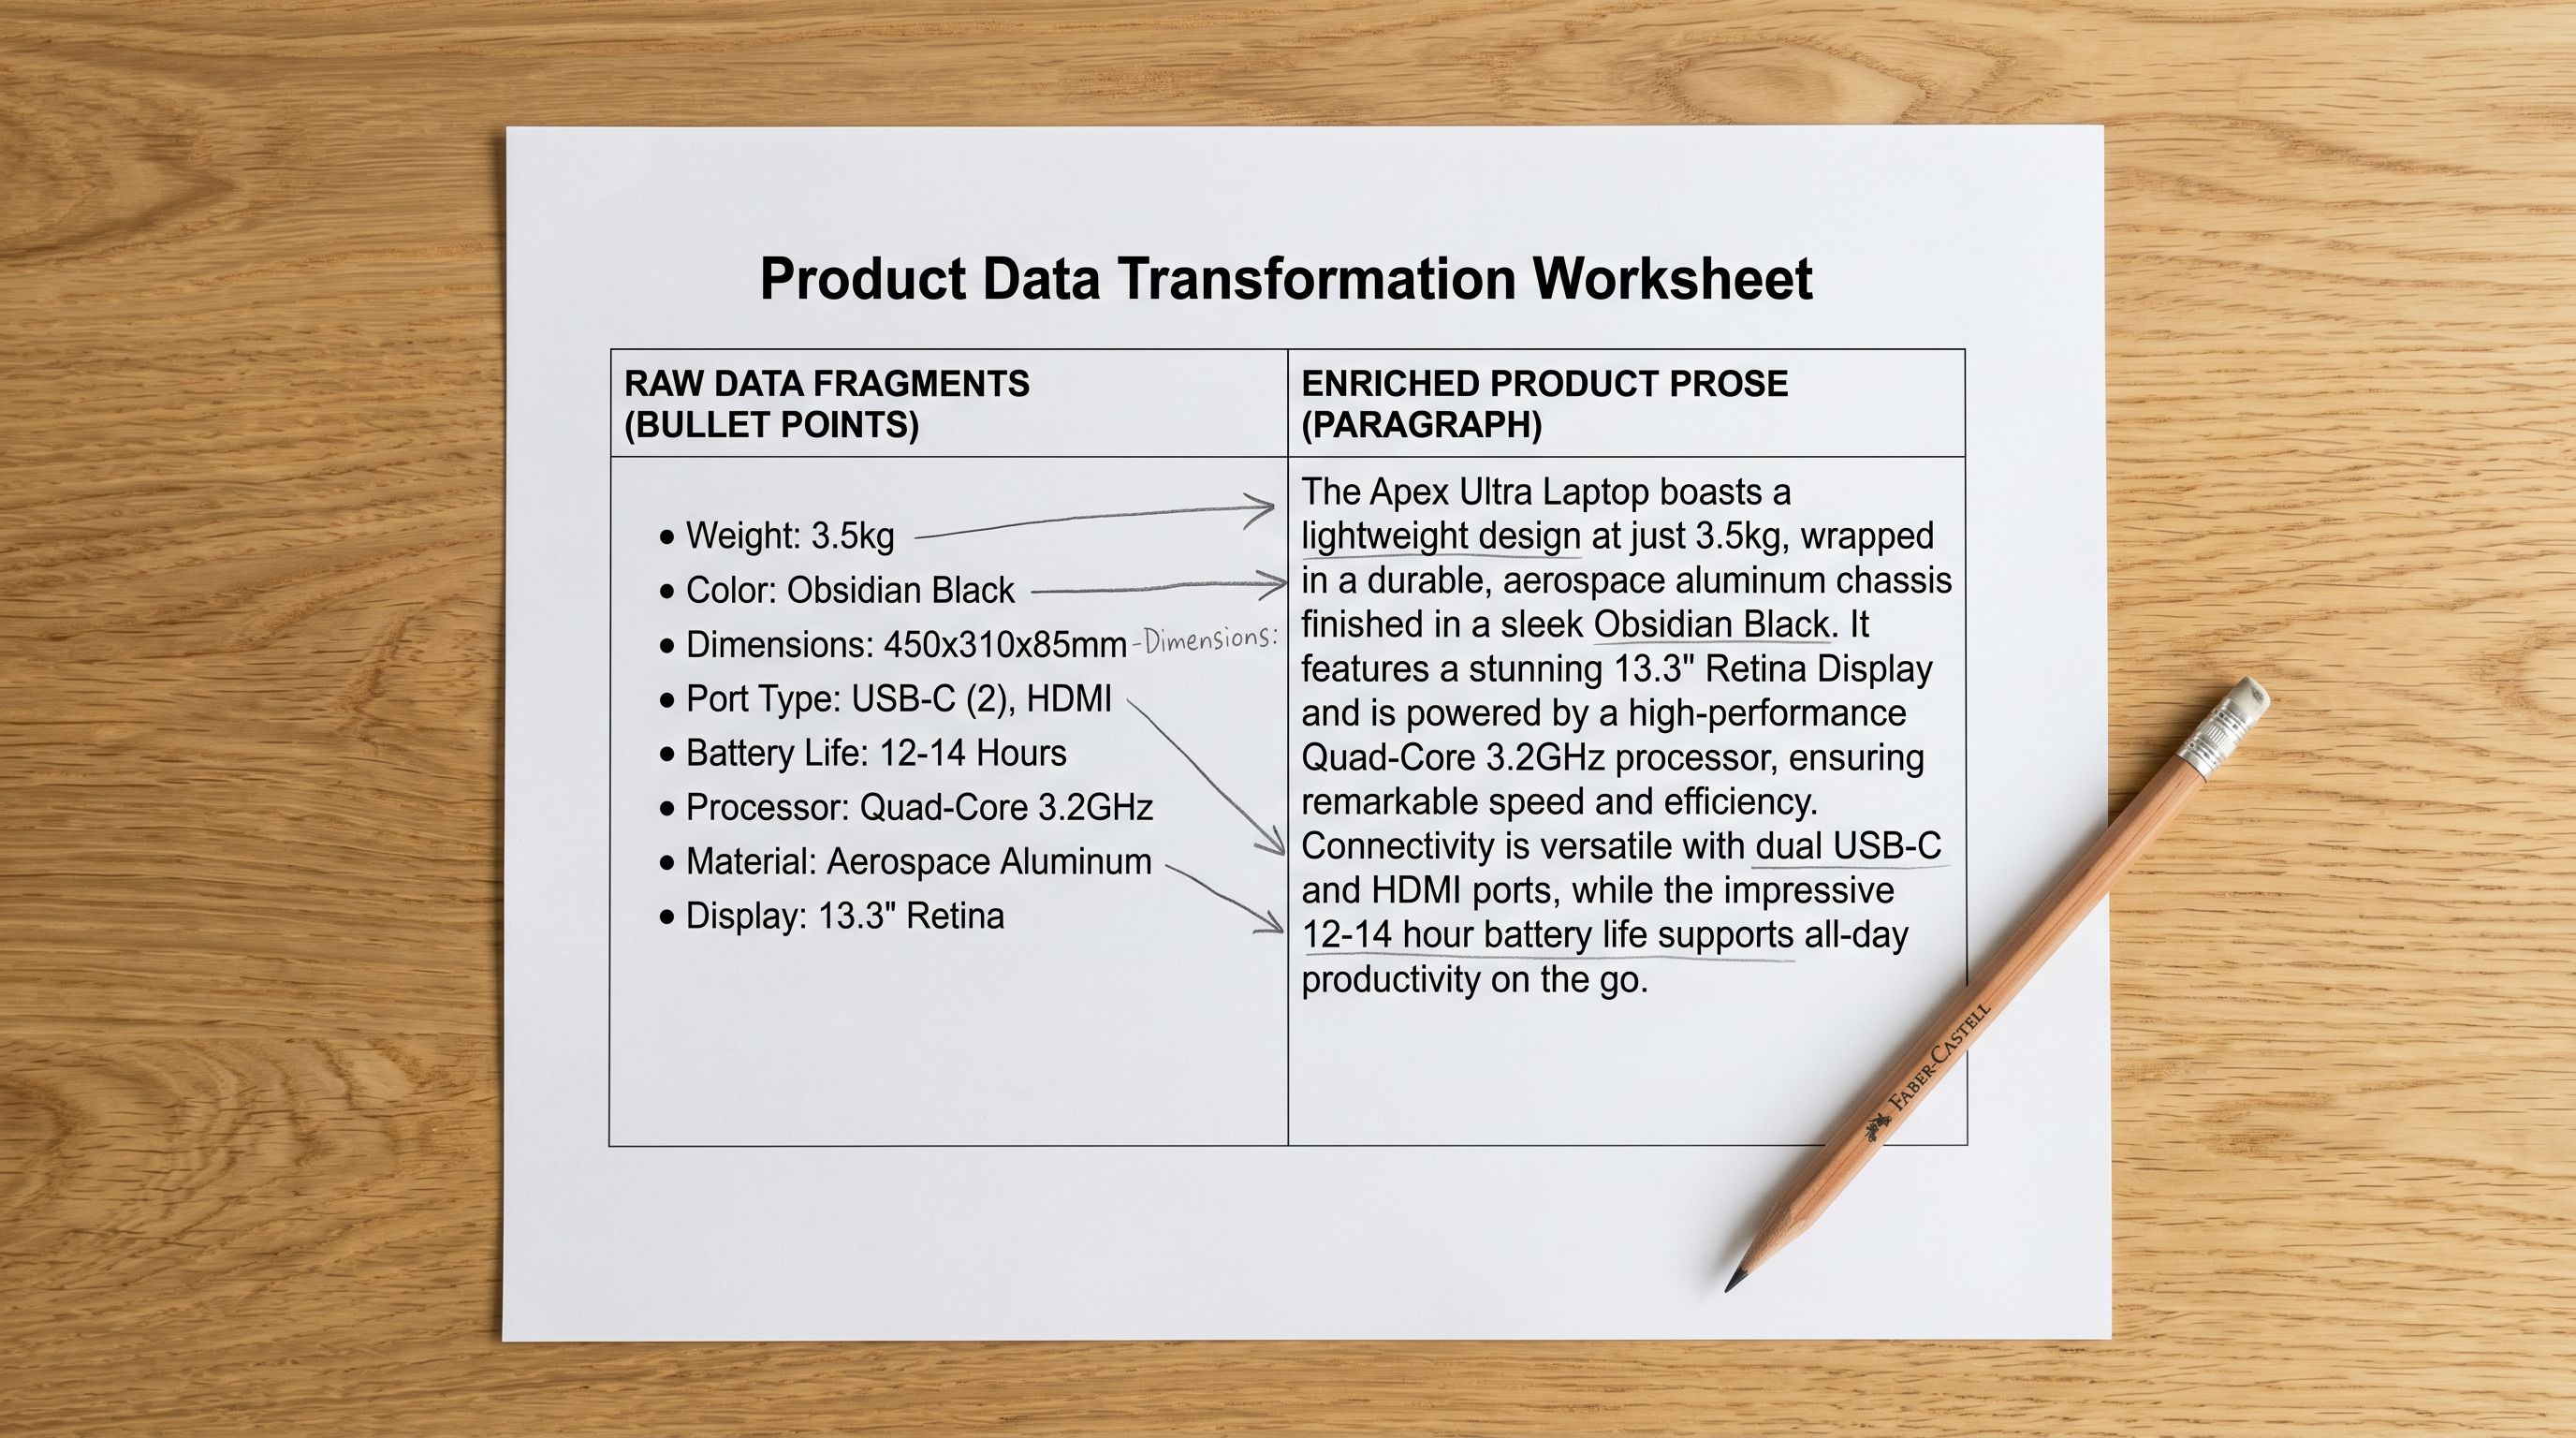
Bulk description refresh: Handle + Body (HTML). Use when refreshing supplier copy across a range or applying an AI-generated description to products that currently have thin content. For this specific use case, the Shopify Store Scanner can identify which products need description work before the export, making the bulk refresh targeted rather than applied across the full catalogue.
Bulk vendor or product type correction: Handle + Vendor or Handle + Type. Use when correcting supplier names after a rebrand or recategorising products into a new product type taxonomy.
- Full export file reimported with all columns
- Overwrites descriptions, images, metafields not intended for editing
- Requires careful column deletion before reimport or risks cascade overwrites
- No pre-import preview before products are updated
- No audit trail showing what changed in which import session
- Narrow file with only changed columns uploaded
- Only mapped columns are updated; all other fields untouched
- Column mapping step confirms exactly which fields will change
- Five-row preview before any data reaches Shopify
- Import History records every session with product counts and timestamps
Bulk Editing Product Titles Directly
For title-specific bulk edits, Importier's Bulk Edit Product Titles feature (I2 in the product editing interface) provides a direct editing experience without the export-edit-reimport cycle. Titles for the full catalogue or a filtered subset appear in a table where they can be edited directly in the browser, with changes applied to Shopify in a single save operation.
The export-edit-reimport loop is the right tool for price and tag changes where you need a spreadsheet to apply formulas across hundreds of rows. For title edits, the direct editing interface removes the export step entirely.
The direct interface is faster for human editing of individual titles. The export-edit-reimport loop is faster when the changes follow a formula or rule that is easier to apply in a spreadsheet (for example, appending " - [Brand Name]" to every title in a range, or multiplying every price by 1.15 for a cost increase). Both approaches use the same selective update model: only the titles or the prices change; everything else stays as it was.
For the full walkthrough of the bulk title editing interface, the bulk edit product titles guide covers the direct table editing approach, the filter options for targeting specific products, and how to preview changes before saving.
Tracking What Changed
Import History as the Audit Trail
Every selective reimport creates a record in Importier's Import History: which products were updated, which fields were changed, and when the session ran. For operations teams managing a large catalogue with multiple editors making bulk changes across different time periods, Import History provides a session-level audit trail that the native Shopify admin does not.
The Import History record for a bulk price update shows the session timestamp, the number of variant records updated, and the column mapping that was applied. If a pricing error is introduced in a bulk update and reported two weeks later, Import History identifies which session introduced it and when.
Import History also serves as the rollback reference. Importier's Import Undo captures the state of updated products before each session runs. If a bulk edit produces unexpected results (a tag correction that replaced more tags than intended, for example), the undo returns the affected products to their pre-import state without requiring manual correction of each product record.
For a detailed explanation of how Import Undo works for this scenario, the safe Shopify import guide covers rollback options for bulk updates and how to scope an undo to a specific session.
Safe Reimport Practices
A few practices reduce risk in the export-edit-reimport workflow regardless of which tool is used:
Test on a small subset first. Before running a bulk edit across 2,000 products, filter the export to 10-20 representative products, run the edit workflow on those, verify the results in Shopify admin, and then run the full batch. This catches formula errors, mapping mistakes, and format problems before they affect the entire catalogue.
Keep the export file dated. Name the export file with the date and the operation: 2026-06-25-price-update-summer-range.csv. The filename in the import record provides a human-readable audit reference alongside the Import History entry.
Use the preview before confirming. The five-row preview in Importier's import wizard shows the exact values that will be written to Shopify. A price column that should contain 29.99 but shows 29.990000 due to a spreadsheet floating-point format error is visible in the preview and correctable before confirmation.
Shopify's export documentation covers the native export interface and filtering options. Shopify's product CSV reference is the authoritative reference for which columns are required or optional in a reimport file and what format each field expects.
For the full CSV import workflow including column mapping and the preview step, the Shopify CSV import guide covers the complete process from file upload to products updated in Shopify.

The Right Tool for Each Bulk Operation
The export-edit-reimport loop is the correct approach when the change requires spreadsheet-level processing: formula-driven pricing, structured title reformatting, or tag standardisation applied to a large range. The selective reimport ensures those changes reach Shopify without disturbing any other product data.
For description-level changes, the Store Scanner and direct AI description generation at import time are faster than the manual export-edit cycle. For title corrections to a targeted set of products, the direct editing interface removes the export step. The common principle across all three approaches is the same: update only the field that needs changing and leave the rest of the product record intact.
Try Importier free at importier.app
Set up your first import in under five minutes.
Importier brings products into Shopify with AI descriptions, category metafields, and data enrichment on every run.