How to Add Shopify Products in Bulk Without Technical Knowledge
How to Add Shopify Products in Bulk Without Technical Knowledge
Bulk importing products to Shopify sounds technical. The phrase "CSV import" alone stops a lot of merchants who assume it requires spreadsheet expertise, coding knowledge, or at minimum a few hours of reading documentation.
It does not. The process of uploading a supplier file, letting an AI map the columns, generating descriptions, and pushing hundreds of products to Shopify is something any merchant can complete in an afternoon with no technical background.
This article walks through that process from a non-technical merchant's perspective: what you need to start, what each step actually involves, and what you do not need to know.
What You Actually Need to Start
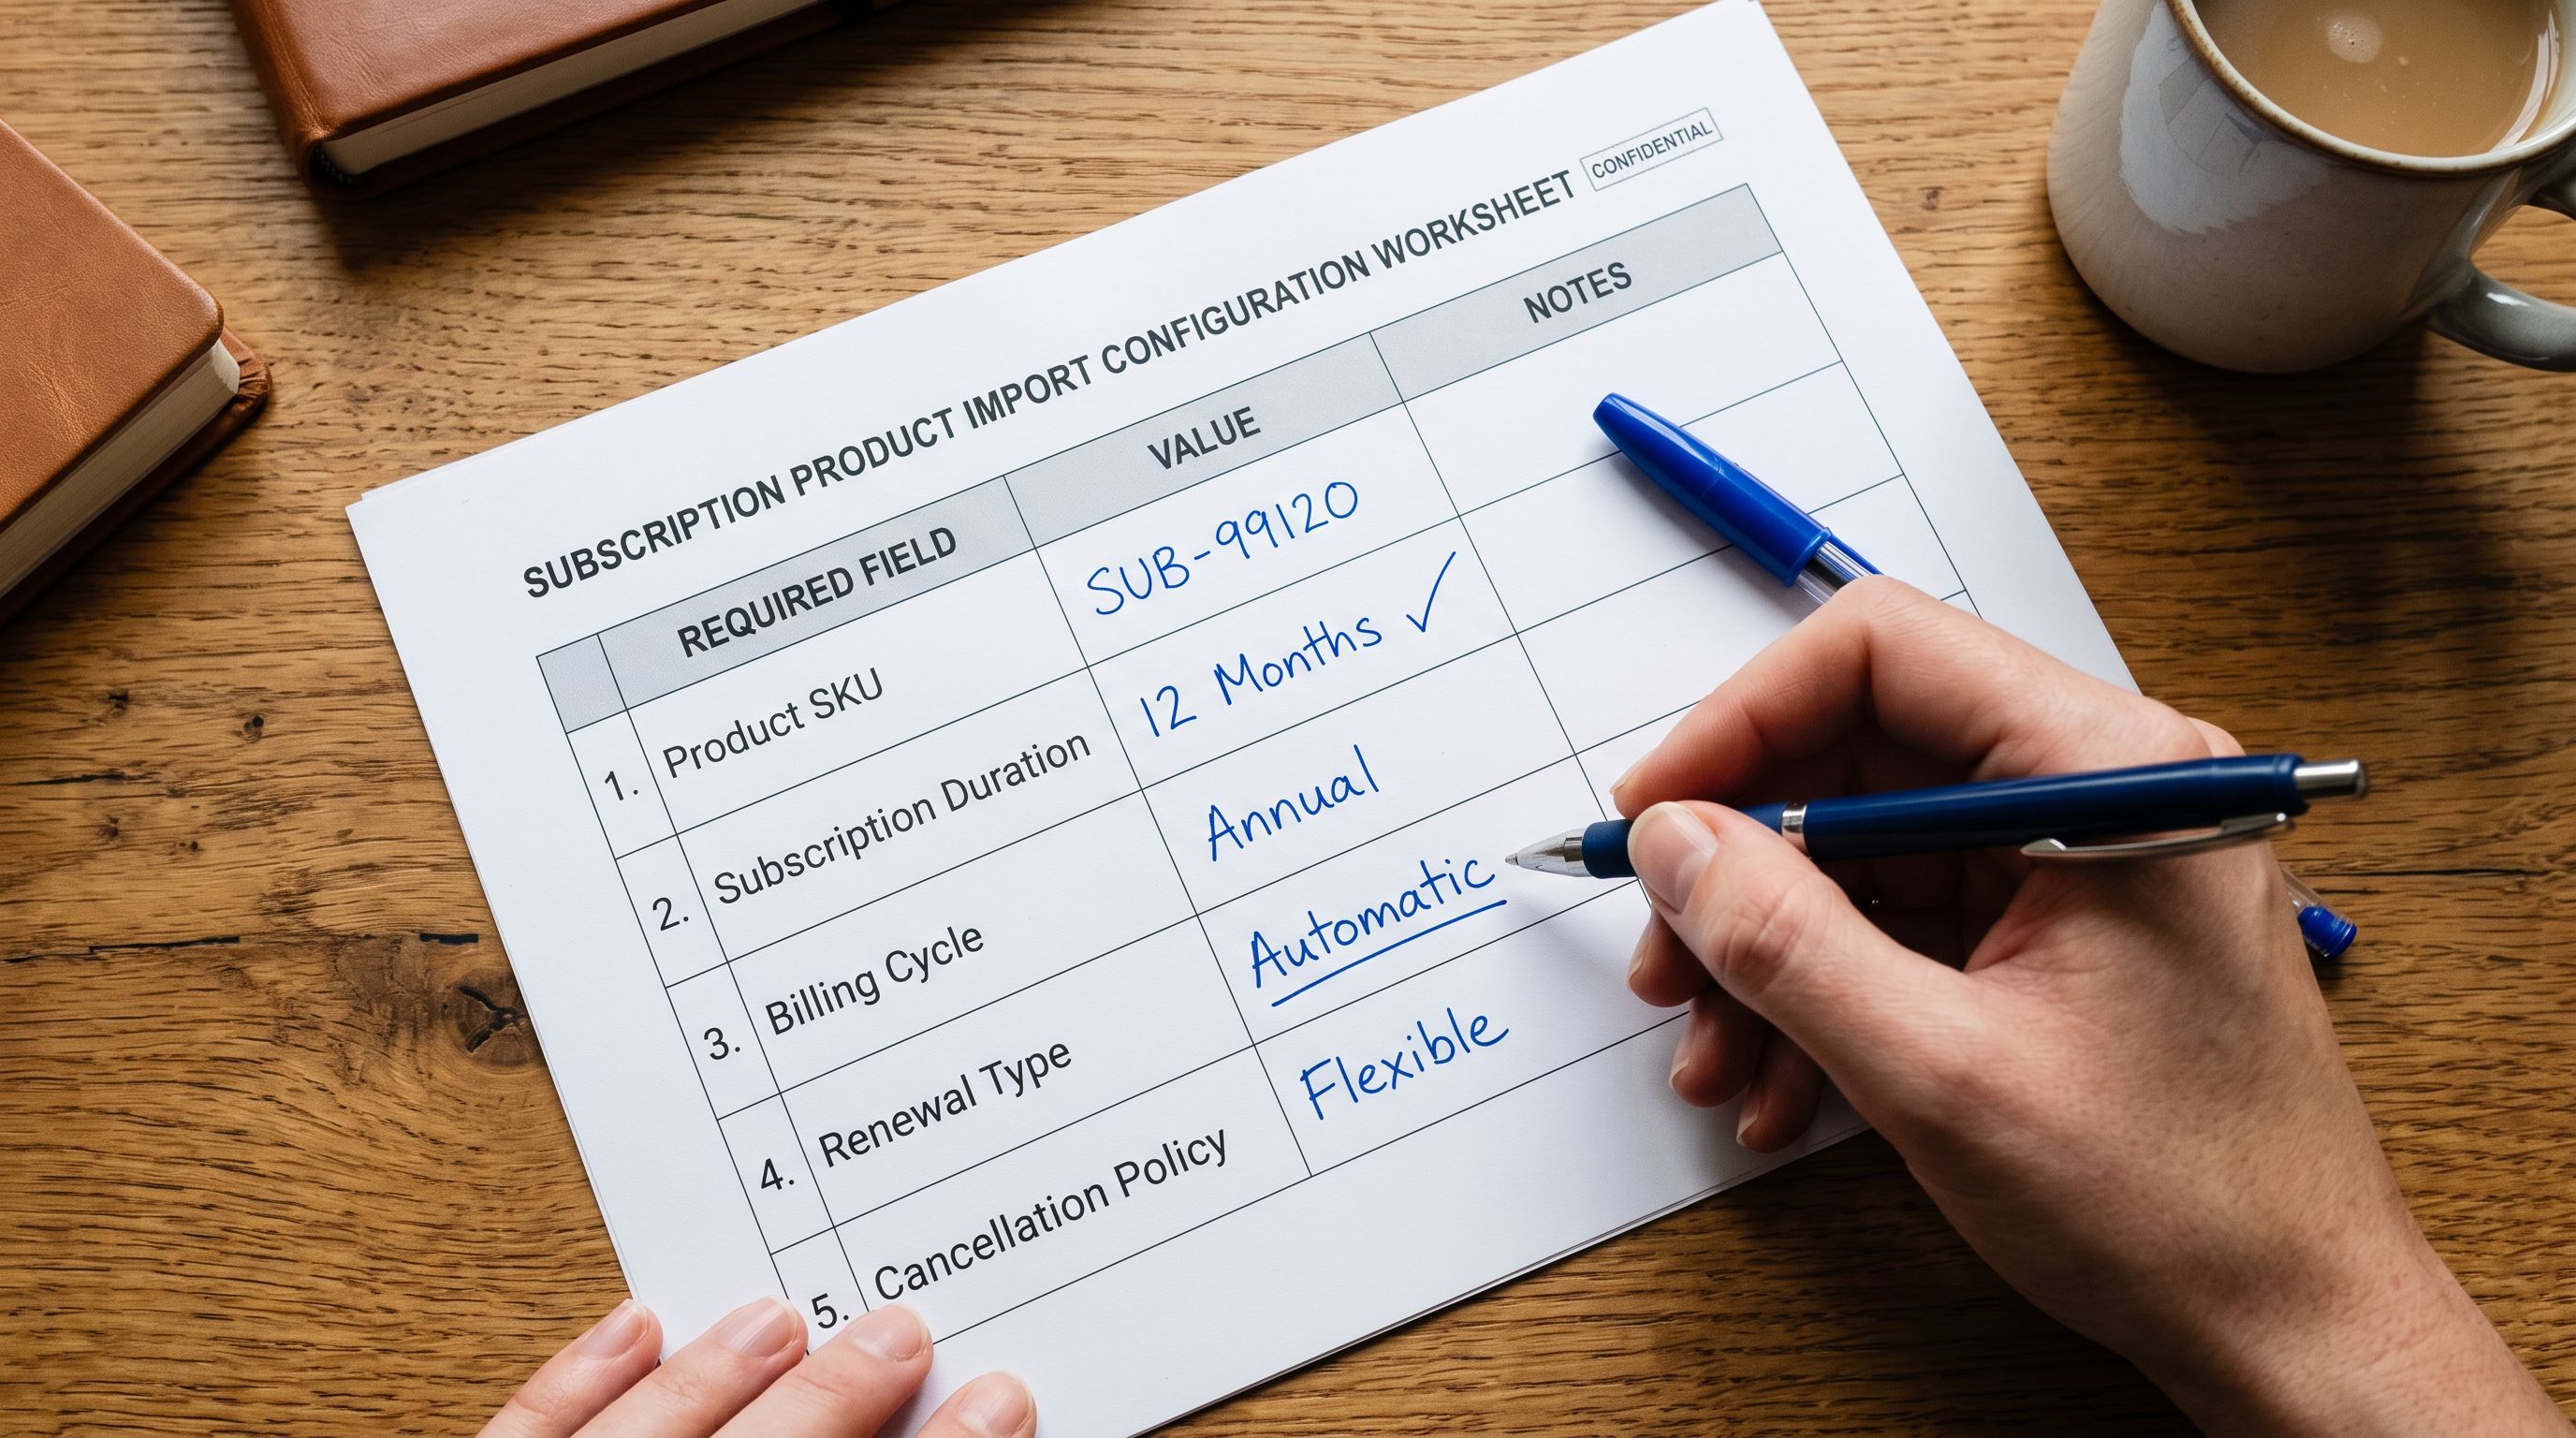
You need one thing: the file your supplier gave you.
That is usually an Excel spreadsheet (.xlsx) or a CSV file. If you received a PDF or a Word document, that is a different situation, but most suppliers who provide product data in bulk provide it as a spreadsheet or CSV.
You do not need to:
- Know what a CSV is or how it works
- Reformat the spreadsheet columns to match Shopify's expected format
- Write any product descriptions from scratch
- Know anything about Shopify's product API or data structure
The Importier import wizard reads the supplier file as-is, identifies the columns, and proposes a mapping to Shopify's fields. You confirm or adjust the mapping, then the AI generates descriptions. You preview before anything touches your store.
That is the whole process.
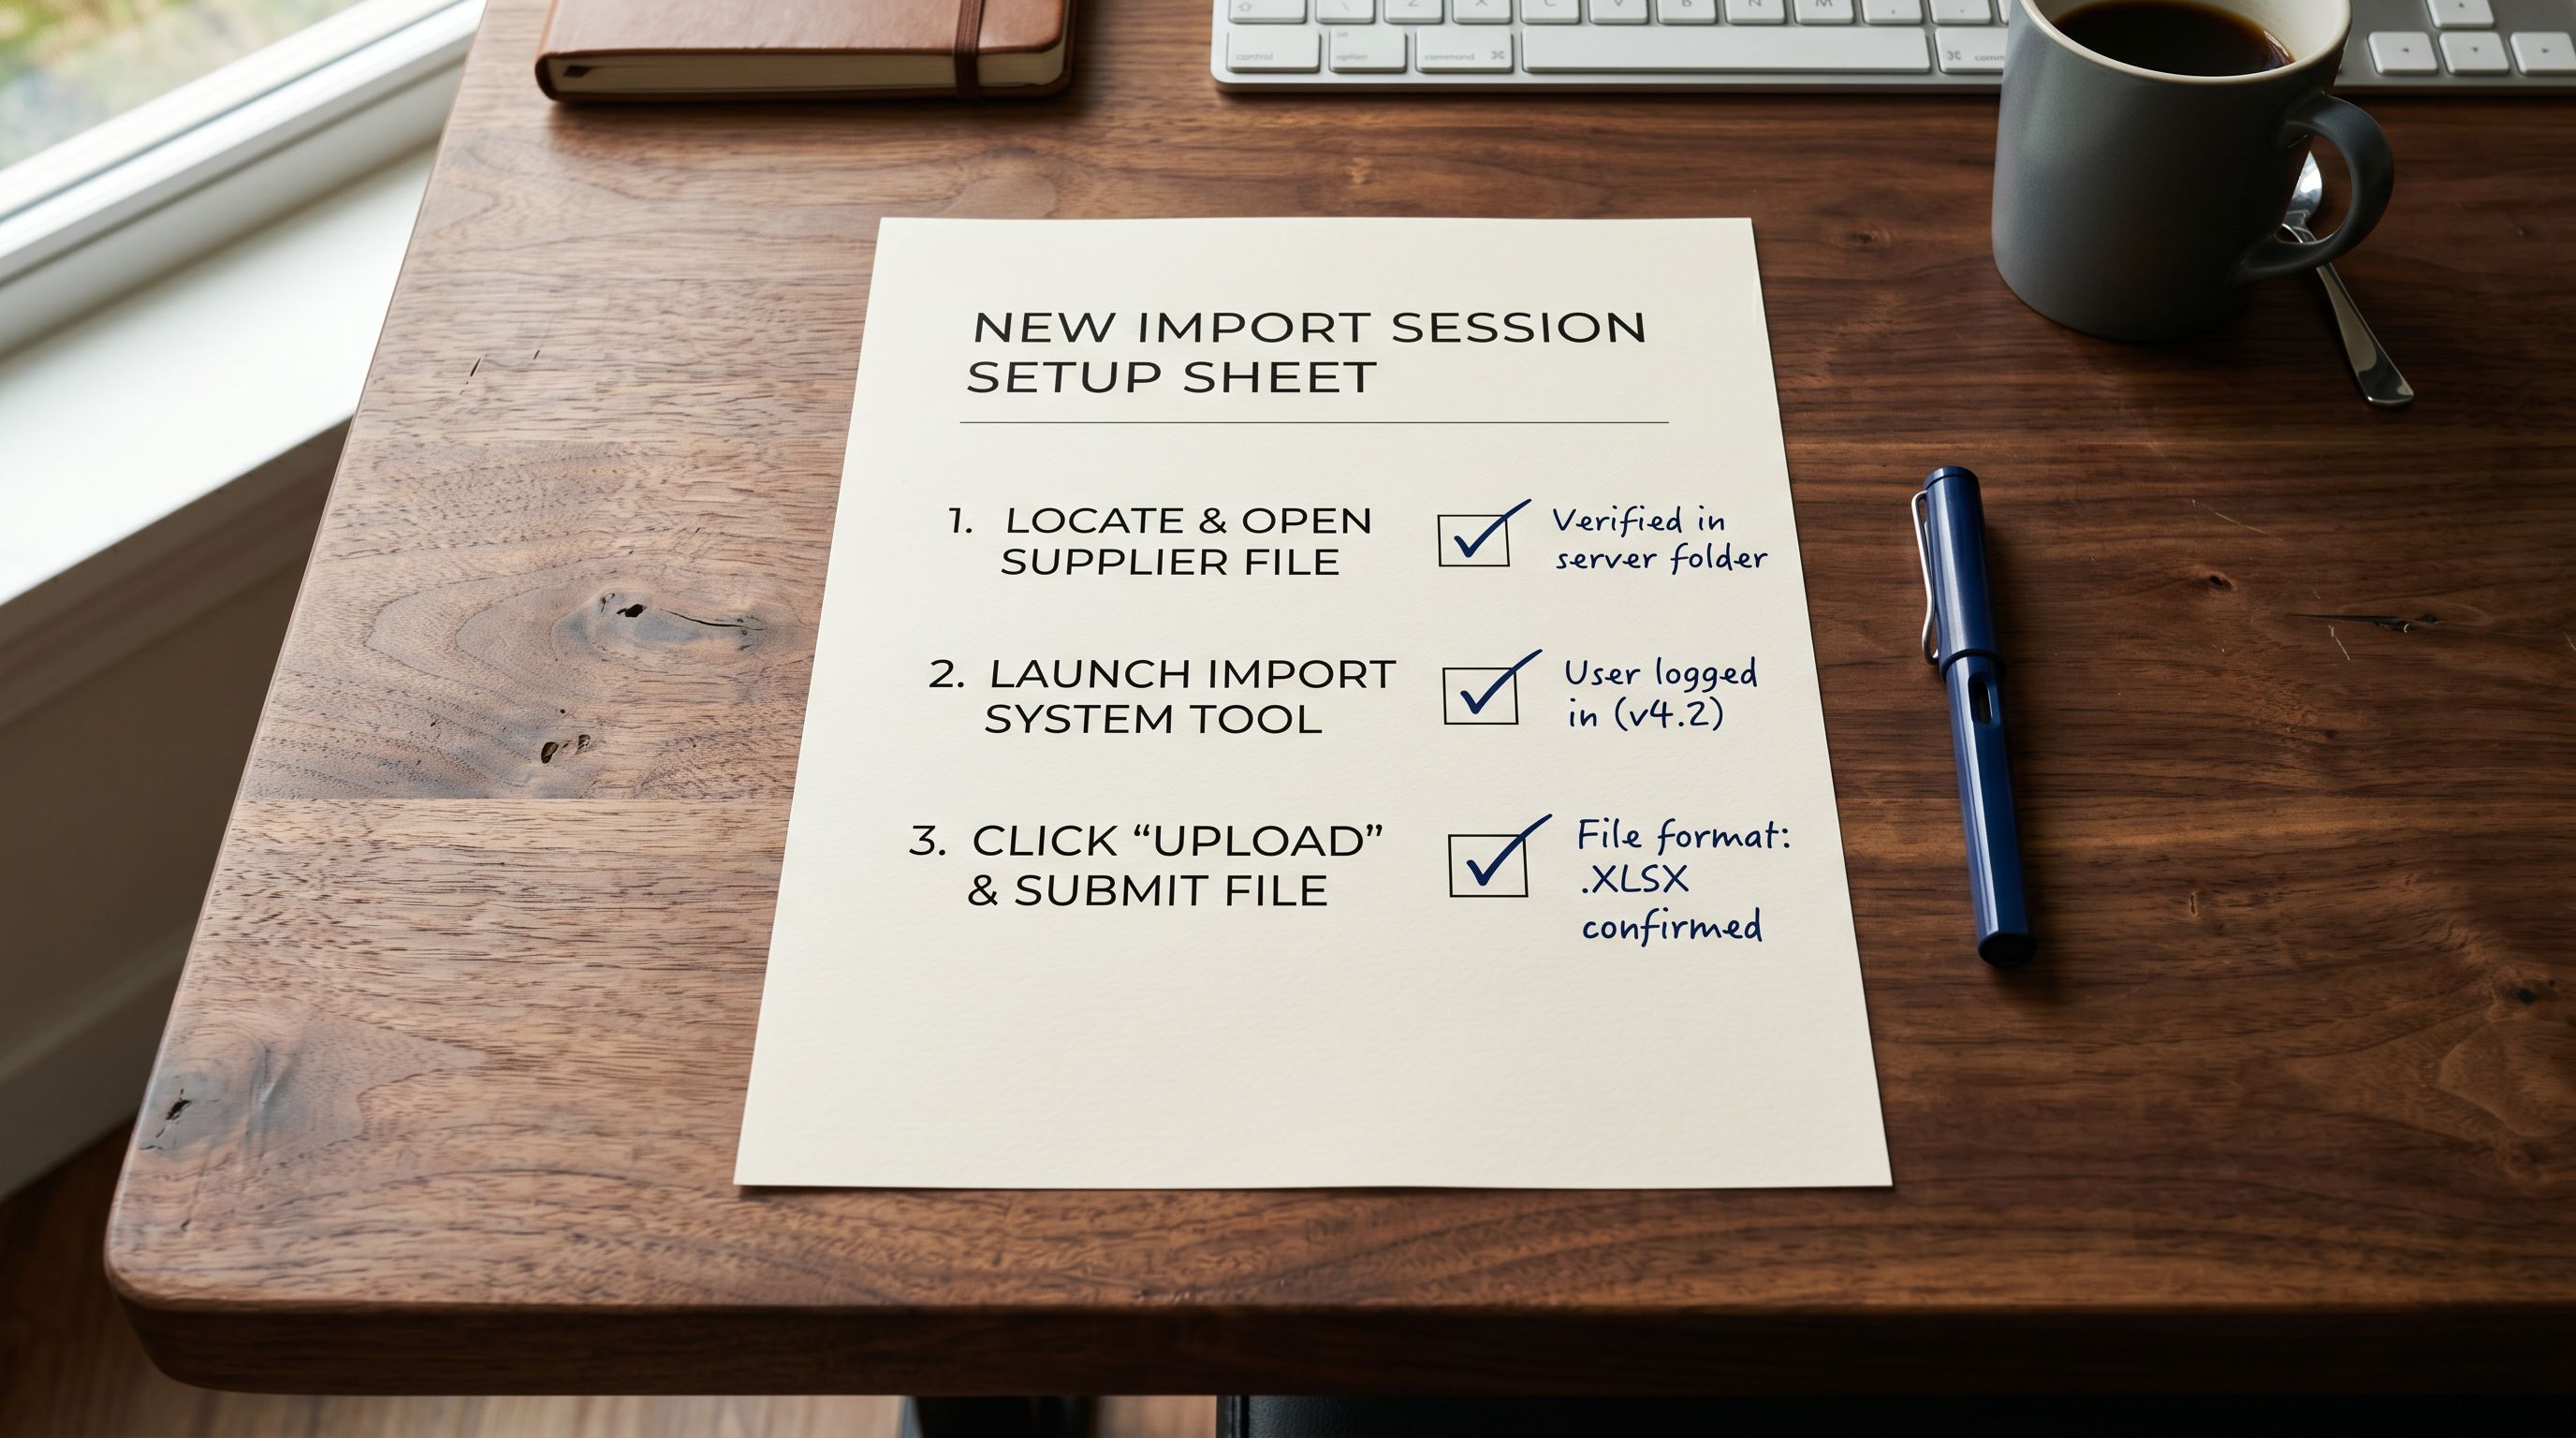
Step 1: Upload Your Supplier File
Open Importier and start a new import. The upload step accepts Excel files (.xlsx, .xls) and CSV files. Drag and drop the supplier file or click to browse. The file uploads to Importier's processing layer.
If your supplier sent you the file by email, save it to your desktop first, then upload from there. If the file is in a Dropbox or Google Drive folder, download it first; Importier's direct upload handles local files.
Importier reads the file and identifies the column structure: how many columns, what the column headers are, and how many rows of product data are present. For a 500-product file, this takes a few seconds.
Step 2: Confirm the Column Mapping
The column mapping step is where most non-technical merchants expect complexity. In practice, it is one of the easier parts.
Importier reads the supplier file's column headers and proposes a mapping from those headers to the corresponding Shopify product fields. The proposal is automatic: if the supplier file has a column called "Product Name", Importier maps it to the Shopify Title field. If it has "Description" or "Product Description", it maps to the Body field. If it has "Price" or "RRP", it maps to the price field.
For standard supplier files where the column names are recognisable, the mapping proposal is usually correct. Your job is to scan the proposed mappings, confirm they look right, and fix any that are wrong.
Fixing a mapping is a dropdown selection: click on the Shopify field name next to any column, and select the correct target from the list. You do not need to know Shopify's technical field names because they are presented as plain descriptions: "Product title", "Product description", "Price", "Compare-at price", "Barcode", "Images".
If the supplier file has columns you do not need (internal stock codes, wholesale pricing for a channel you do not use, obsolete fields), leave them unmapped. Unmapped columns are ignored.
- 01Open the column mapping step in Importier. You will see two columnson the left, the column headers from your supplier file; on the right, the proposed Shopify field for each one.
- 02Scan down the list. For each row, check that the proposed mapping makes sense. 'Product Name' to 'Title'correct. 'Description' to 'Body HTML': correct. 'RRP' to 'Price': check whether your supplier's RRP is what you want as your Shopify price, or whether you need to apply a markup.
- 03For any mapping that is wrong, click the right-hand dropdown and select the correct Shopify field. If a column should not be imported at all, select 'Do not import' from the dropdown.
- 04For a supplier you import from regularly, save the mapping as a named profile when you are done. The next time you import from the same supplier, the saved profile loads automatically and the mapping step becomes a one-second confirmation.
Step 3: AI Writes the Descriptions
This is where the majority of the work happens for you without any effort on your part.
After confirming the column mapping, Importier runs an AI generation pass across all products in the file. For each product, the AI reads the product's title, category, any existing description from the supplier, and any other attributes in the file (material, dimensions, colour) and generates a buyer-facing product description.
The default AI configuration for a standard import uses a general-purpose description style that works across most product categories. You do not need to configure a model, a style, or a persona for a basic import. The AI generates descriptions that are readable, product-specific, and longer than the typical supplier description.
You can change the style if you want. Importier offers seven description styles (Narrative, Benefits-First, Lifestyle, Technical, Comparative, Emotional Storytelling, and SEO-Focused) and 156 expert personas across 43 industries. But you do not have to use them. For a non-technical import where the goal is to get products into Shopify with decent descriptions, the defaults produce usable output.
The AI generation runs in the background while you move to the next step. For 500 products, it typically takes 10-15 minutes.

Step 4: Review Before Anything Goes Live
Before confirming the import, Importier shows you a preview of the first products in the batch: their titles, descriptions, images, prices, and variants as they would appear in Shopify.
The review step is your last check before products reach your store. Review 10-20 products spread across the range:
- Do the titles look right? (Product names should match what you are selling)
- Do the descriptions read naturally? (They should describe the product, not read like a spec sheet)
- Are the prices correct? (Check one or two against the supplier file)
- Are variants structured correctly? (A product with three sizes should show three variants, not three separate products)
If something looks wrong in the review, you can adjust the relevant setting (a mapping, a price formula, a style choice) and re-run the affected products without starting over. If everything looks correct, confirm.
- Enter each product title, description, price, and image by hand
- Write or copy-paste descriptions for every product
- Set up variants one at a time per product
- No preview before products go live
- One mistake requires finding and fixing that product manually
- Upload the supplier file once; all products import in a single session
- AI generates descriptions for every product automatically
- Variants are structured from the supplier file automatically
- Full preview before any product reaches Shopify
- Import Undo reverses the entire session if something went wrong
Step 5: Confirm and Watch the Products Arrive
After confirming the review, the import runs. Importier pushes the products to Shopify via the API. For 500 products, this typically takes 10-20 minutes.
You can see the progress in the Import History section. When the import completes, the products are live in your Shopify store. Open your Shopify admin and navigate to Products to verify they are there.
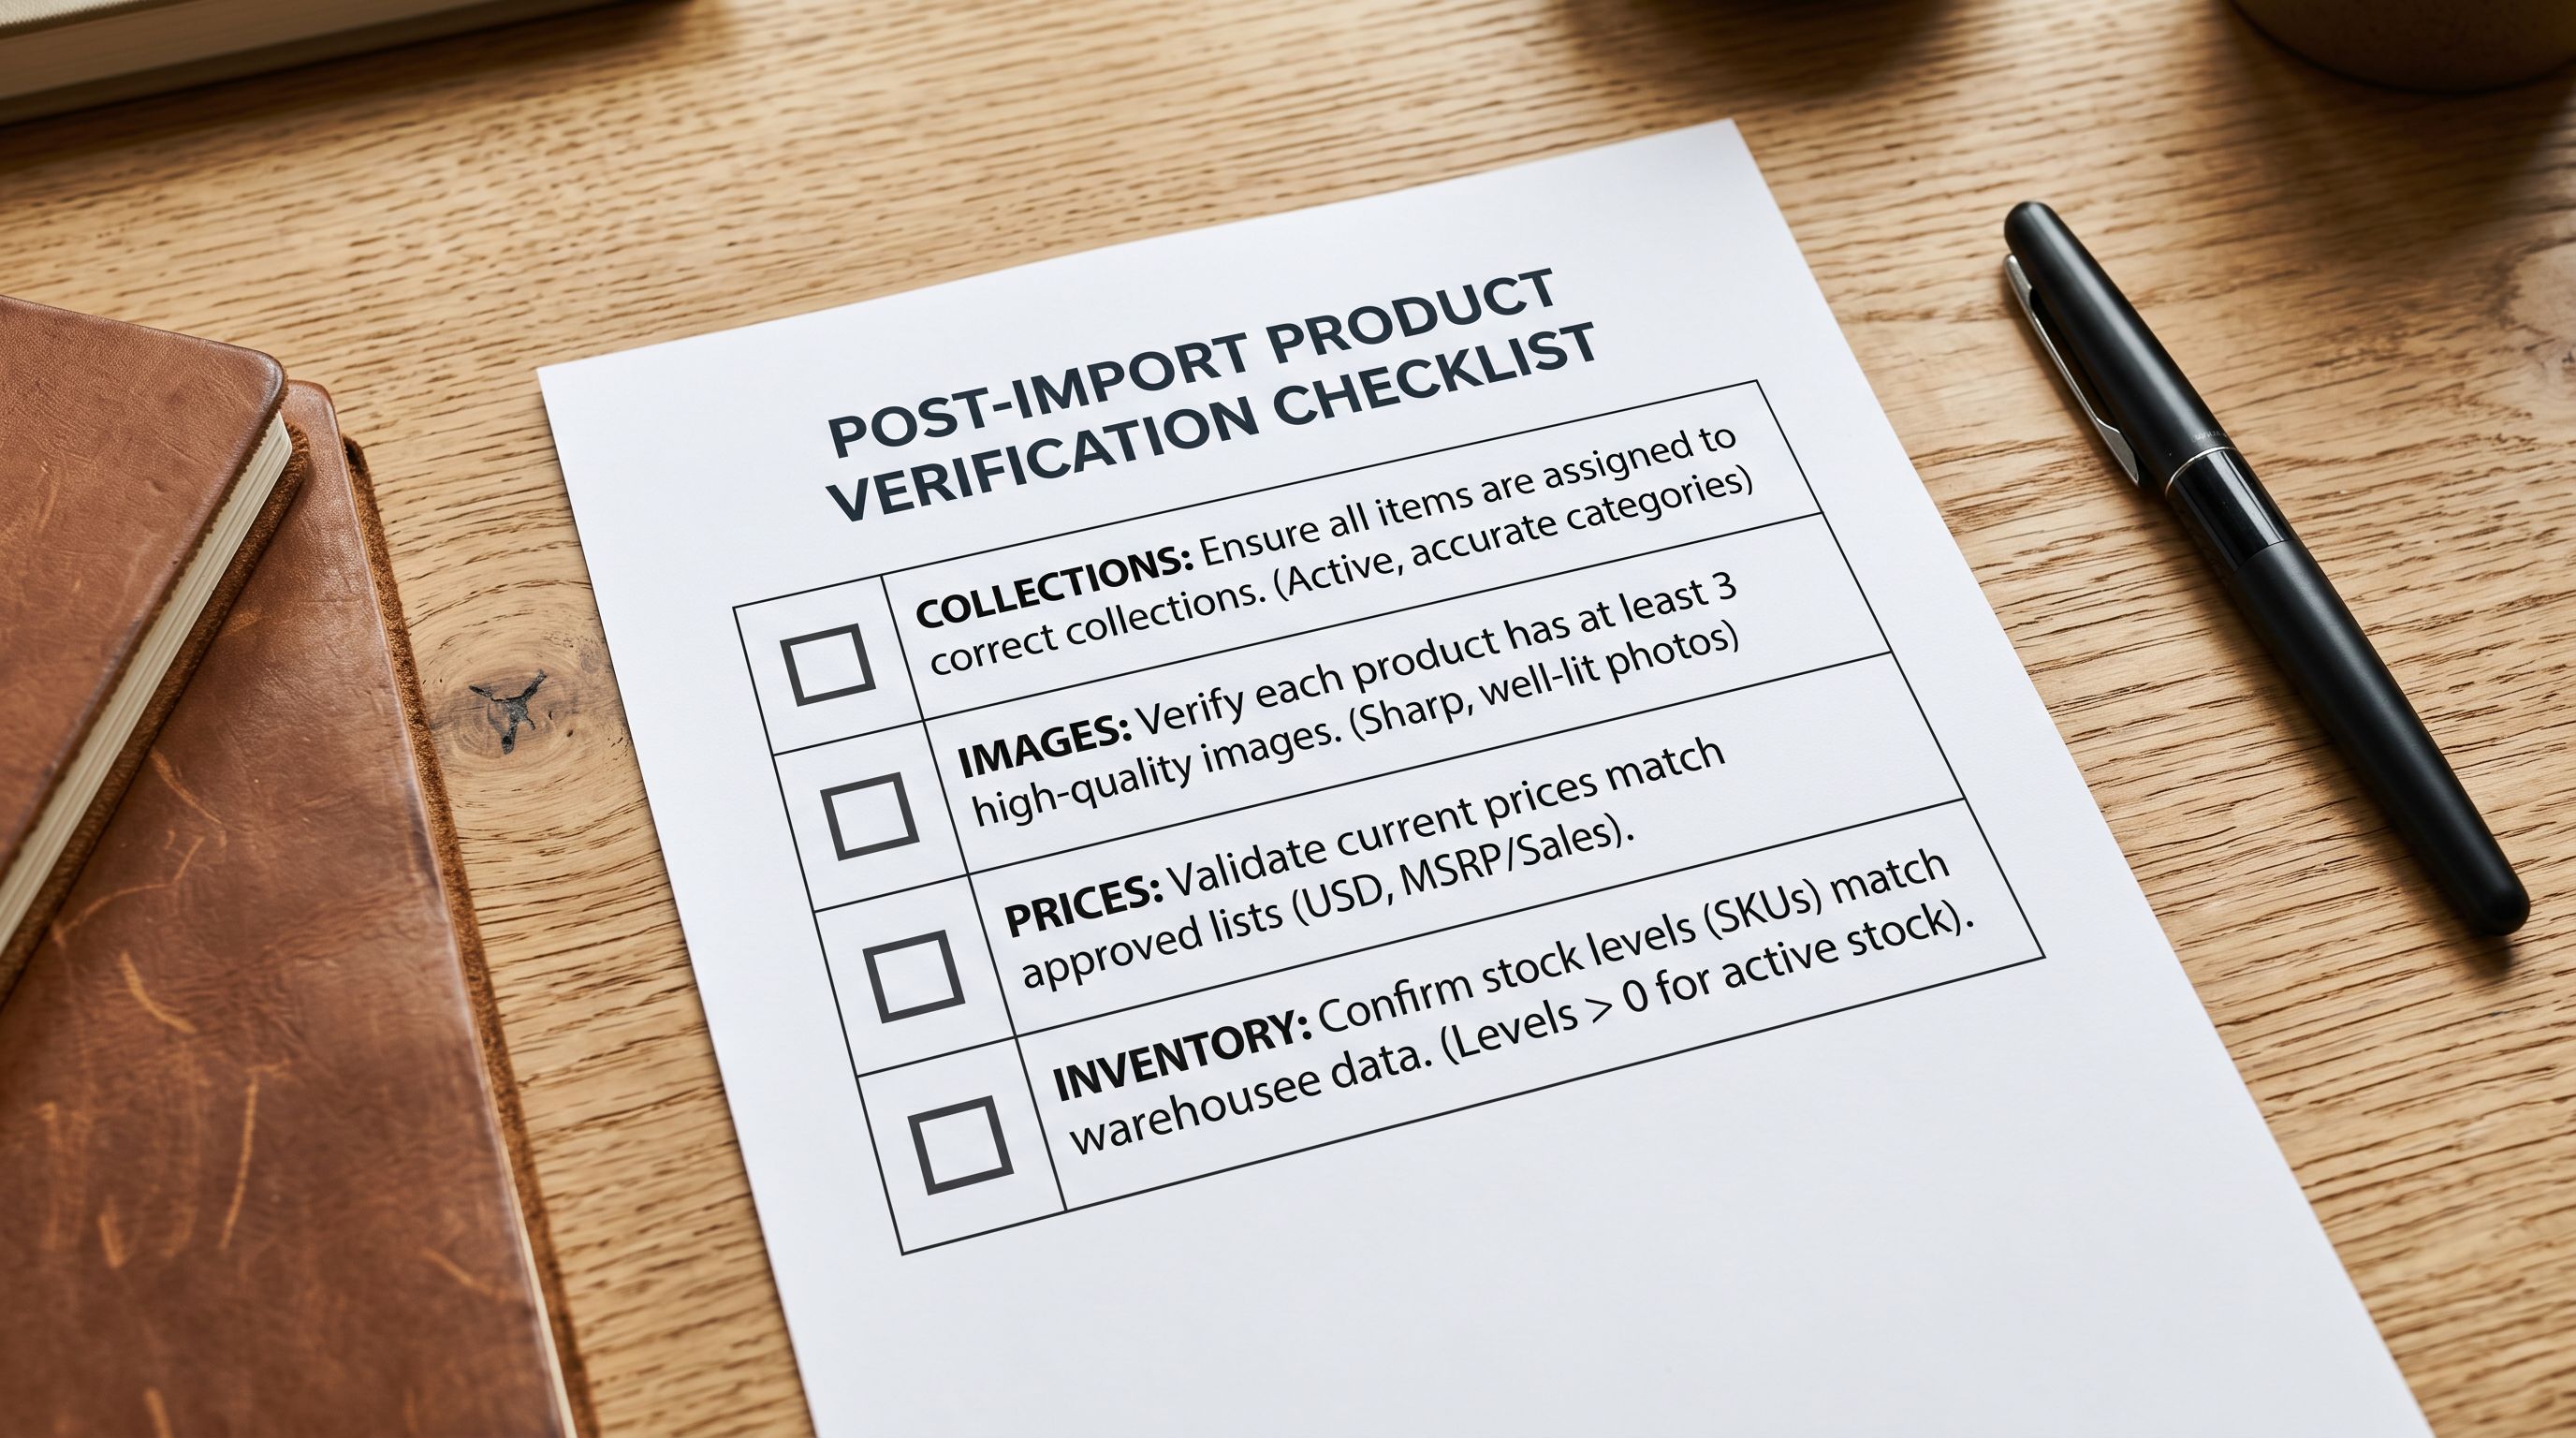
A few things to check after the import completes:
Collections: if your Shopify store uses automated collections (collections that include products automatically based on product type, tag, or vendor), the new products should appear in the correct collections immediately. Verify that the key collections are showing the expected product counts.
Images: if the supplier file included image URLs, the images are fetched and assigned during import. For each product in the review, confirm the images loaded. If an image URL in the supplier file was broken or inaccessible, that product will have no image and needs a manual image upload.
Inventory levels: Importier imports the stock quantities from the supplier file if a quantity column is present. If the supplier file did not include a quantity column, products arrive with zero inventory. You will need to update inventory levels in Shopify admin or via a separate stock import.
For the full import workflow reference including how to handle specific file formats and column mapping scenarios, the Shopify CSV import guide covers the complete mapping process with examples for common supplier file structures.
The review step is where a non-technical import becomes a confident one. Seeing the products with their generated descriptions and prices before confirming means there are no surprises after the import completes.
If Something Goes Wrong
Import Undo: The Safety Net
The Import Undo function in Importier reverses an entire import session. If the import completed but the products look wrong (wrong descriptions, wrong prices, incorrect variant structure), Import Undo removes all products from that session from your Shopify store.
This is the safety net that makes bulk importing less risky for non-technical merchants. The worst outcome of a bad import is not a permanently broken catalogue; it is a 10-minute rollback, a configuration adjustment, and a second import.
Import Undo is available for a limited window after an import session completes. It is not a replacement for the review step (using Undo after 500 products have been pushed is slower than catching the problem in the review), but it is available for situations where a problem is only visible after products are live in the store.
For common import mistakes that the review step catches and how to avoid them before confirming, the Shopify product import beginner mistakes guide covers the specific errors that appear most often in first-time imports and the adjustments that fix them.
What "No Technical Knowledge" Actually Means
The Importier import wizard was built so that the decisions requiring technical knowledge (API field names, data type formatting, variant structure logic, image URL handling) are handled automatically or presented in plain language.
What remains are decisions only you can make: which products to import, what price to charge, how you want products organised in your store. Those are business decisions, not technical ones.
For the initial Importier setup before your first import, the Importier settings setup guide covers the account configuration, how to connect your Shopify store, and the settings that apply to every import session.
Shopify's own guide to adding products covers the manual product entry flow in Shopify admin, useful as a reference for understanding what fields Importier is populating during the import and why each field matters for the product page. Shopify's bulk import documentation covers the native Shopify CSV importer as an alternative for merchants who want to understand what Importier replaces and why the wizard approach is faster for non-technical users.
The first import is the hardest, because it is unfamiliar. The second import from the same supplier loads the saved column mapping automatically and takes a fraction of the time. By the third import, the process is routine.
Try Importier free at importier.app
Set up your first import in under five minutes.
Importier brings products into Shopify with AI descriptions, category metafields, and data enrichment on every run.