Ecwid to Shopify Migration: Move Your Product Catalogue

On this page
A merchant running a clothing store on Ecwid embedded in their WordPress site has 340 products across 14 categories. The store has been live for three years and the products are well-organised: category trees like Home > Clothing > Men's Shirts and Home > Clothing > Women's Dresses. Each product has three option sets: size, colour, and fit. The merchant decides to migrate to a standalone Shopify store.
The ecwid to shopify migration looks straightforward until the merchant opens the Ecwid CSV export and discovers that Shopify does not have an equivalent to Ecwid's category tree, that Ecwid's three-level "Options" system maps to Shopify's maximum-three variant options but only if combined correctly, and that every Ecwid image URL is a CDN link that needs to resolve when Shopify imports it.
This is a migration that requires a few decisions before any data moves.
What Ecwid Exports and What Shopify Expects
Ecwid's product export produces a CSV with columns for product ID, name, description, price, SKU, categories, product options, and images. The structure is not Shopify-native. Before importing, several transformations are needed.
The main differences to resolve:
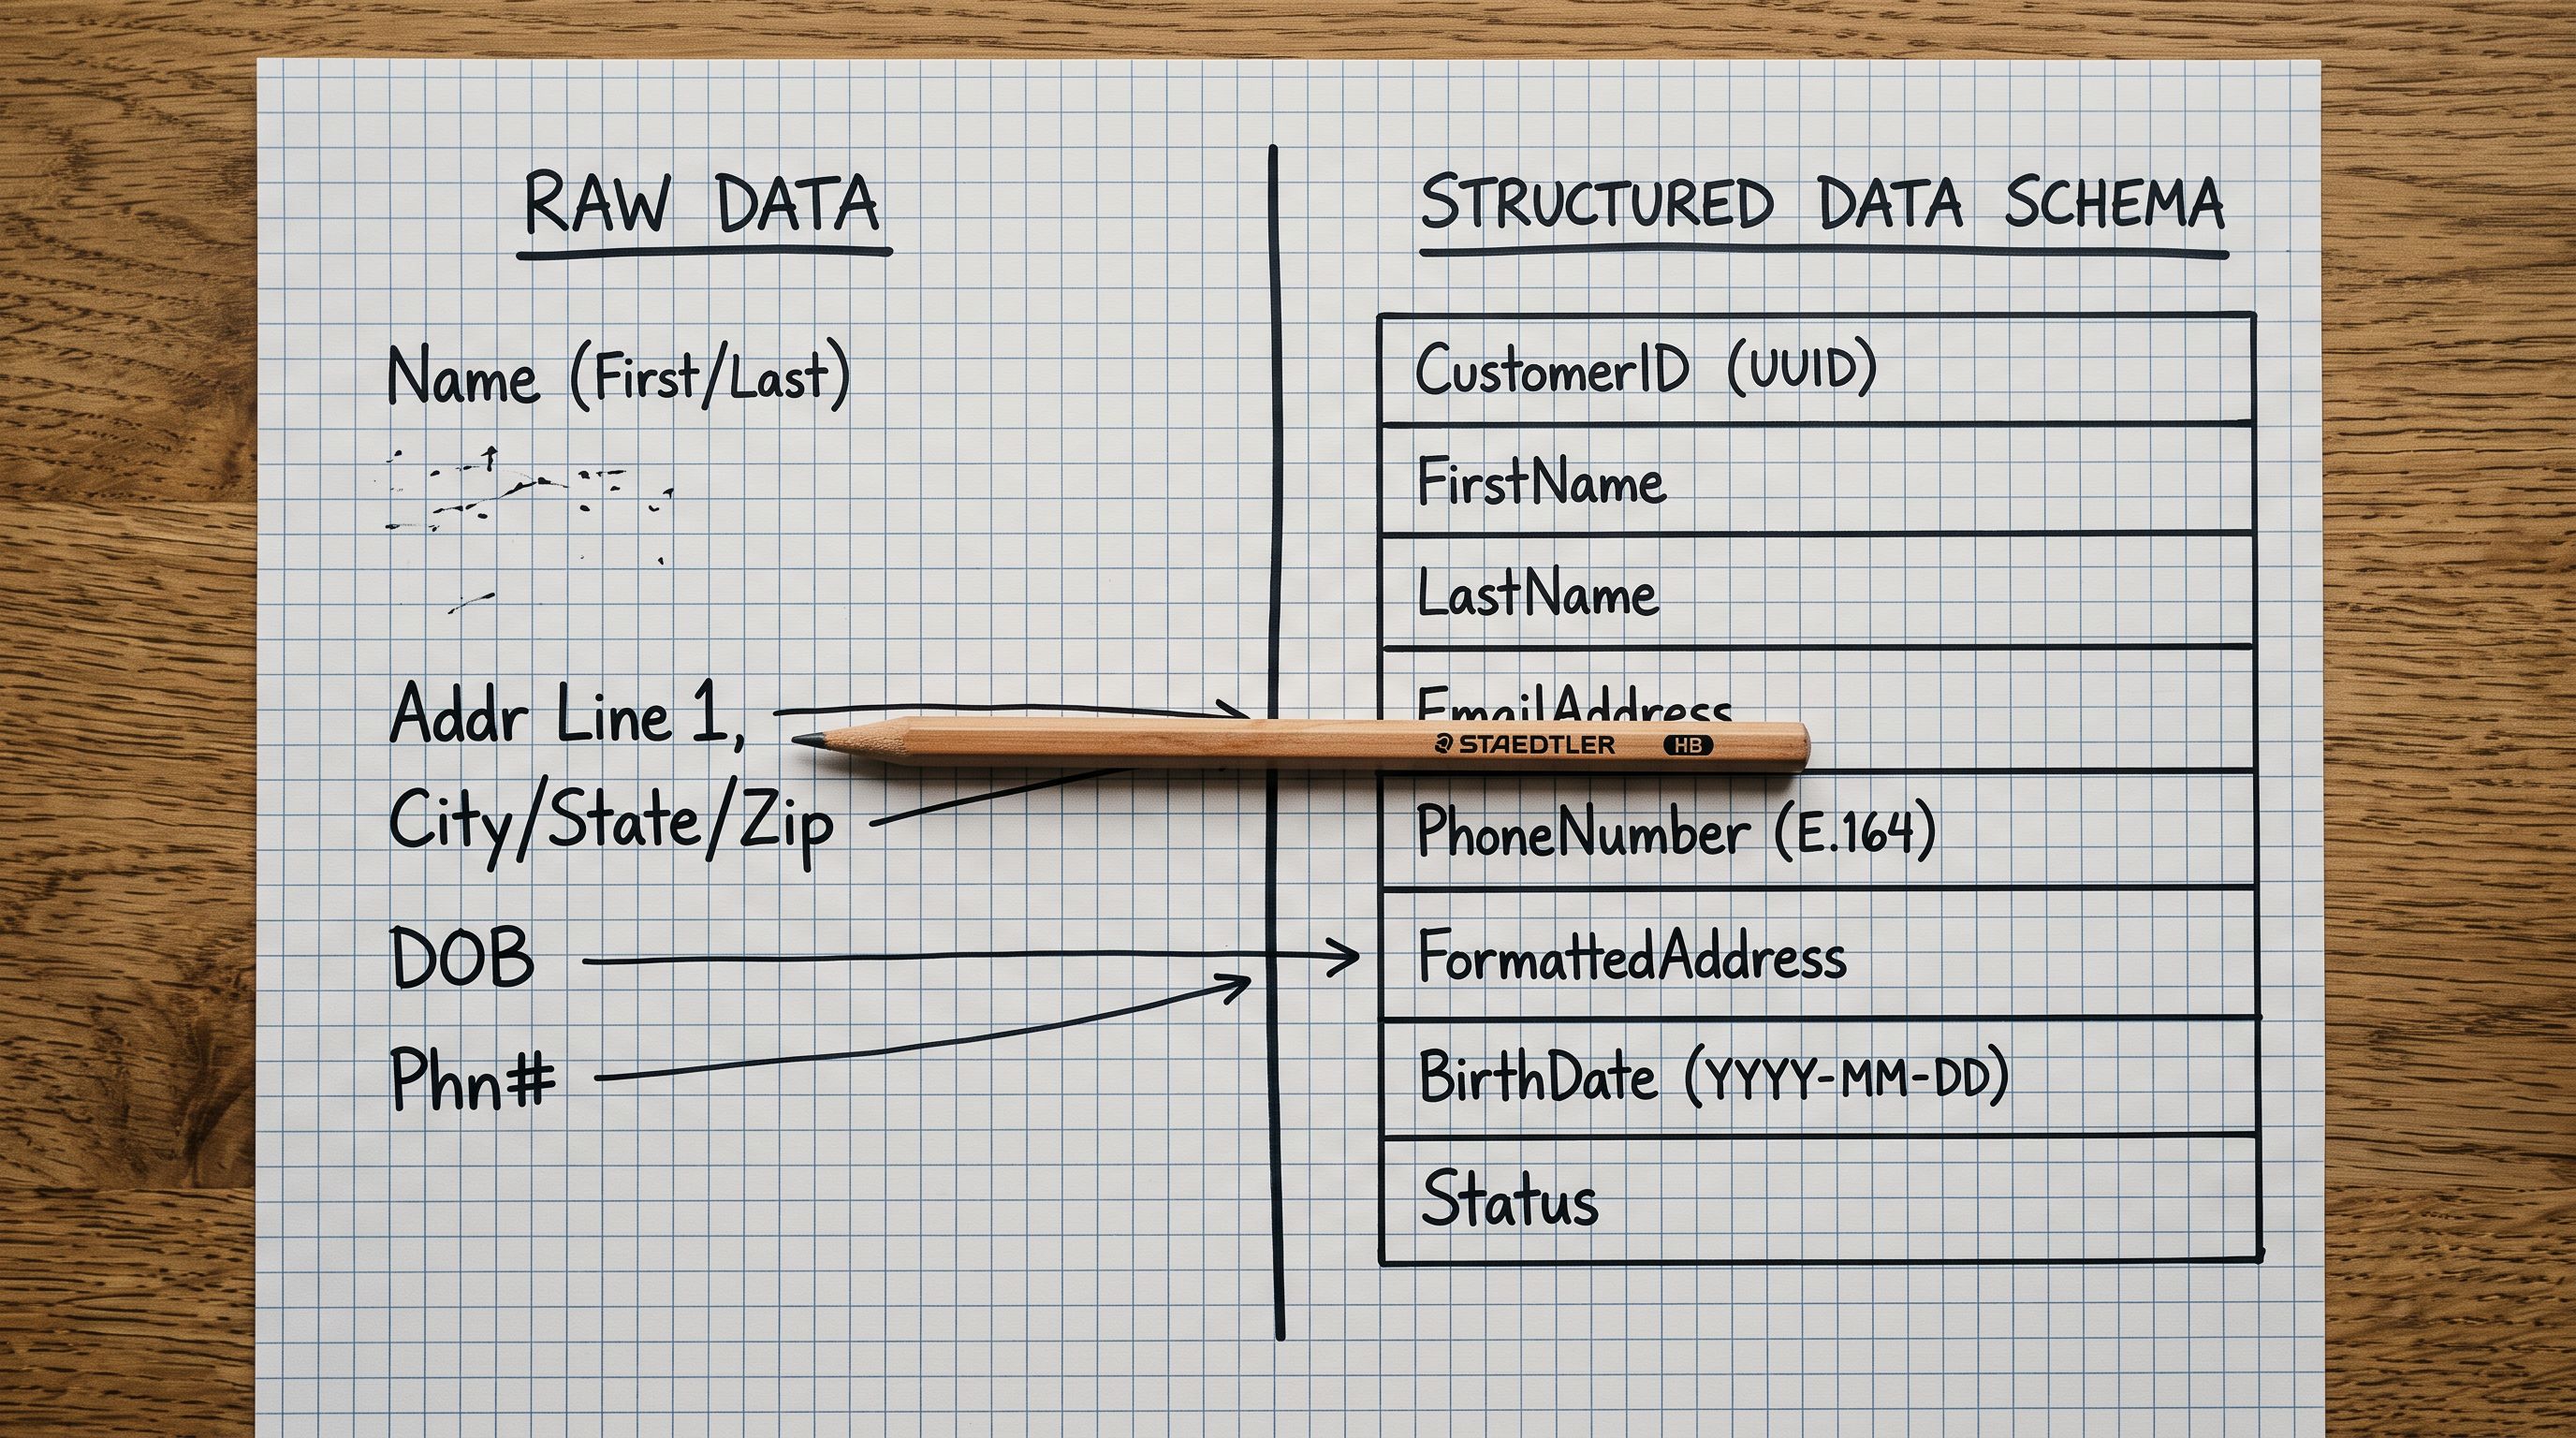
Categories become product types or tags. Ecwid uses a hierarchical category tree. Shopify does not have nested categories. Instead, products belong to flat collections, and the Product Type field carries a single text value like "Shirts" or "Dresses." A three-level category path (Home > Clothing > Men's Shirts) needs to be flattened into a product type value ("Men's Shirts") and optionally a tag ("Clothing") before import.
Options become variant columns. Ecwid's "Options" (Size, Colour, Fit) map to Shopify's option columns (Option1 Name, Option1 Value, Option2 Name, Option2 Value, Option3 Name, Option3 Value). Shopify allows a maximum of 3 option types per product. If an Ecwid product has 4 or more option types, the merchant must decide which ones to keep as variants and which to handle differently (for example, using metafields for a non-essential option like "gift wrapping").
Images are CDN URLs. Ecwid stores product images on its CDN and the export contains the image URLs. Shopify's importer, and Importier, accept external image URLs and download them during import. No manual download is needed, but the URLs must resolve at import time, which they will for as long as the Ecwid store remains active.
Preparing the migration file
Preparing the Ecwid Export for Shopify Import
The most reliable approach for an ecwid to shopify migration is to use Ecwid's CSV export as the source data and then map its columns to the Shopify/Importier import format before importing.
Step one: Export from Ecwid. In Ecwid admin, go to Catalogue > Products > Export. Select "All products" and choose the CSV format. The file includes every product field Ecwid holds.
Step two: Map categories to product types. Open the CSV in a spreadsheet. The categories column contains the full category path (for example, "Clothing/Men's Shirts"). In a new column labelled "Product Type," extract the deepest category level for each product (the final segment of the path). For a 340-product catalogue across 14 categories, a VLOOKUP or IF formula can automate this for most rows, with manual edits for any edge cases.
Step three: Flatten options into variant columns. Ecwid lists options in a format like "Size=Medium; Colour=Blue; Fit=Regular." These need to be split into separate Shopify variant columns. If your catalogue has three option types consistently, a spreadsheet formula or text-to-columns operation can split them. If option combinations vary by product, handle them per product or per product group.
Step four: Prepare the image column. In the Shopify/Importier format, images go in the Image Src column. The Ecwid export's image URL field maps directly here with no transformation needed. Multiple images per product appear as additional rows with the same Handle but a new Image Src value.
- 01Step 1Export all products from Ecwid as CSV (Catalogue > Products > Export). Save the file. You will use this as your source, not as the import file.
- 02Step 2Open the export in a spreadsheet. Create a new Shopify-format sheet with the required column headers: Handle, Title, Body HTML, Vendor, Product Type, Tags, Published, Option1 Name, Option1 Value, Option2 Name, Option2 Value, Option3 Name, Option3 Value, Variant SKU, Variant Price, Image Src.
- 03Step 3Map Ecwid columns to Shopify columns. Title maps directly. Description (HTML) maps to Body HTML. The lowest-level category segment maps to Product Type. Parent categories can become Tags. The Ecwid product URL slug becomes the Handle (or generate a new one from the title).
- 04Step 4Split Ecwid options into variant columns. Each option type (Size, Colour, Fit) becomes one set of Option Name and Option Value columns. One row per variant combination: a shirt in Medium-Blue-Regular is one row; Medium-Blue-Slim is another.
- 05Step 5Import the prepared file through Importier's 14-step wizard. Importier's column auto-mapping recognises common Shopify column names. At the AI description step, choose whether to regenerate descriptions in your brand voice or keep the existing Ecwid descriptions.
The Category Tree Decision
The category tree is the part of an ecwid to shopify migration that most guides skip, but it has the largest downstream effect on how the Shopify store is organised.

Ecwid's hierarchy is:
- Home > Clothing > Men's Shirts
- Home > Clothing > Women's Dresses
- Home > Accessories > Bags
In Shopify, this hierarchy becomes a decision: do "Men's Shirts," "Women's Dresses," and "Bags" become:
(a) Product Types: a single text field on each product, used for filtering but not for navigation.
(b) Manual Collections: browseable category pages that merchants build explicitly.
(c) Smart Collections (automatic): collections where Shopify auto-assigns products based on a tag or product type rule.
For a 14-category Ecwid store, the most practical approach is to use Product Type for the leaf category (Men's Shirts, Women's Dresses, Bags) and Tags for the parent category (Clothing, Accessories). Shopify Smart Collections can then be built that include products with a specific Product Type or Tag, recreating the Ecwid browsing experience without requiring manual collection management.
- Ecwid CSV columns do not match Shopify's expected headers
- Category tree is not recognised, so products import with no Product Type
- Options stay as a single merged string, not split into variant columns
- 14 categories become 0 Shopify Product Types
- AI descriptions are not available at import time
- Column mapping translates Ecwid fields to Shopify format before import
- Deepest category level becomes Product Type for each product
- Options split into Shopify variant columns (Option1, Option2, Option3)
- Tags carry parent category context for Smart Collection rules
- Importier's AI descriptions can optionally rewrite Ecwid descriptions in brand voice
Handling the Shopify Variant Limit
Shopify allows a maximum of 3 option types per product. Most Ecwid stores use 2 or 3 options, so this limit rarely causes problems. But if any Ecwid product has 4 or more option types, those products need attention before import.

Most Ecwid stores migrate cleanly with 2 or 3 option types per product. The 4-option-type edge case is rare but worth checking before the import run to avoid a mid-import surprise.
To check: in the Ecwid CSV, filter the "Options" column for products with 4 or more semicolon-delimited values. For each flagged product, decide whether the fourth option type is better handled as a product metafield (for an attribute like "Care Instructions" or "Material Composition" that does not create variant SKUs) or whether the product should be split into multiple Shopify products.
Images: What Resolves and What Does Not
Ecwid CDN image URLs in the export file will continue to resolve as long as the Ecwid store is active. During the migration, the original Ecwid store should remain live so that image imports succeed. After the Shopify store is fully launched and the Ecwid store is no longer needed, Shopify will have already downloaded and rehosted every imported image, so the Ecwid CDN URLs are no longer needed after import.
If the Ecwid store has already been closed or the CDN links have expired, the merchant will need to re-upload images after import. Importier's Google Drive image import workflow handles this: upload images to a shared Google Drive folder and attach them at import time using folder links rather than CDN URLs.
According to Shopify's product import documentation, product images are downloaded from external URLs during the CSV import process. Images must be accessible at a public URL at the time of import. Private or expired URLs will result in products with missing images.
After Your Ecwid to Shopify Migration
Once the import is complete, the post-migration checklist covers four areas.
Verify product types. In Shopify admin, filter products by Product Type and confirm the 14 Ecwid categories are represented correctly as Shopify Product Types. Any products with a blank Product Type were not mapped in the import file.
Check variant completeness. For a sample of products, open the Variants section in Shopify admin and confirm all expected option combinations are present. A men's shirt that had 4 sizes and 3 colours in Ecwid should have 12 variants in Shopify.
Rebuild collections. If the Ecwid store used category pages for navigation, create equivalent Shopify Smart Collections using the Product Type and Tag values imported with the products. According to Shopify's documentation on collections, Smart Collections automatically include products that match a defined condition. A Smart Collection with the condition "Product Type equals Men's Shirts" will include every product from the corresponding Ecwid category.

Review AI-generated descriptions if used. If the import ran Importier's AI description generation, review a sample across each product type to confirm the output matches the brand voice and product detail level expected. For fashion categories, Importier's Emotional Storytelling description style is generally the right starting point; for technical products, the Technical Gadget or Benefits-First style works better.
Ecwid to Shopify Migration: Key Takeaways
An ecwid to shopify migration requires data transformation before import. The Ecwid CSV cannot go directly into Shopify. The preparation work takes longer than the import itself, but it ensures no data is lost in the move.
- Ecwid's category tree does not have a direct Shopify equivalent. Map the leaf category to Product Type and the parent category to Tags. Use Shopify Smart Collections to rebuild category navigation.
- Ecwid's Options (Size, Colour, Fit) become Shopify variant columns. Shopify's maximum of 3 option types per product covers most Ecwid stores; check for 4-option products before importing.
- Ecwid CDN image URLs resolve during import as long as the Ecwid store remains active. Keep the original store live until the Shopify import is confirmed complete.
- Importier's AI description generation can rewrite Ecwid descriptions in your brand voice at import time, or existing descriptions can be kept as-is.
- After import, verify Product Types, variant completeness, and rebuild Shopify collections from the imported Product Type and Tag values.
Start your Ecwid product migration at importier.app. Importier's 14-step import wizard handles column mapping, variant detection, and optional AI description generation in a single import run.
Set up your first import in under five minutes.
Importier brings products into Shopify with AI descriptions, category metafields, and data enrichment on every run.