# Your First Shopify Product Import: A Complete Guide
> Walkthrough for your first Shopify product import: file preparation, the 14-step wizard, pre-publish review, and what to do when an import goes wrong.
- Published: 2026-07-21
- Author: Importier Team
- Category: Import Guides / File Imports
- Canonical: https://www.importier.app/blog/shopify-first-product-import
---
Your first Shopify product import feels like a bigger task than it turns out to be. Most merchants who delay it are waiting until they feel "ready": until the file looks perfect, until they understand every field, until they've read enough documentation to feel confident. That delay costs them a week or more of setup time. The reality of a first shopify product import is that the only thing standing between zero products and a live catalogue is one guided wizard run and a fifteen-minute review pass.
This walkthrough covers everything from preparing your file through to the post-import checks. It is written for merchants who have never imported before, but it is also useful for anyone who tried once, hit an error, and gave up.
## Preparing Your File for a First Shopify Product Import
The most common reason a first import stalls is over-preparation of the source file. Merchants spend days formatting a perfect CSV when Importier only needs three fields to begin: a product title, a price, and one column that can serve as a unique identifier (SKU, barcode, or model number). Everything else (description, images, variants, metafields) can be generated or added during the wizard.
Title and price are the two mandatory fields. SKU or barcode is strongly recommended (it prevents duplicates on repeat imports). Everything else is optional at the file stage: descriptions are generated by AI during the import, images can be pulled from URLs or a Google Drive folder, and variant data can be mapped from however your supplier has structured it.
Importier accepts four file types: CSV, Excel (XLSX), PDF, and marketplace product URLs. The most common starting point is a CSV or Excel file from a supplier.
**If your supplier file has non-standard column names:** Importier's column mapping step auto-suggests matches based on common naming patterns. A column labelled "Product Name" is auto-suggested as the Title field. "Item Price" maps to Price. "EAN" maps to Barcode. You review the suggestions and correct any that are wrong; you do not need to rename your columns before uploading.
**If you only have a PDF catalogue:** Importier's AI parses the document and extracts product data from it. The extraction is not perfect for every layout, but for standard supplier catalogues with a table-per-product or list structure, it covers the essentials: name, price, SKU, and basic specifications. You review the extracted data in the wizard before generating descriptions or pushing to Shopify.
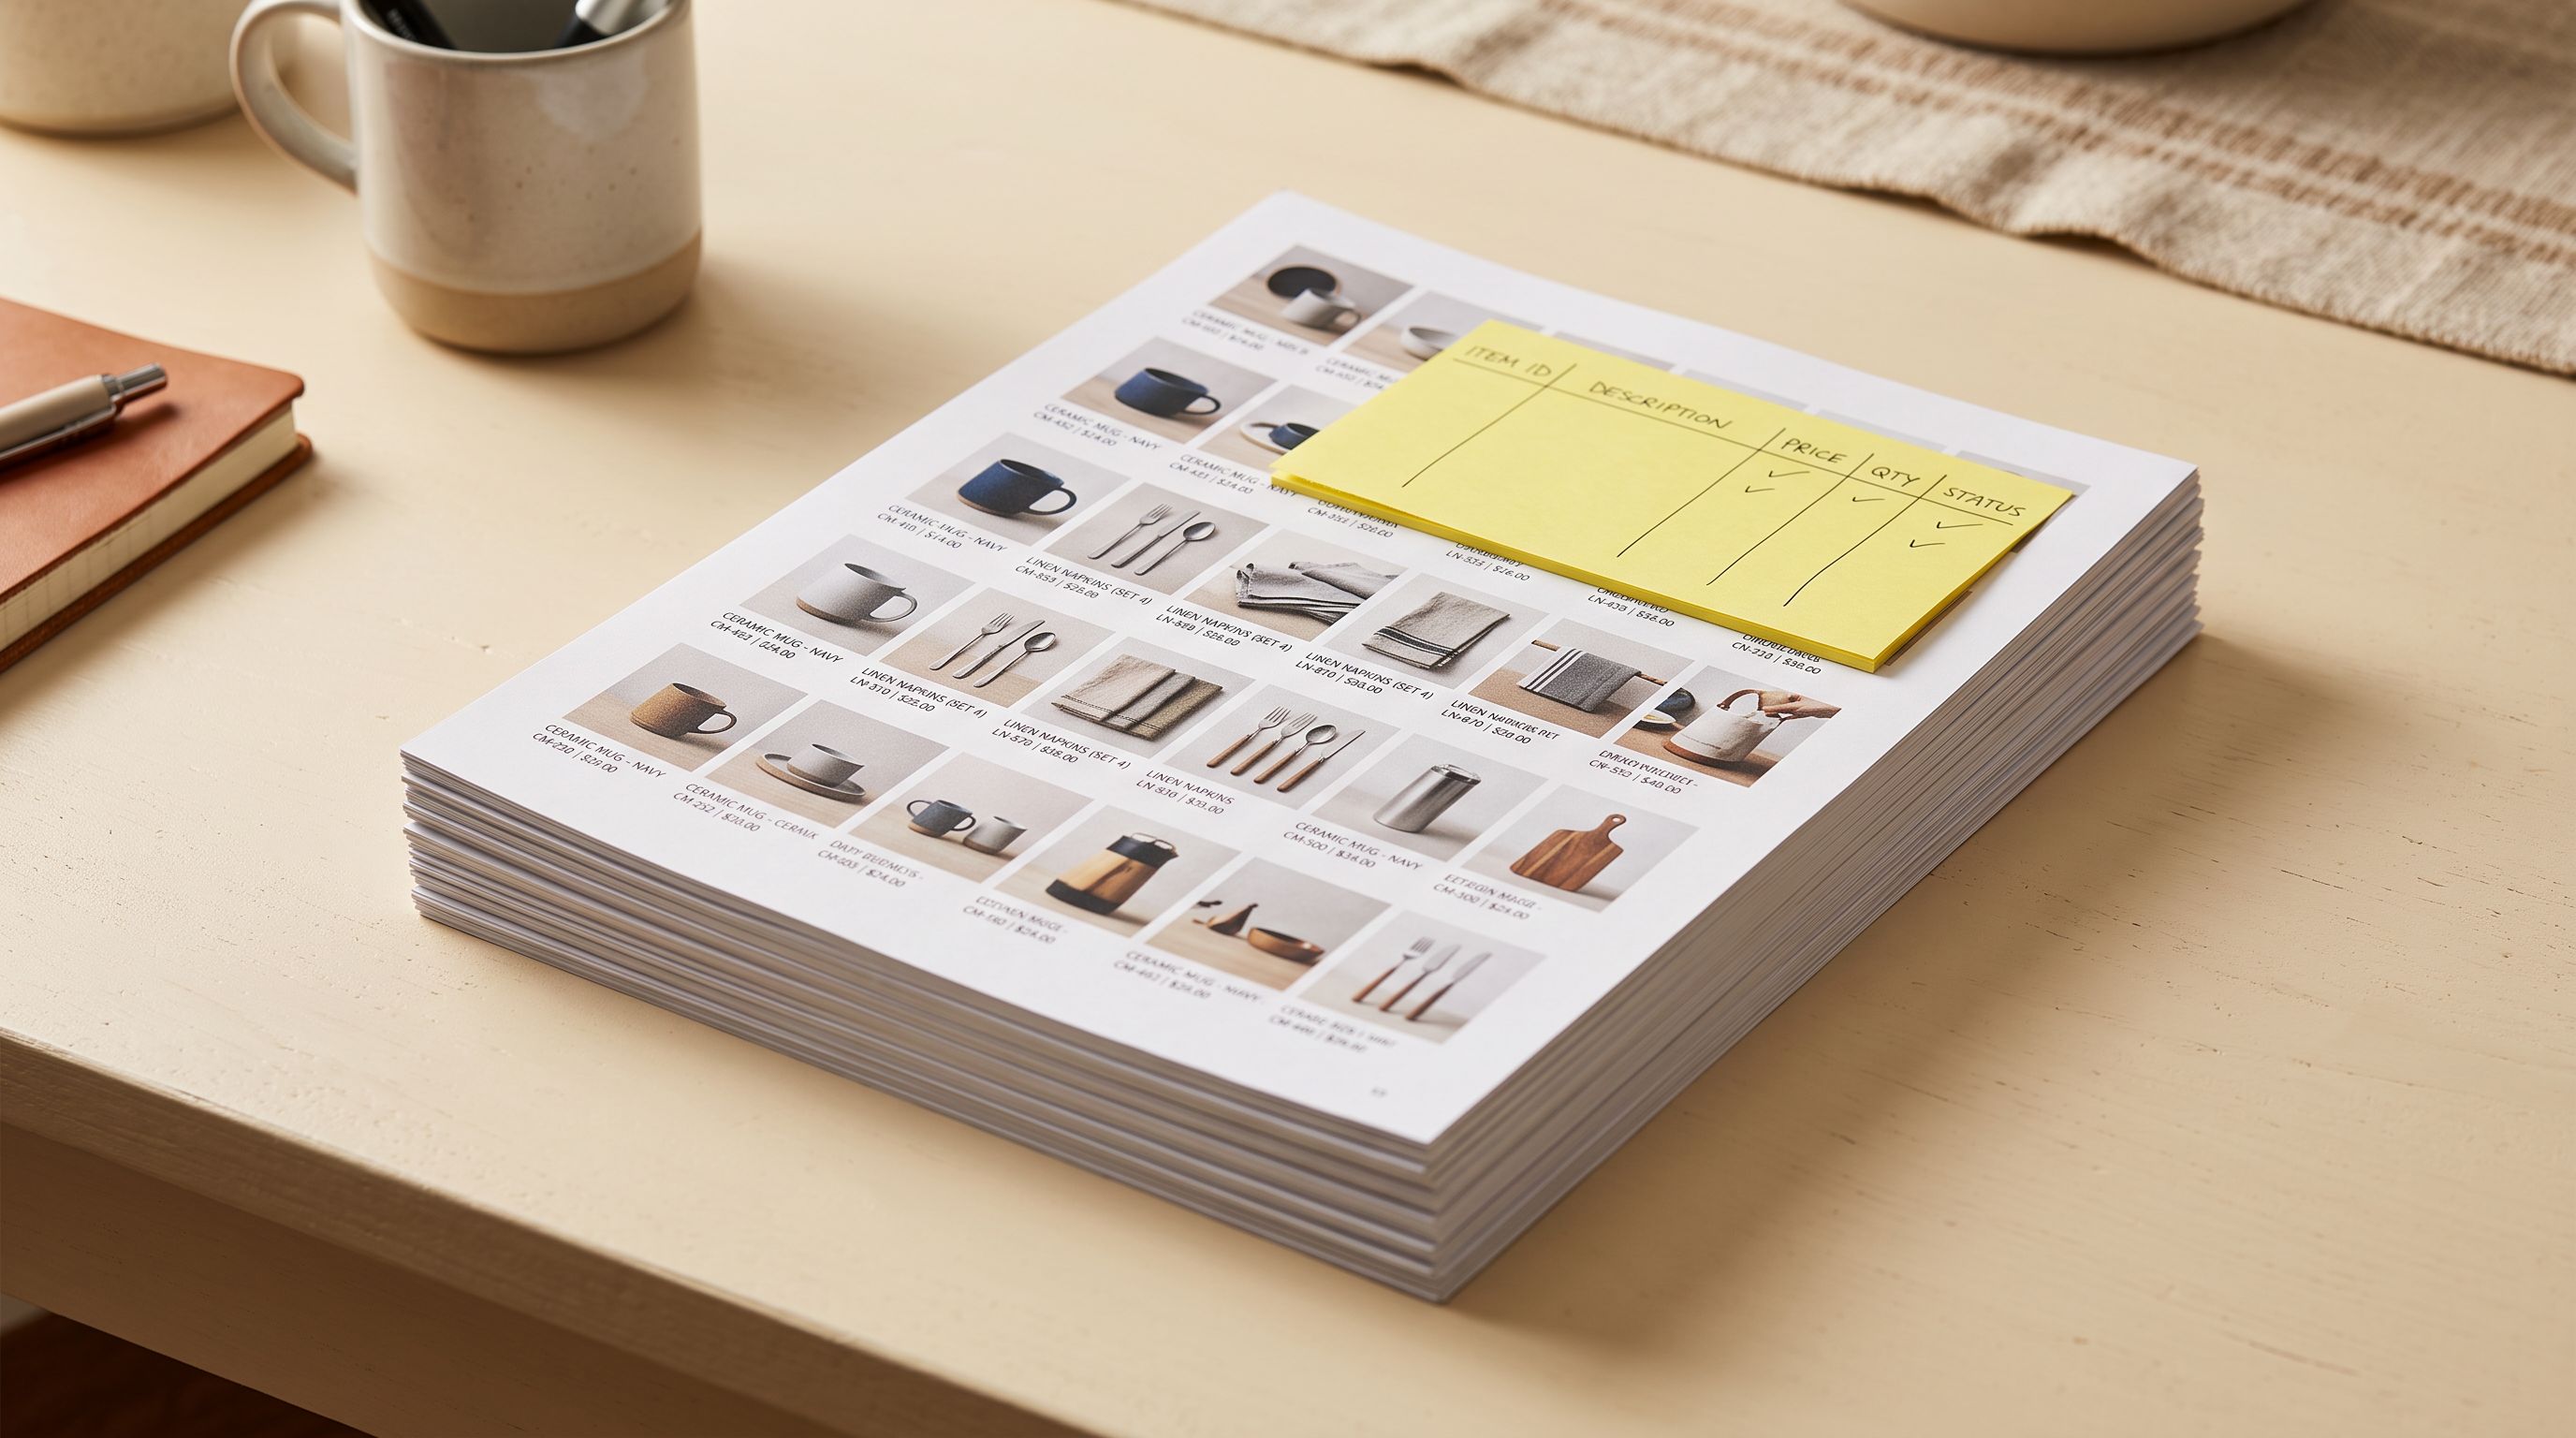
**If your images are linked in the file:** include the image URL column and map it during the wizard. Importier downloads the images at import time and attaches them to the product. If images are in a shared Google Drive folder, the wizard has a native Google Drive picker that reads the folder and matches filenames to products automatically.
**Column count does not matter.** A 50-column supplier file is handled the same way as a 5-column one. Unmapped columns are ignored. You do not need to strip your file down to just the columns Shopify recognises: that is the wizard's job.
## The 14-Step Import Wizard: What Each Stage Does
The import wizard is a linear 14-step flow that takes a raw supplier file and turns it into Shopify-ready products. You do not need to complete it in one session: the wizard saves your progress at each step.
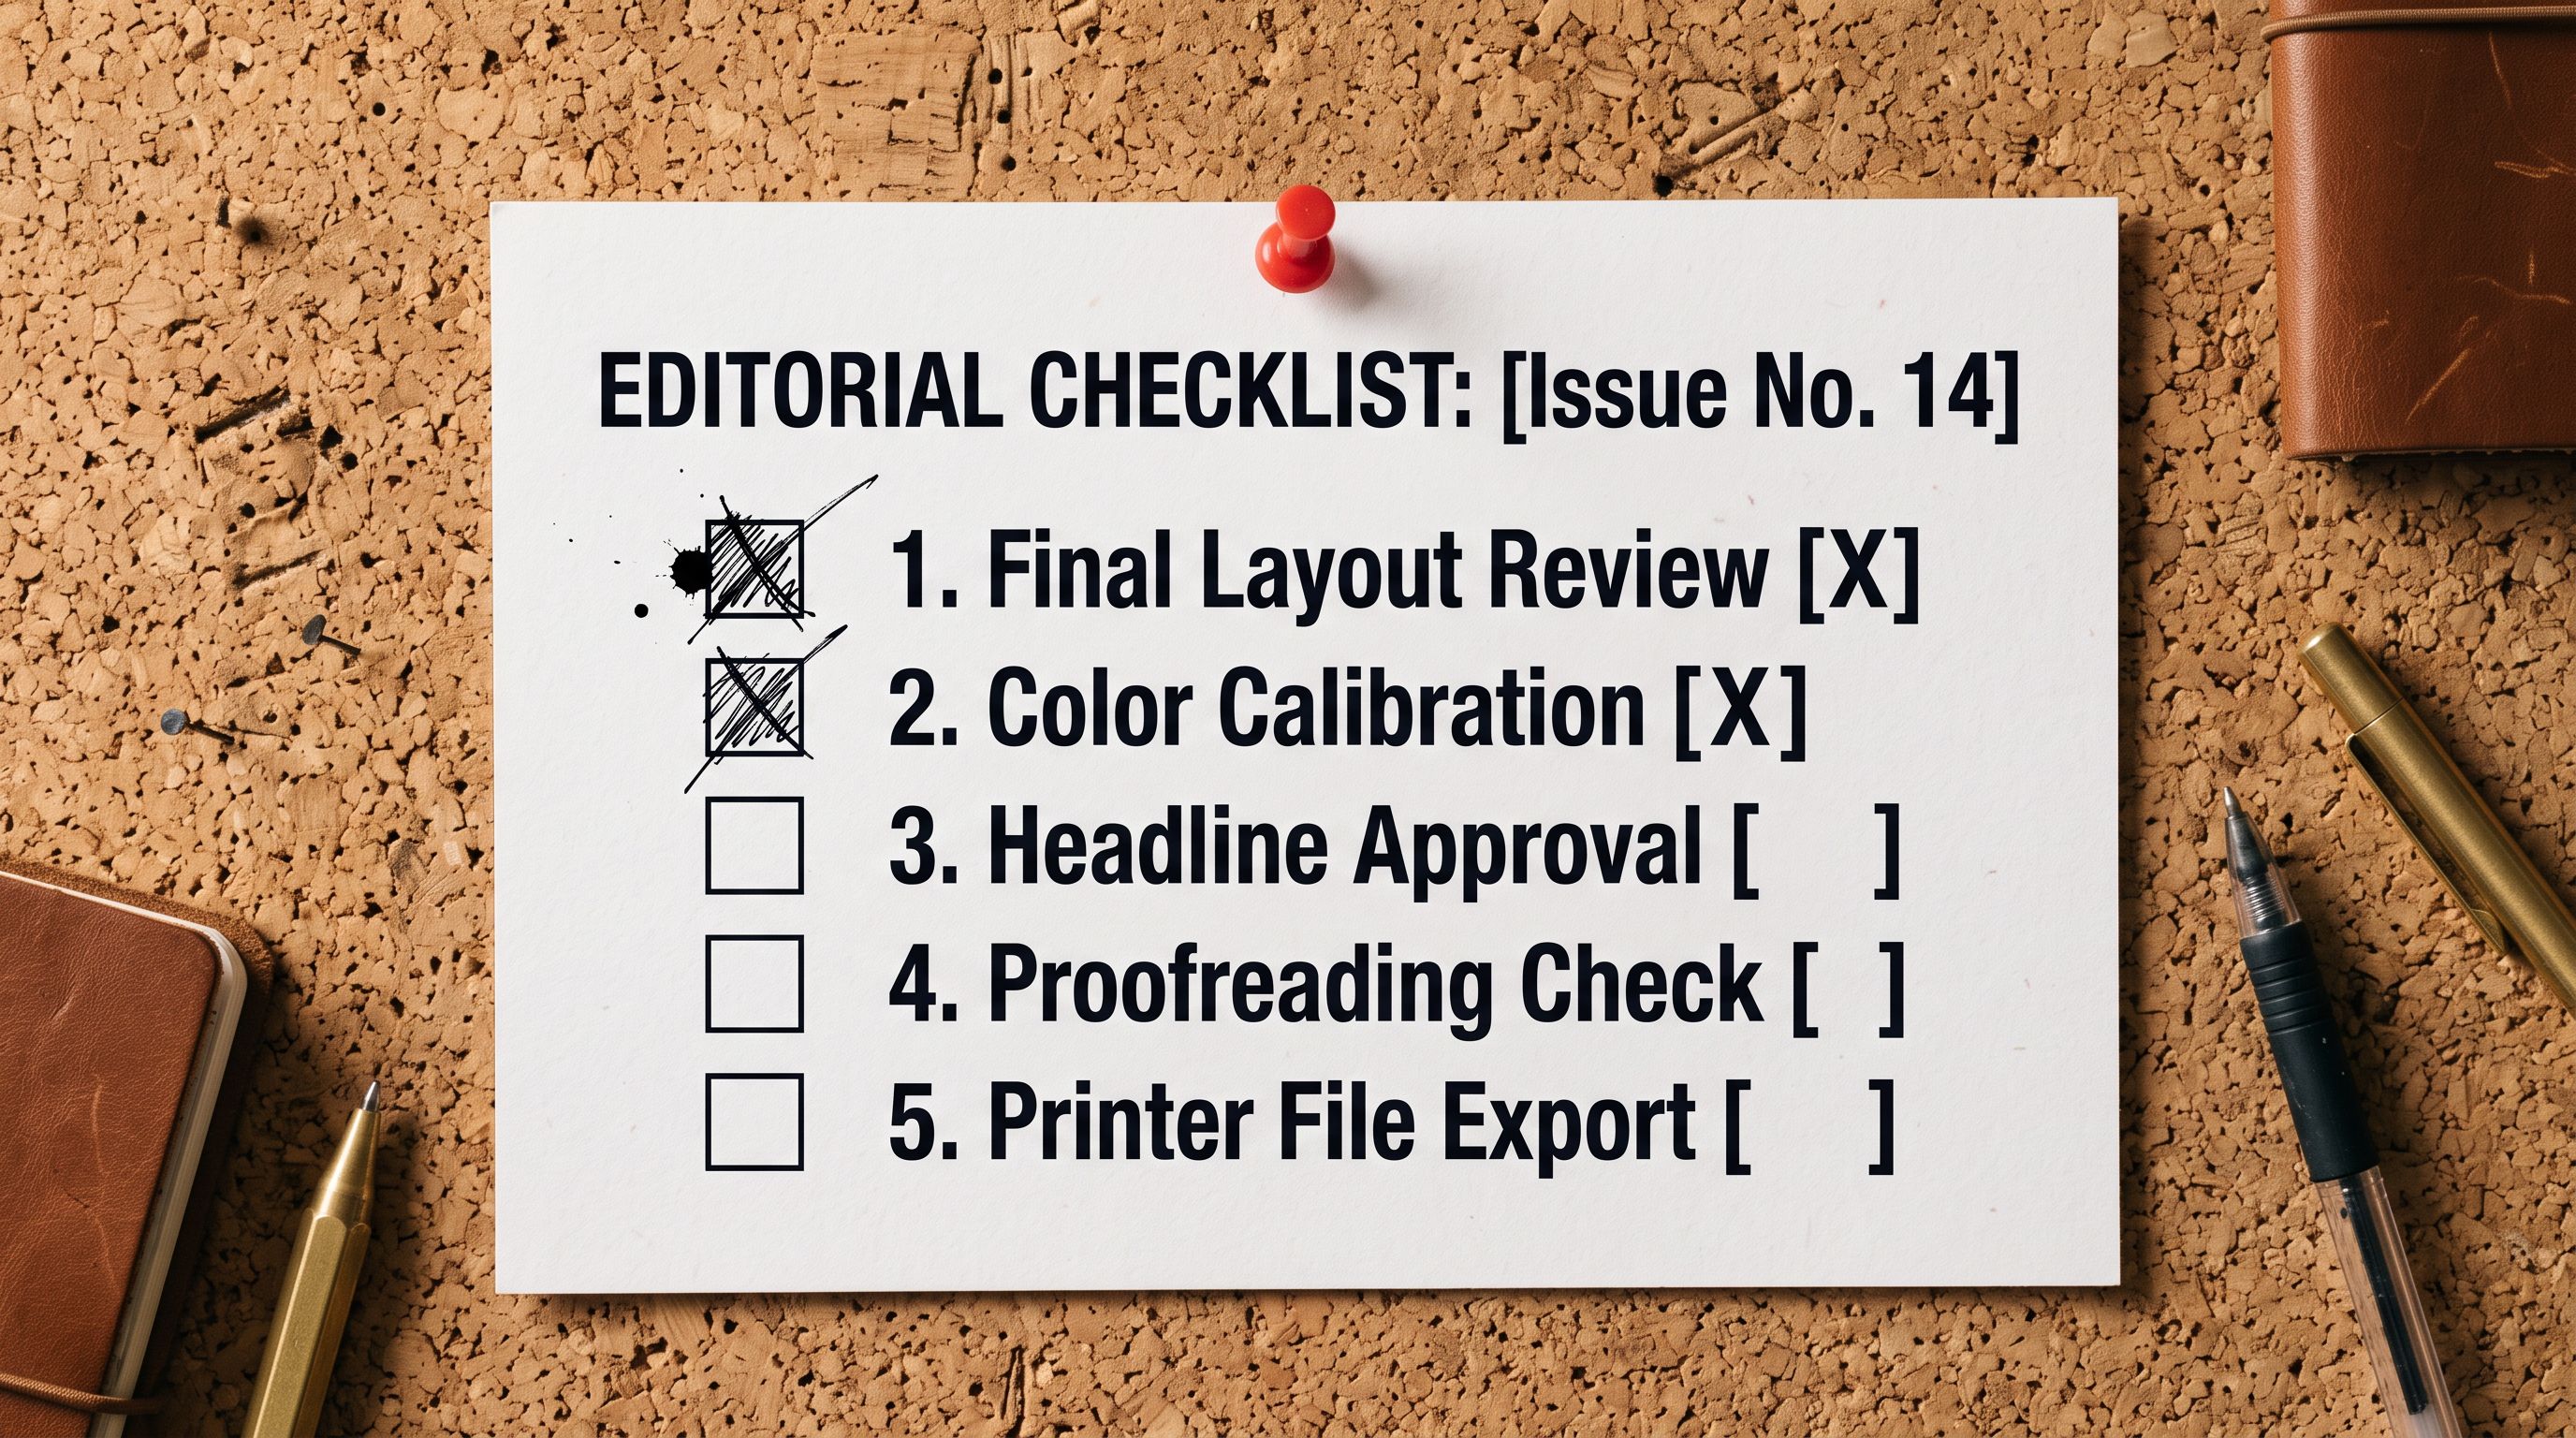
The review step before the final push is the most important one for a first import. Importier surfaces the first 10 products with their generated descriptions, mapped images, and variant assignments. You are looking for: a description that reads correctly for your product type, images that have loaded, and variant options that match what you expect.
## Reviewing Products Before You Publish
The pre-publish review catches the category of problems that are difficult to spot and time-consuming to fix after the fact. The [Shopify product import checklist](https://importier.app/blog/shopify-product-import-checklist) covers these in detail, but the essentials for a first import are:
**Description quality:** Read three to five generated descriptions from different product types in your catalogue. Check that the tone is right, that the product type is named correctly, and that no supplier-specific language (part numbers, trade-only terms, internal codes) has carried over from the source description. If you see issues, adjust the persona or Brand Voice settings and regenerate before pushing.
**Variant assignment:** For products with variants, confirm that the wizard has grouped them correctly. A product with three sizes and two colours should show six variant rows in Shopify. If the grouping is wrong (the wizard matched on the wrong column), you can correct the mapping and rerun the variant detection before pushing.
**Publication status:** Confirm that the publication status is set to Active (not Draft) before the final push. A common problem on first imports is pushing products as drafts: they appear in Shopify admin but are invisible on the storefront and in all sales channels. The [Shopify products imported as drafts](https://importier.app/blog/shopify-products-imported-as-drafts) article covers how to bulk-activate products if this happens, but the easier fix is to confirm the setting before pushing.

**Image count:** If your file included image URLs, check that the images loaded correctly on the sample products. An image URL that requires authentication or has expired will produce a blank image rather than an error.
The review step takes fifteen minutes and catches the problems that would otherwise take hours to fix after products are live. It is the most valuable fifteen minutes of the first import.
Shopify's own [product data requirements](https://help.shopify.com/en/manual/products/add-update-products) document the fields that are required for a product to be fully functional across all sales channels: title, description, price, and at least one image. Importier's wizard generates the description and handles the image download; the pre-publish sample review is where you confirm that all four are present before the push.
## What to Do When the First Shopify Product Import Goes Wrong
The most likely error on a first import is a column mapping issue: a field that was auto-suggested incorrectly and mapped to the wrong Shopify field. The result is products with missing prices, incorrect SKUs, or titles that contain the data from a different column. These errors are visible in the review step, which is why the review step exists.
**If you catch the error in the wizard:** go back to the column mapping step (step 2-3), correct the mapping, and proceed. Your file does not need to be re-uploaded.
**If products are already in Shopify:** use Import History to undo the batch. Import History logs every import with the date, time, file name, and product count. The undo function reverts every product from that batch: it removes them from Shopify and returns your Shopify product count to where it was before the import. This is the fastest recovery path for a batch that landed with systematic errors.
**For per-product errors:** Import History also shows which products failed to import and why. Common failure reasons include: a price value that could not be parsed (currency symbols in the price column), a variant option that exceeded Shopify's maximum, or a barcode that already exists on another product in the store. Each failure includes an expandable detail row with the specific error.
**For description quality issues:** descriptions can be regenerated without re-importing. The Store Scanner's Replace mode applies the AI description generator to any subset of existing products. If the first import produced acceptable products but poor descriptions, regenerating descriptions is a separate operation from the import.
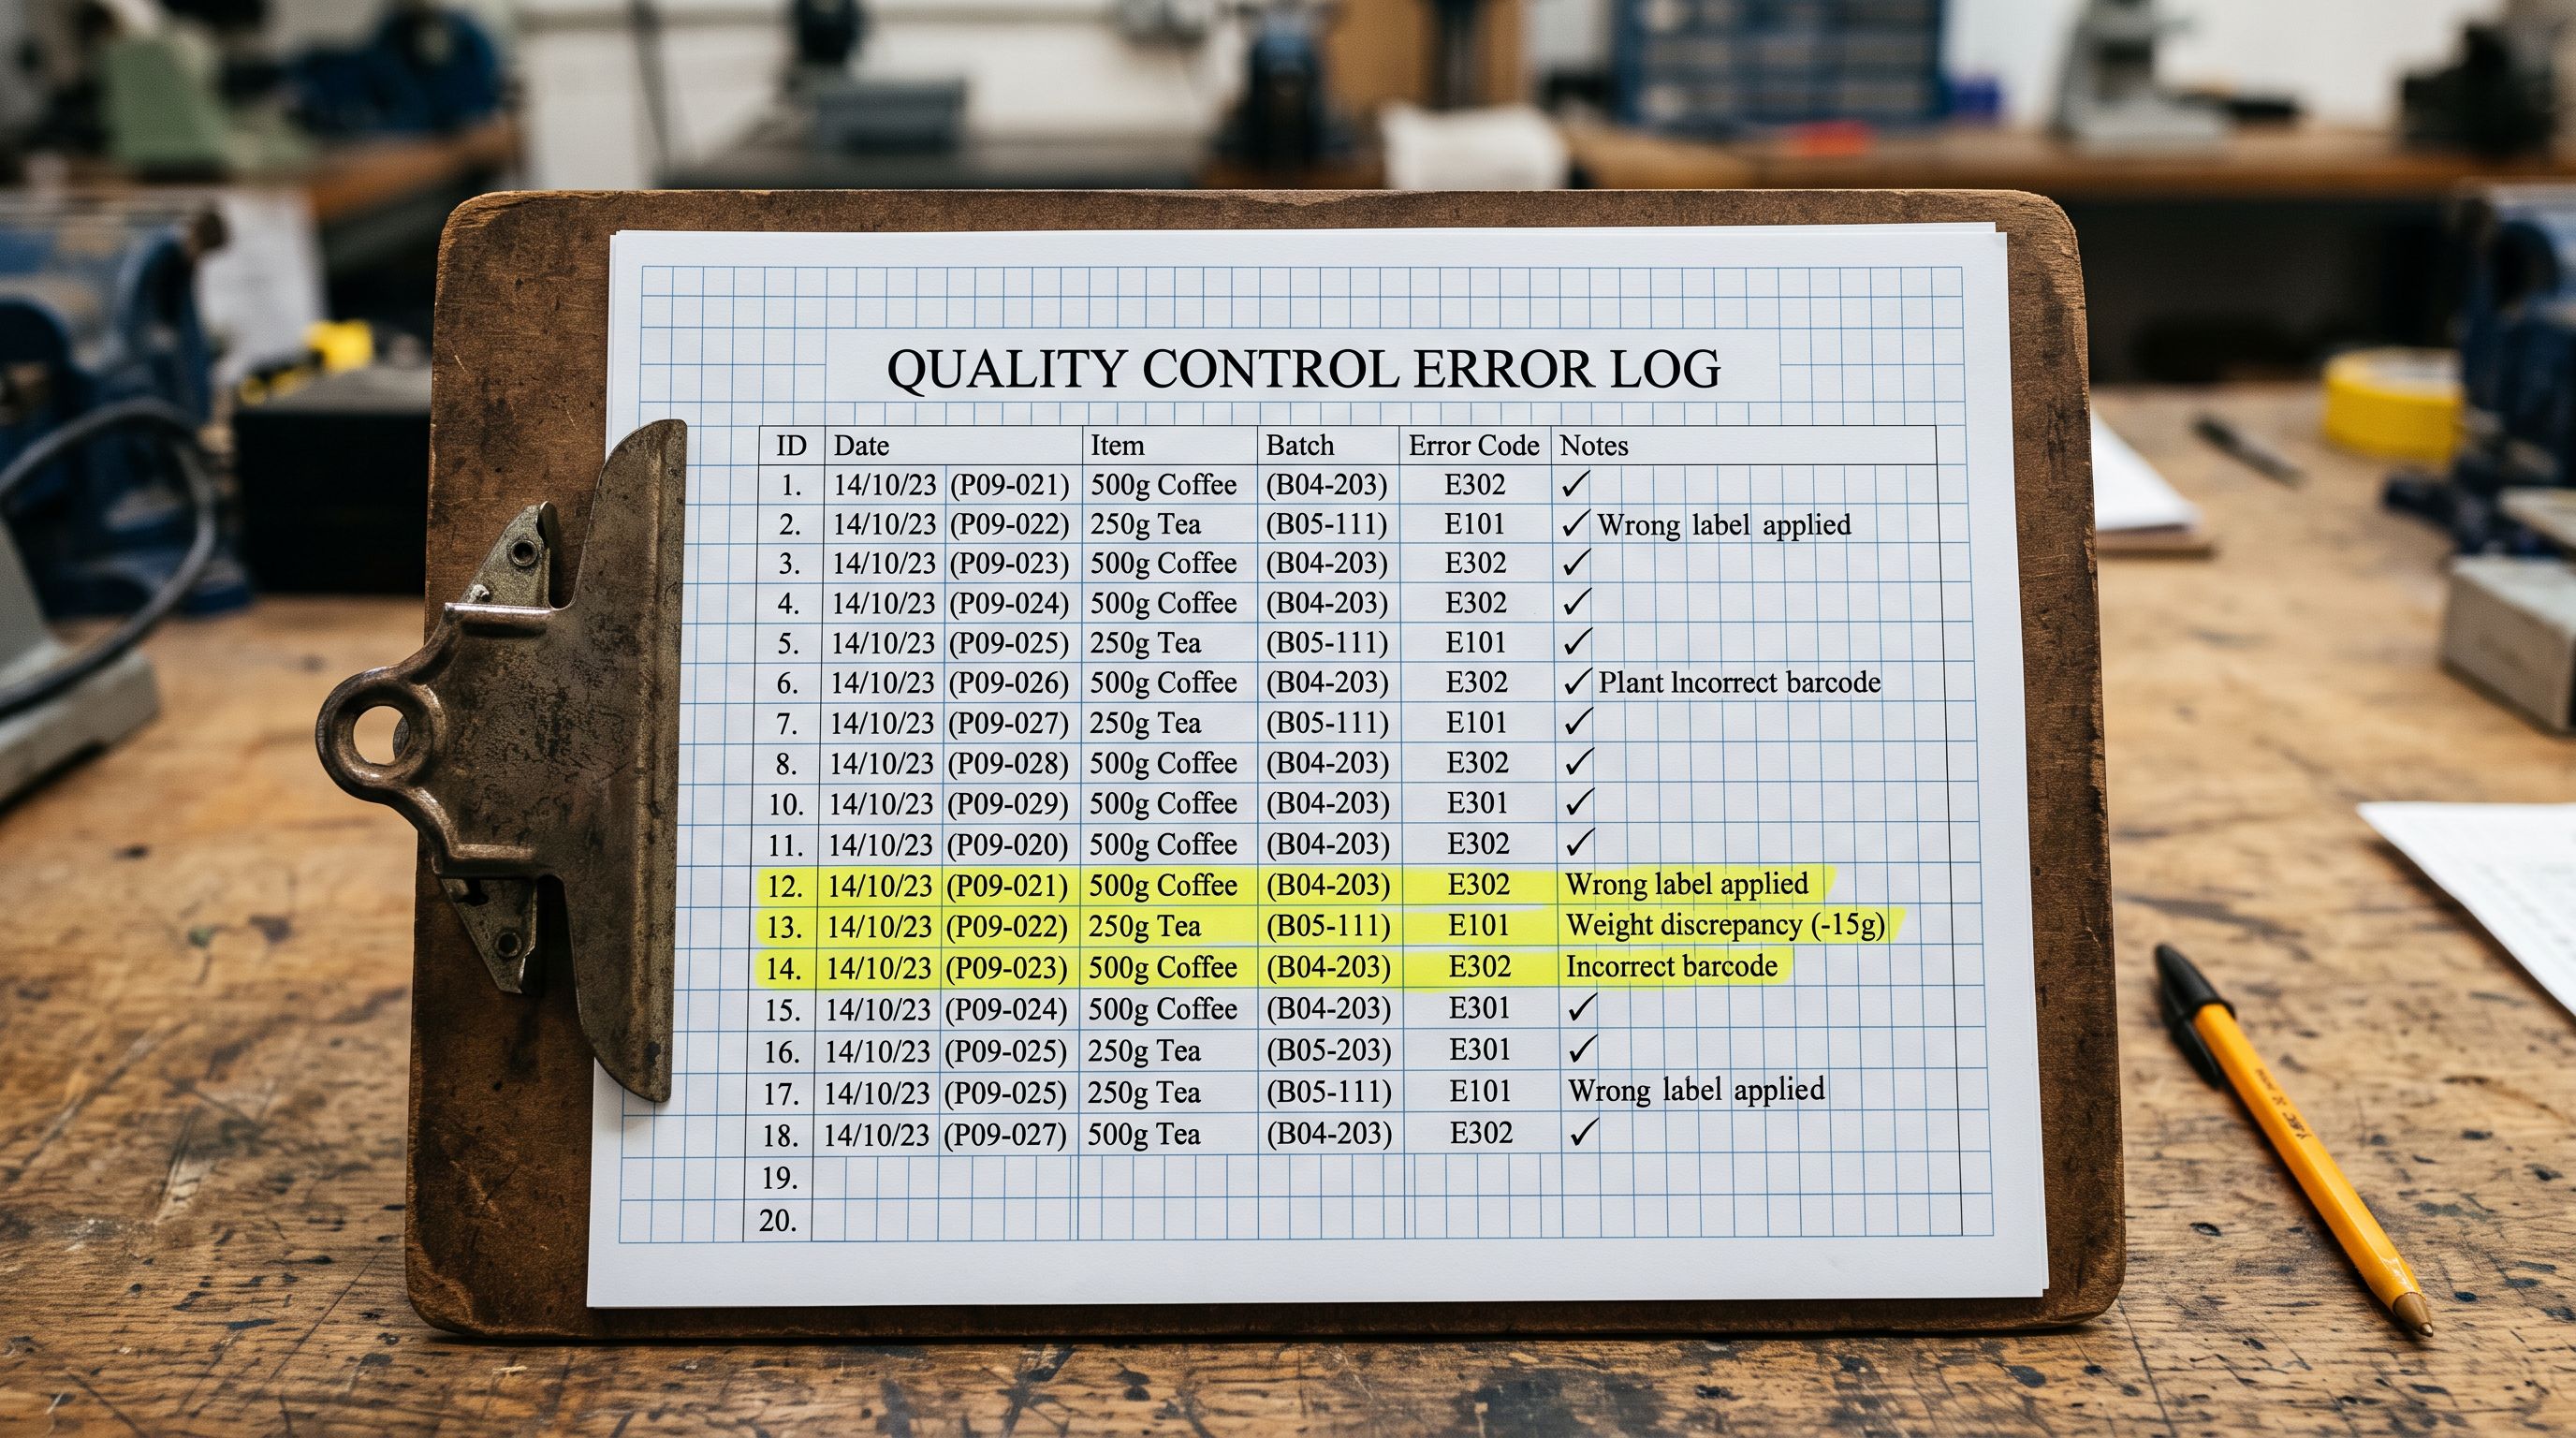
Shopify's [CSV import documentation](https://help.shopify.com/en/manual/products/import-export/import-products) covers the field formatting requirements that Shopify enforces on native CSV uploads: price as a decimal without currency symbols, variant columns named "Option1 Name" and "Option1 Value", image URLs as absolute paths. Importier handles the reformatting internally; if you see errors related to field format, the Shopify docs are the authoritative reference for what the underlying API requires.
## After Your First Shopify Product Import
Once the products are live, three things are worth doing immediately:
**Save your column mapping.** The column mapping you built during the wizard is saved as a reusable profile for this supplier. On the next import from the same supplier, the mapping is pre-applied and the wizard skips the mapping steps entirely. For monthly supplier updates, this reduces the import to: upload the new file, confirm the mapping is still correct, run the AI, push. The [import workflow guide](https://importier.app/blog/shopify-product-import-workflow) covers how to structure a repeatable import process for ongoing supplier relationships.
**Check your product count against your plan.** Your monthly product allowance is consumed by the import. The count fires at the point descriptions are generated or when products are pushed to Shopify, whichever comes first. If you generated descriptions for 180 products on the Growth plan (200/month limit), you have 20 products remaining for the month. Import History shows the exact count for the batch.
**Set up Brand Voice if you have not already.** Brand Voice lets you define the words and phrases that should appear in every description: your store's tone, your product naming conventions, and the terms you want to avoid (competitor brand names, industry jargon your customers do not use). Descriptions generated without Brand Voice set up are good; descriptions generated with it set up are better. The setting takes five minutes and applies to every future import automatically.
For merchants importing from multiple suppliers, the next step is building a separate saved mapping profile for each supplier file format. Each profile stores the column mapping, AI settings, and publication defaults for that supplier. Importing the second and third supplier catalogues is faster than the first because the configuration work is already done.
## Shopify First Product Import: Key Takeaways
The first shopify product import is the longest one because the configuration is being built for the first time. Every import after it runs faster.
- You do not need a perfectly formatted file before starting. Importier accepts your supplier file as-is and handles column mapping, variant detection, and AI description generation inside the wizard.
- The 14-step wizard is linear but saves progress at each step. You can stop, come back, and continue without re-uploading.
- The pre-publish review step is the most important fifteen minutes of the import: confirm descriptions, variants, images, and publication status before the final push.
- Import History logs every import. If a batch lands with systematic errors, the undo function removes all products from that batch and returns your catalogue to its pre-import state.
- Save your column mapping profile after the first import. It eliminates the mapping work on every subsequent import from the same supplier.
- The [CSV import structure guide](https://importier.app/blog/shopify-csv-import-guide) covers file formatting in detail for merchants who want to understand exactly what Importier is doing with each column during the mapping step.
Start your first import at [importier.app](https://importier.app). The Explore plan is free and covers 10 products: enough to run a trial import and see the wizard end-to-end before committing to a paid plan.